
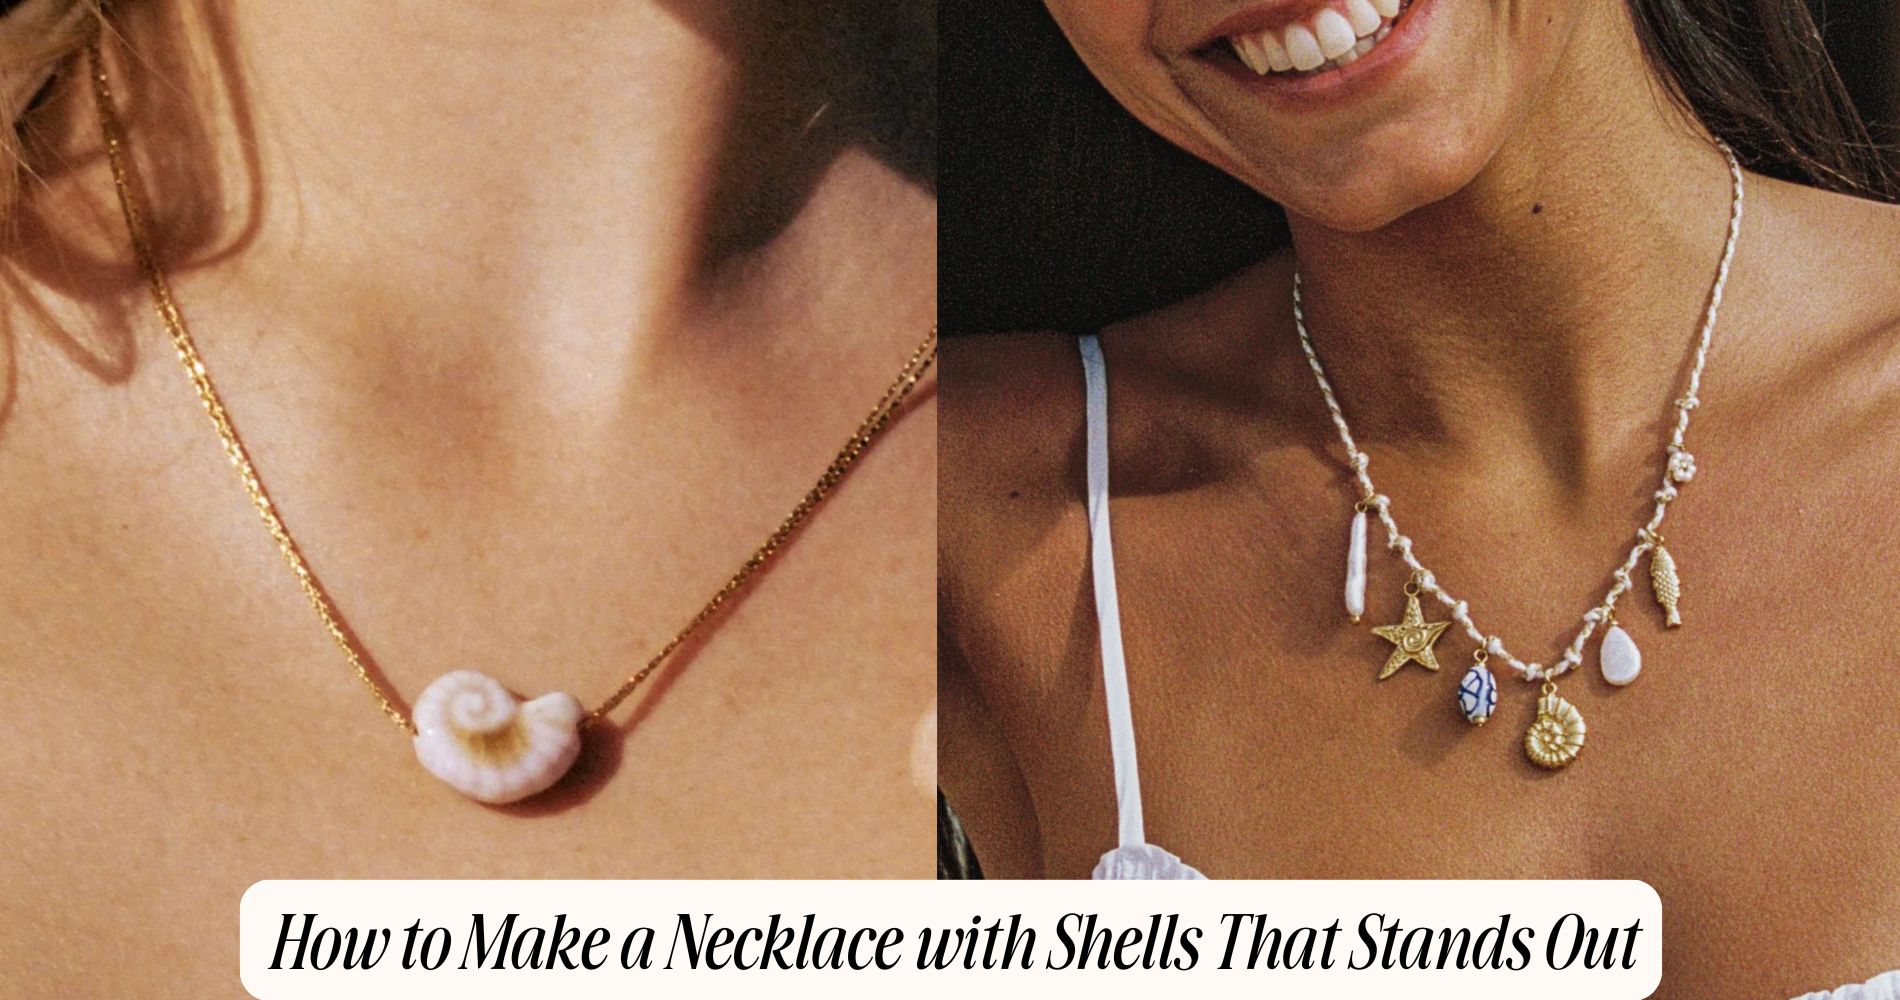
How to Make a Necklace With Shells That Stands Out
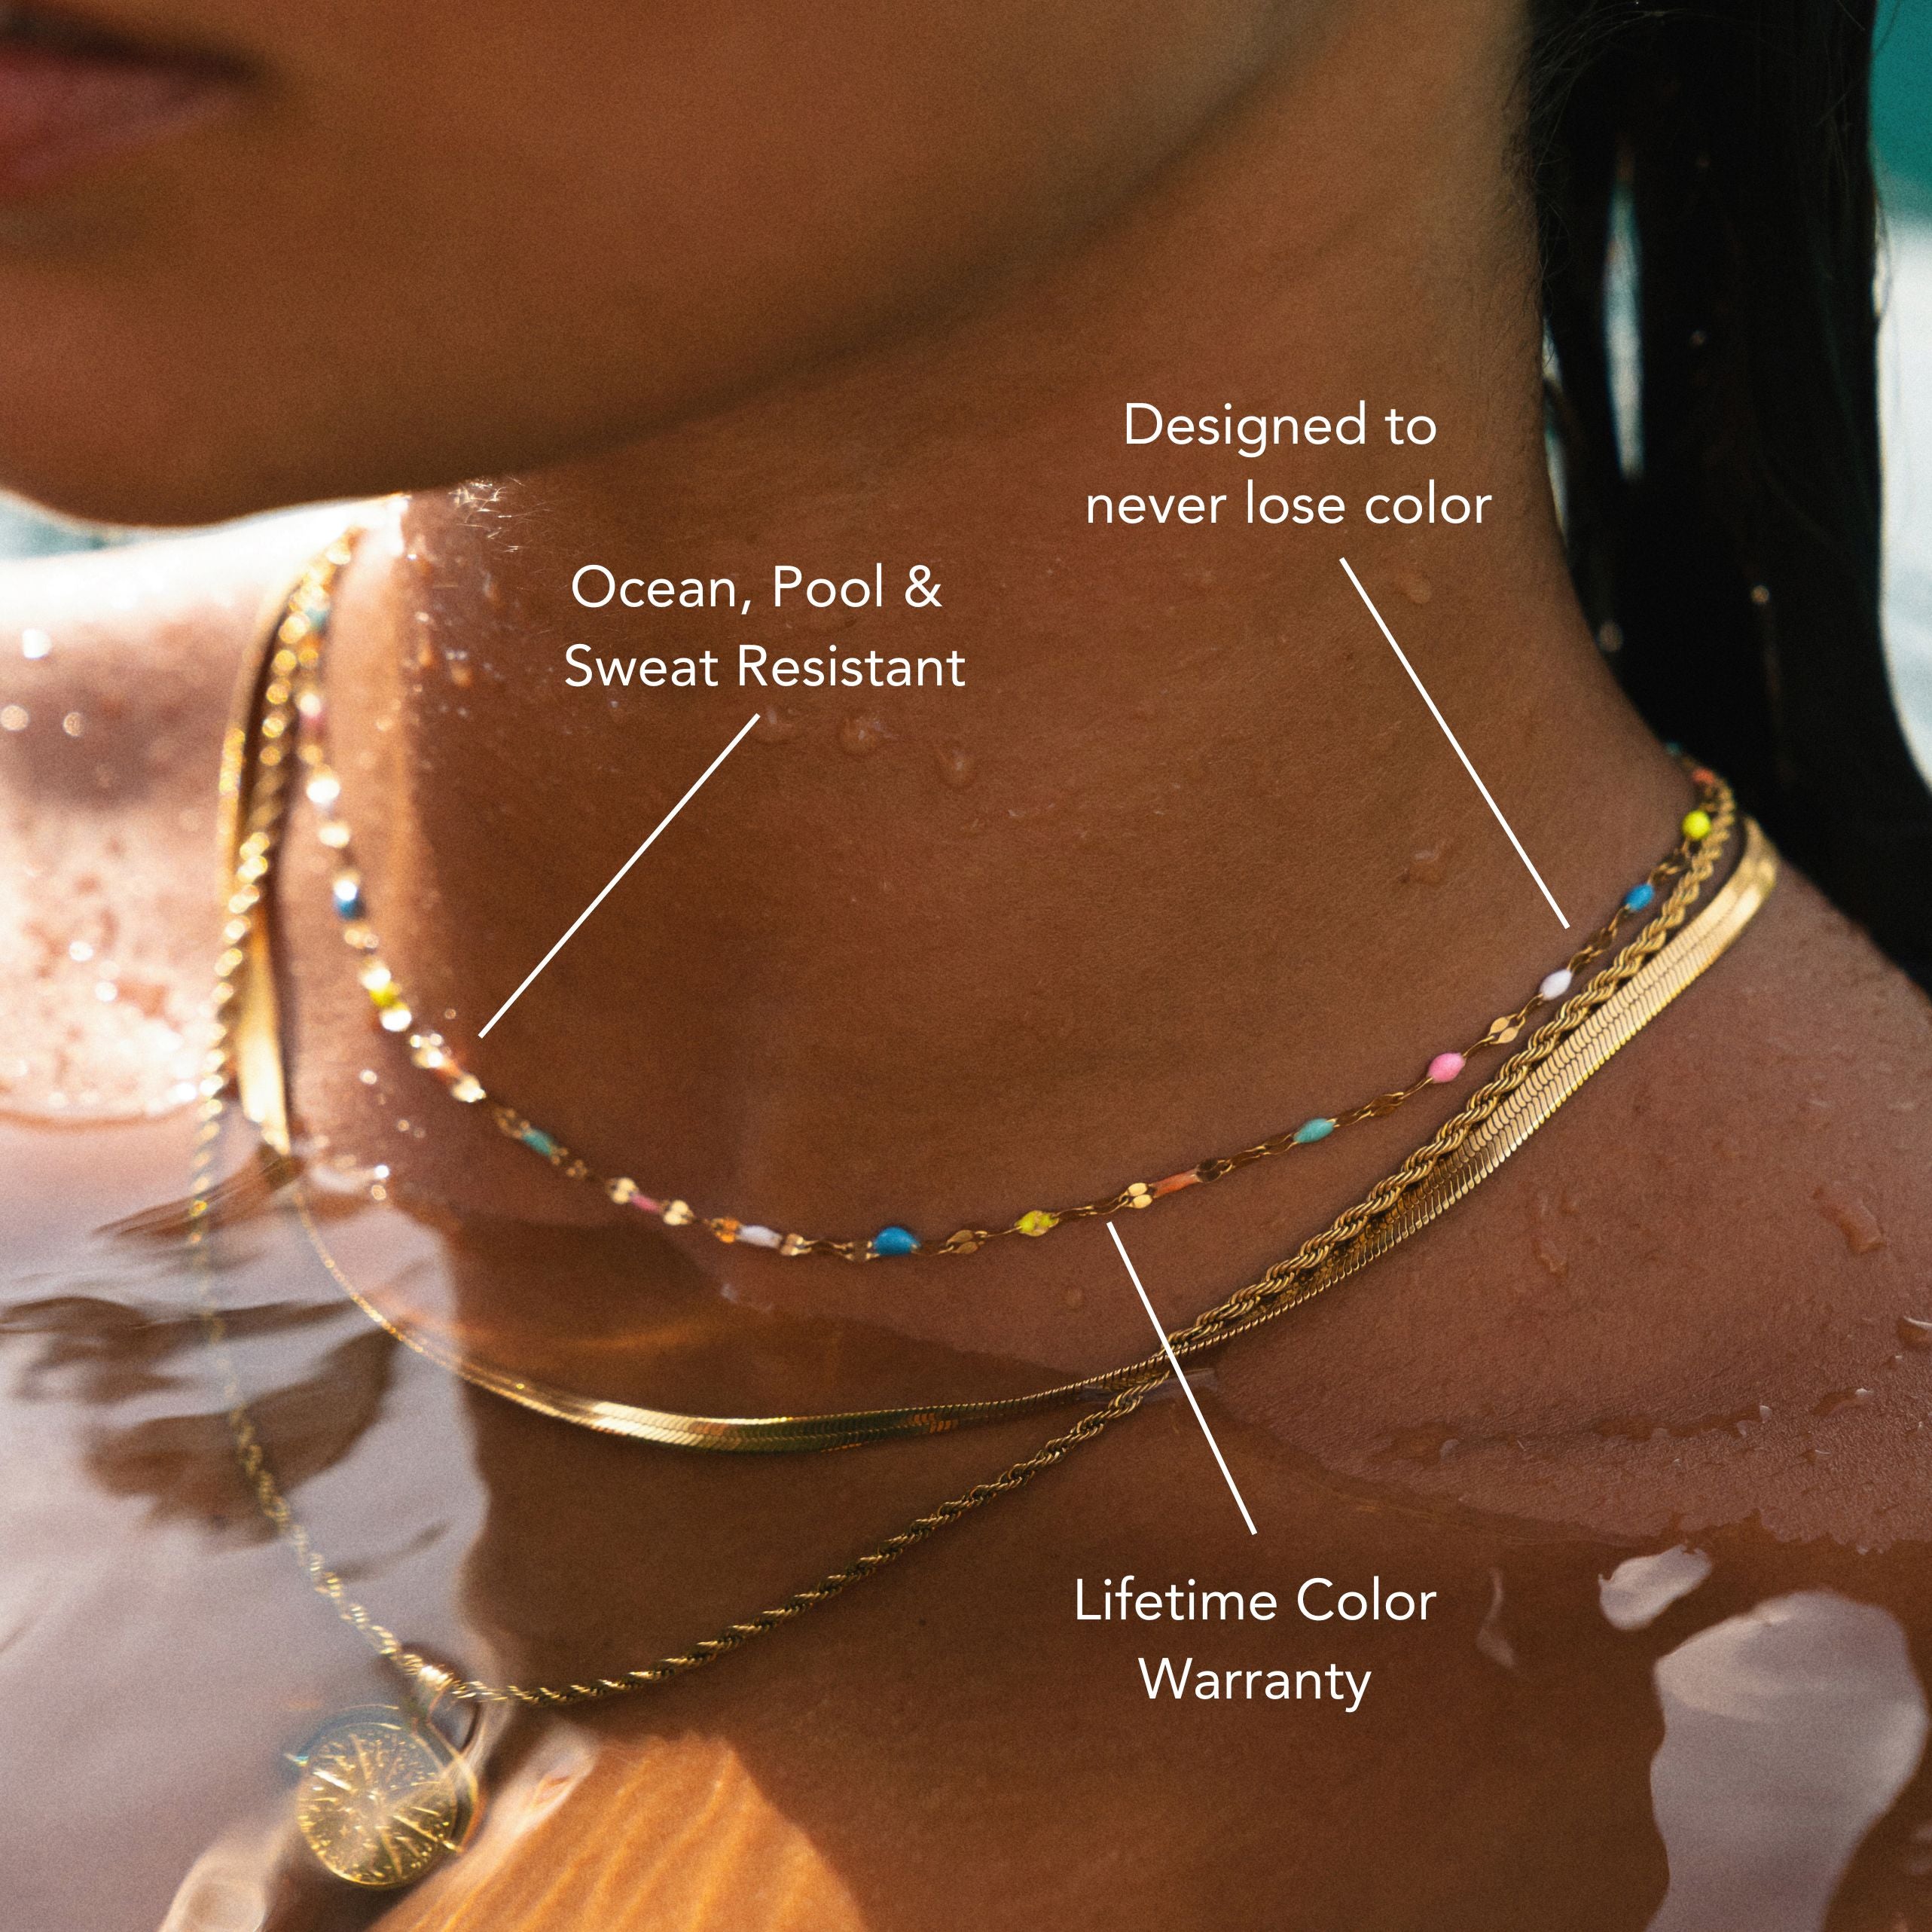
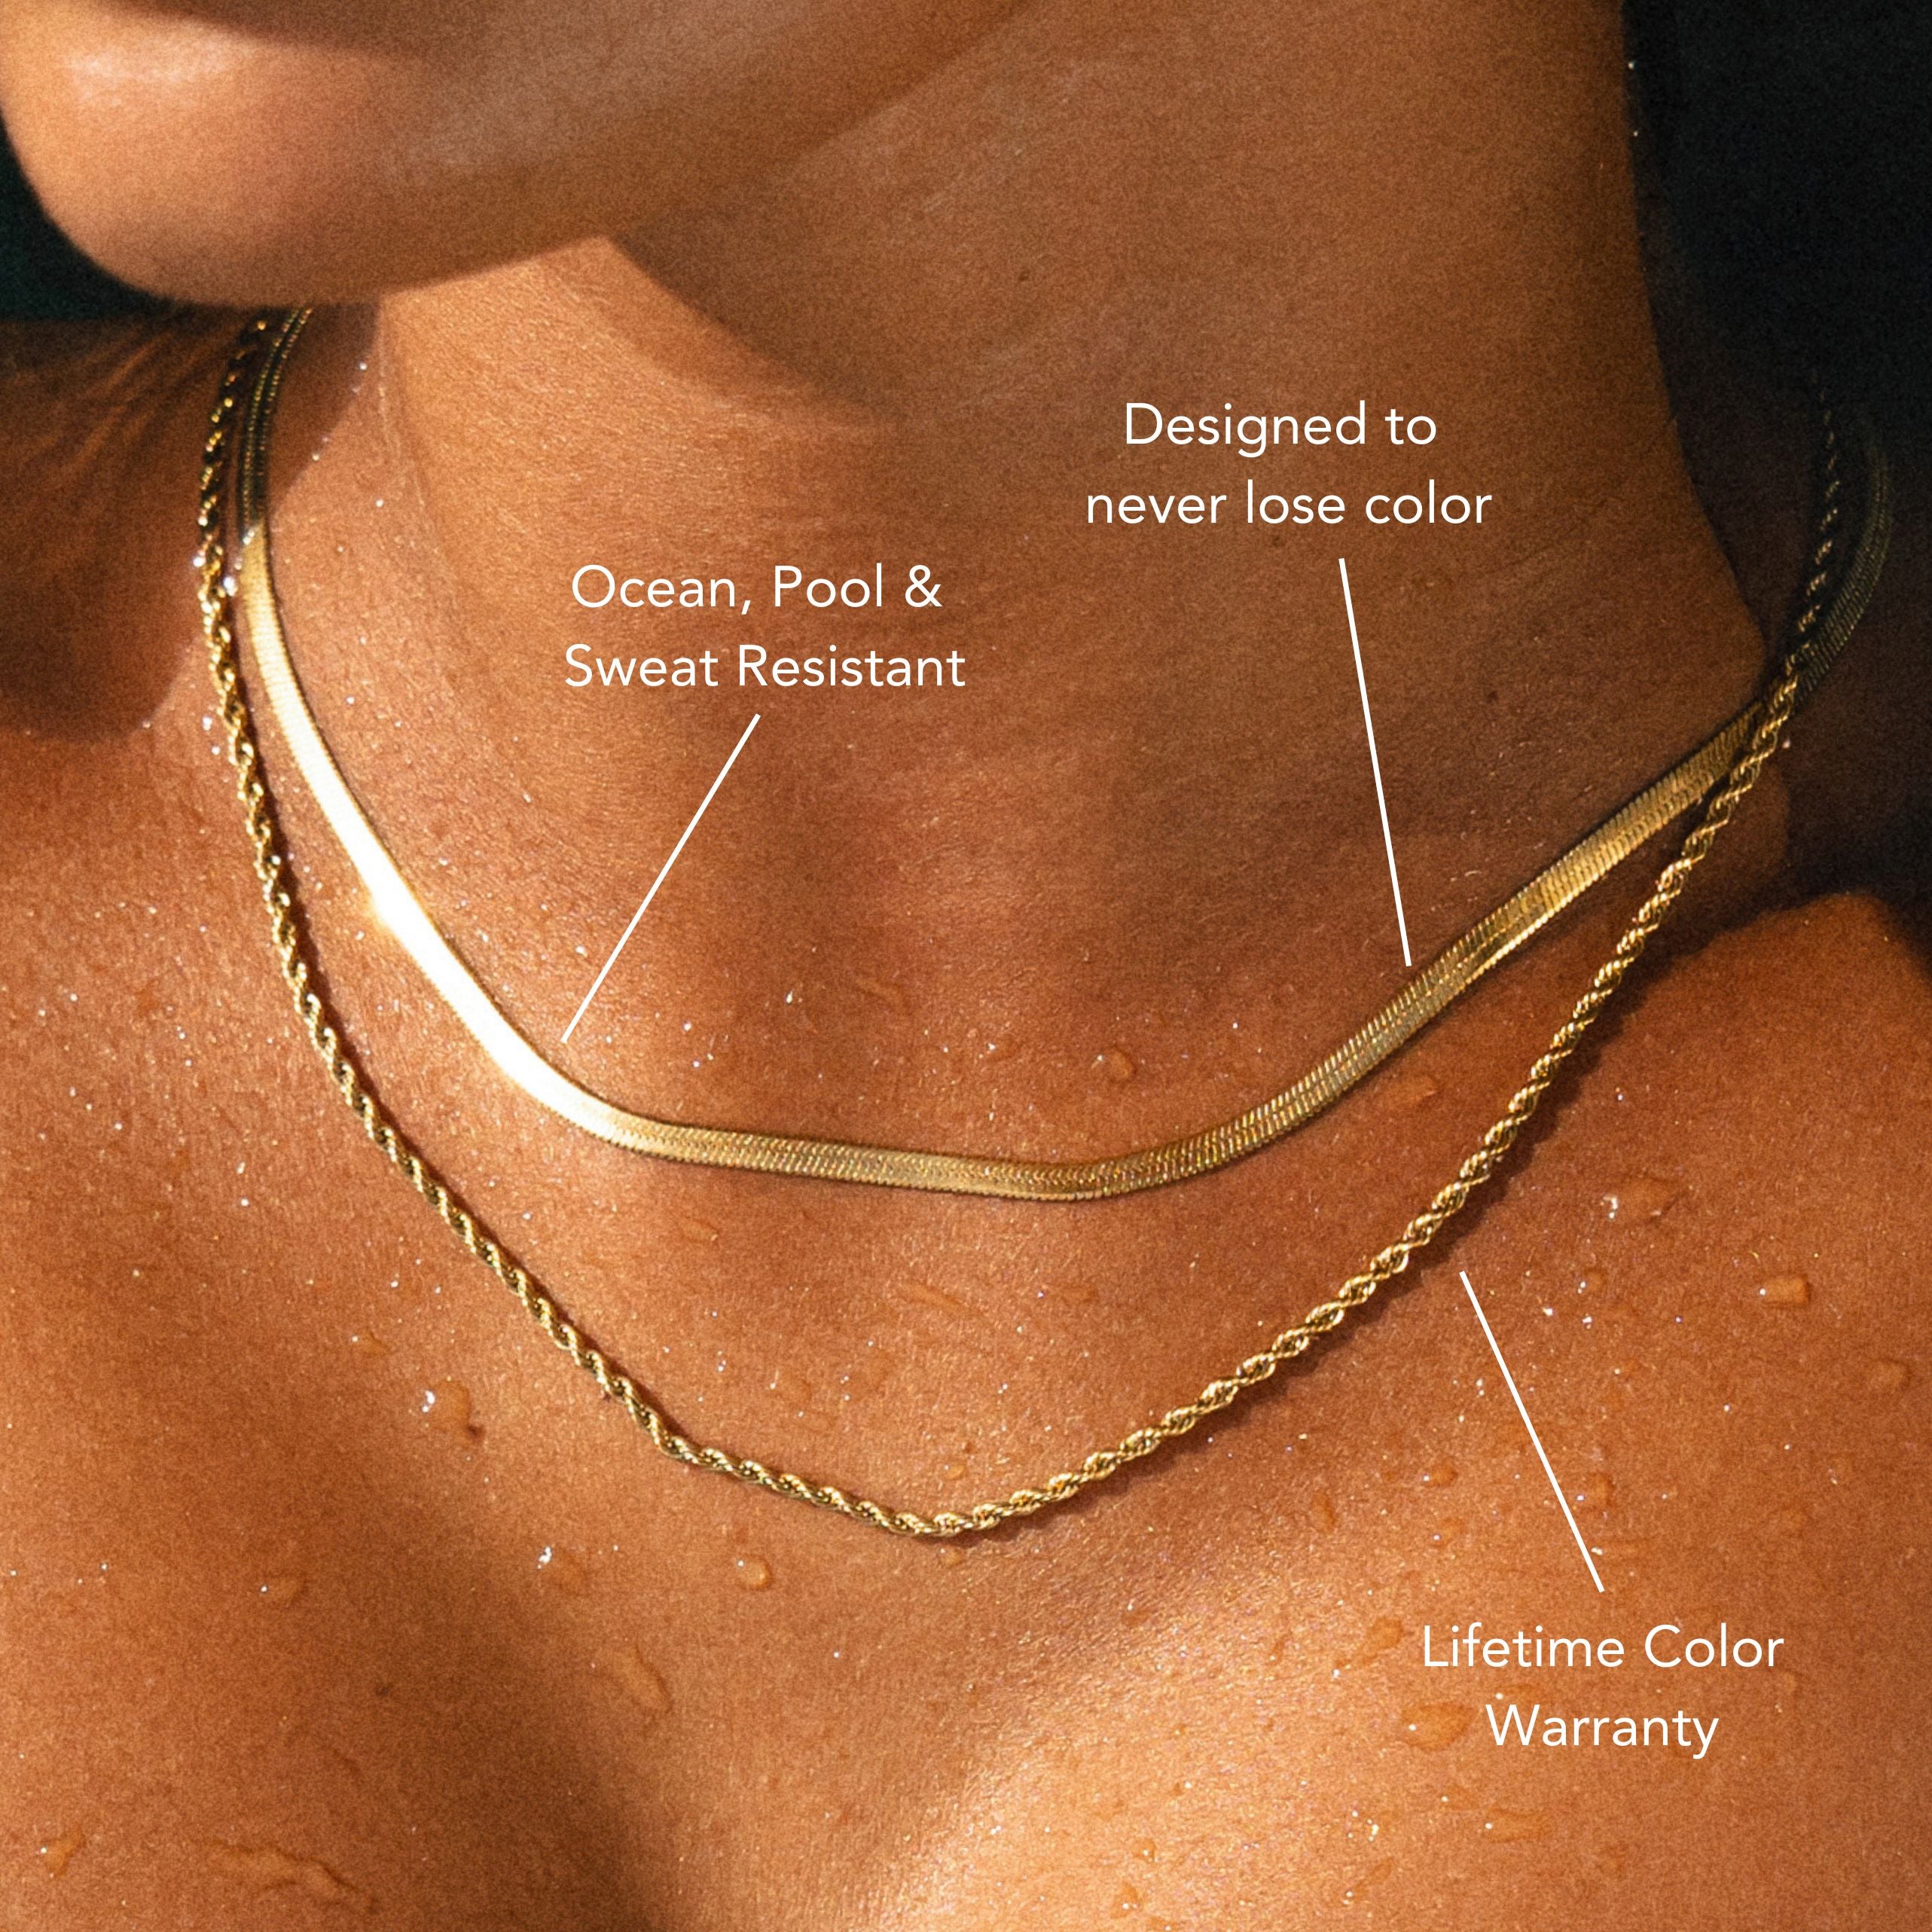
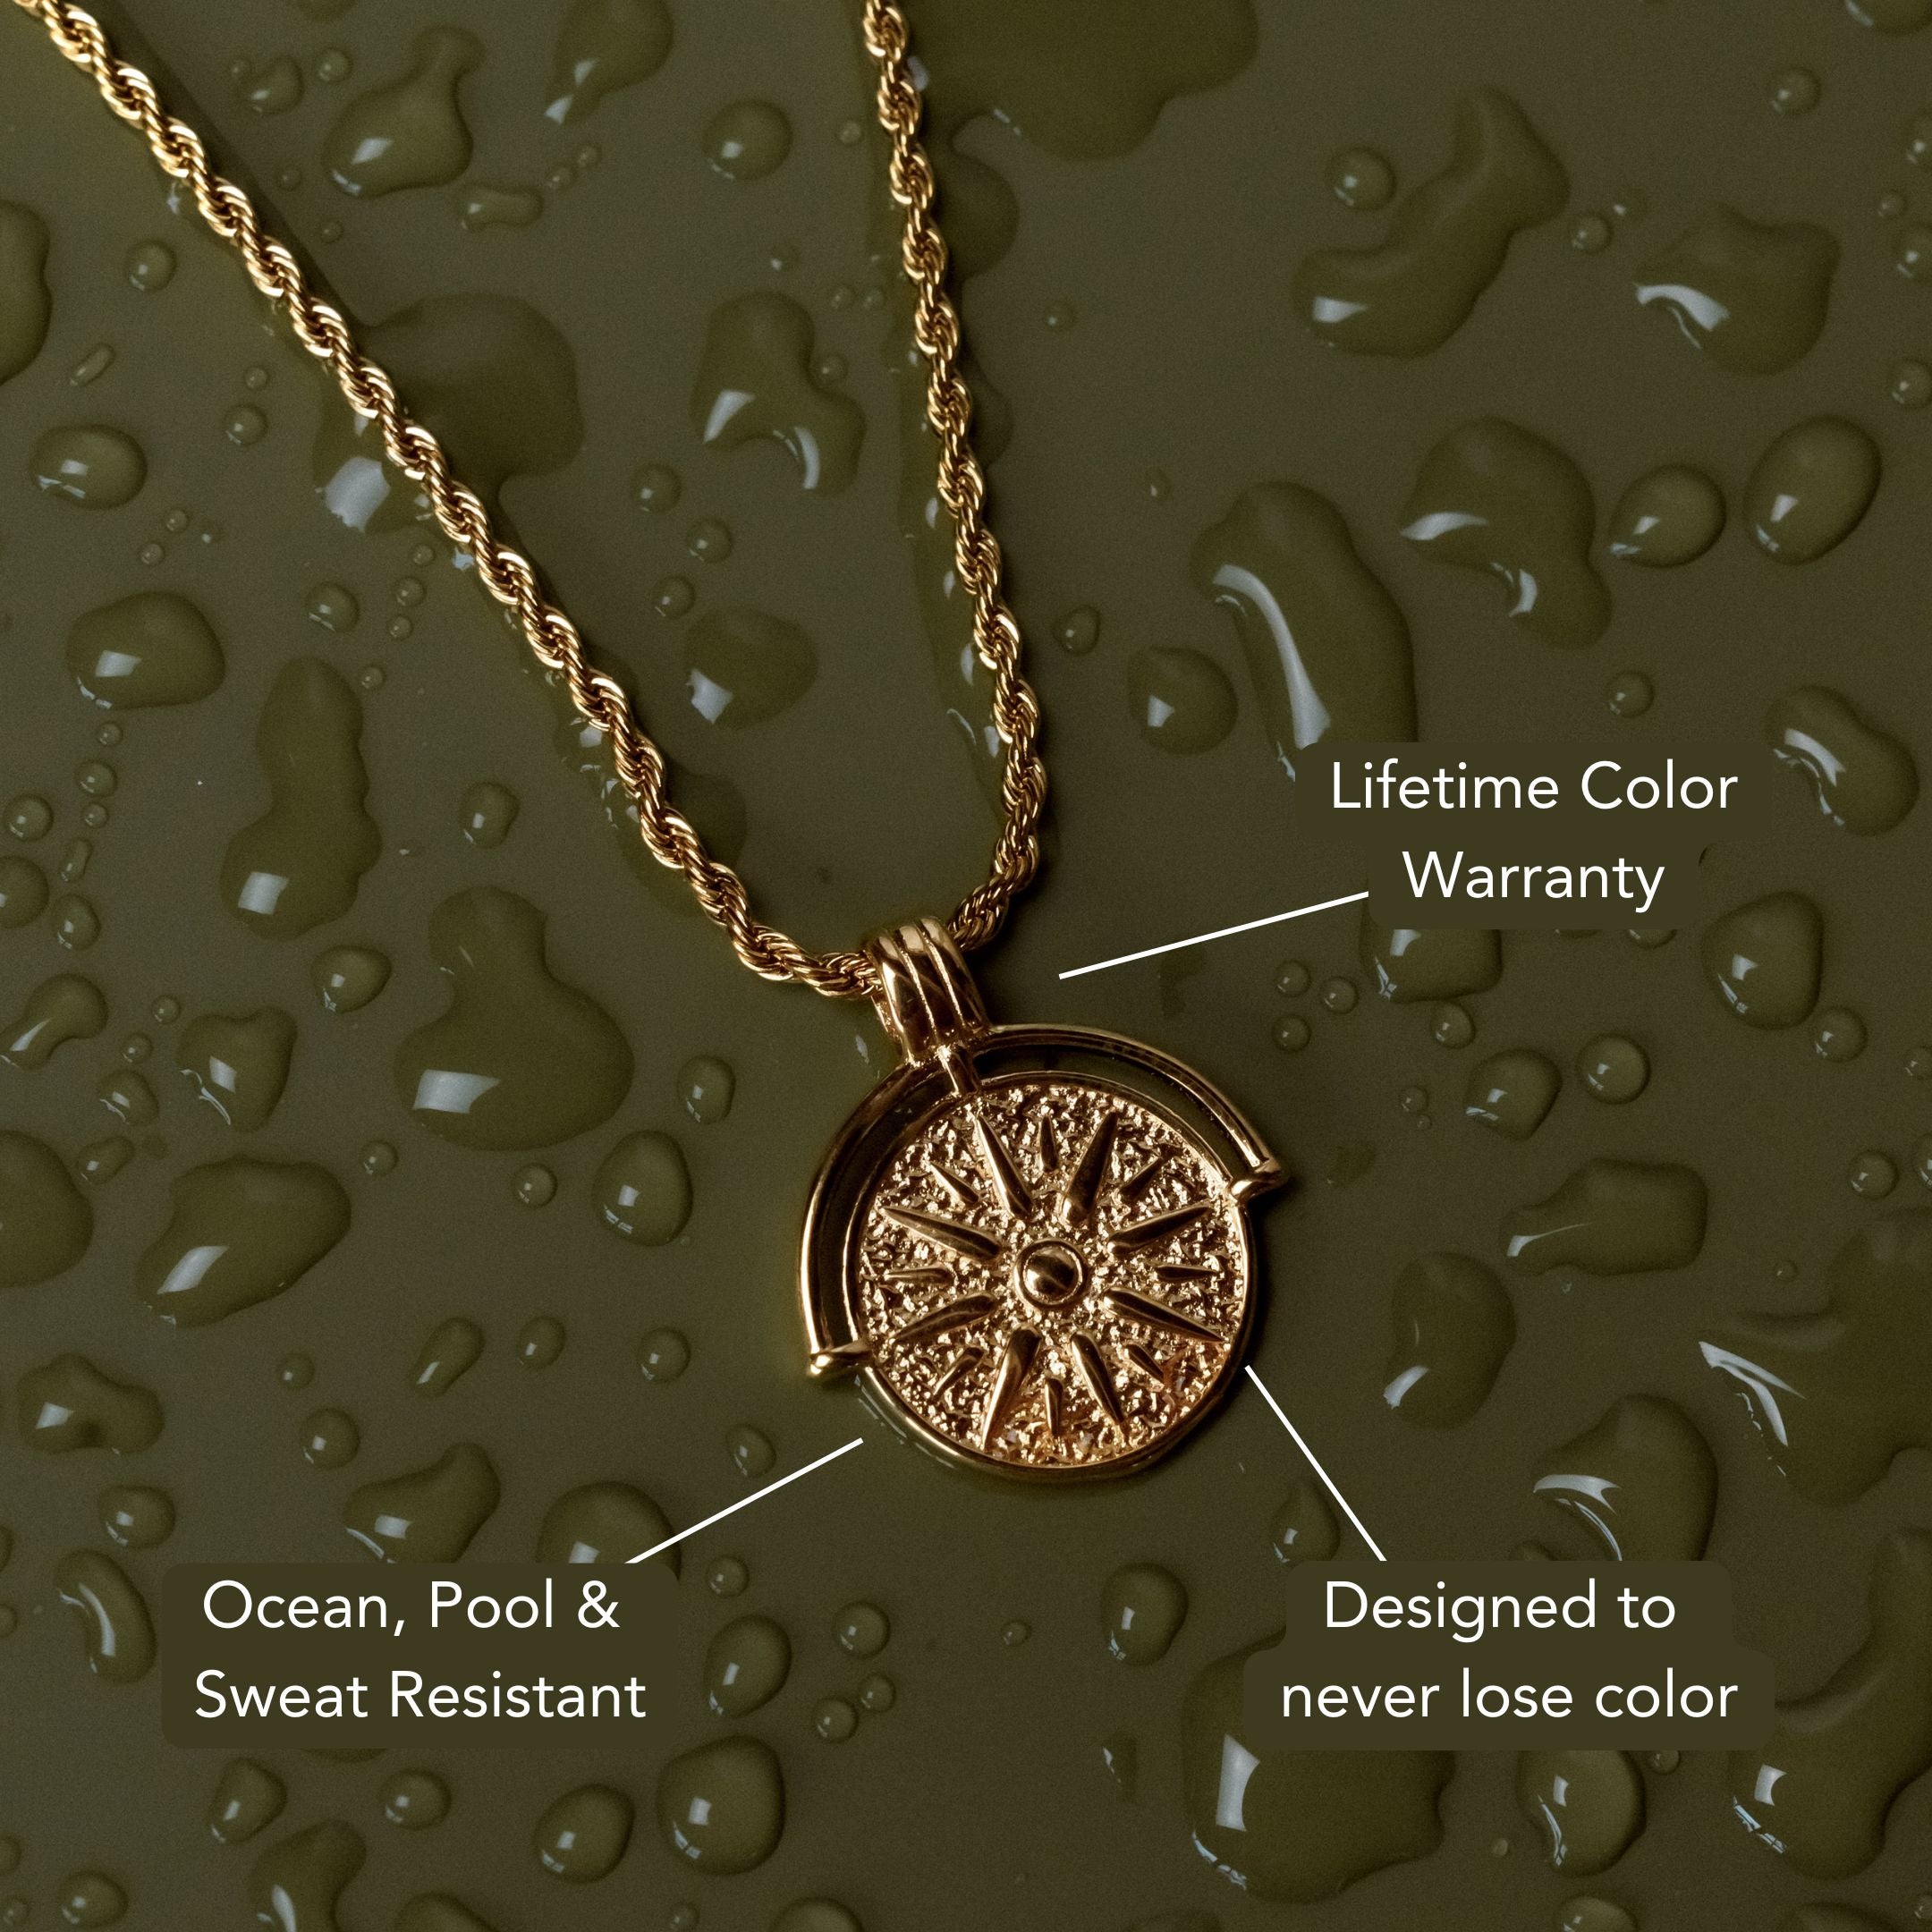
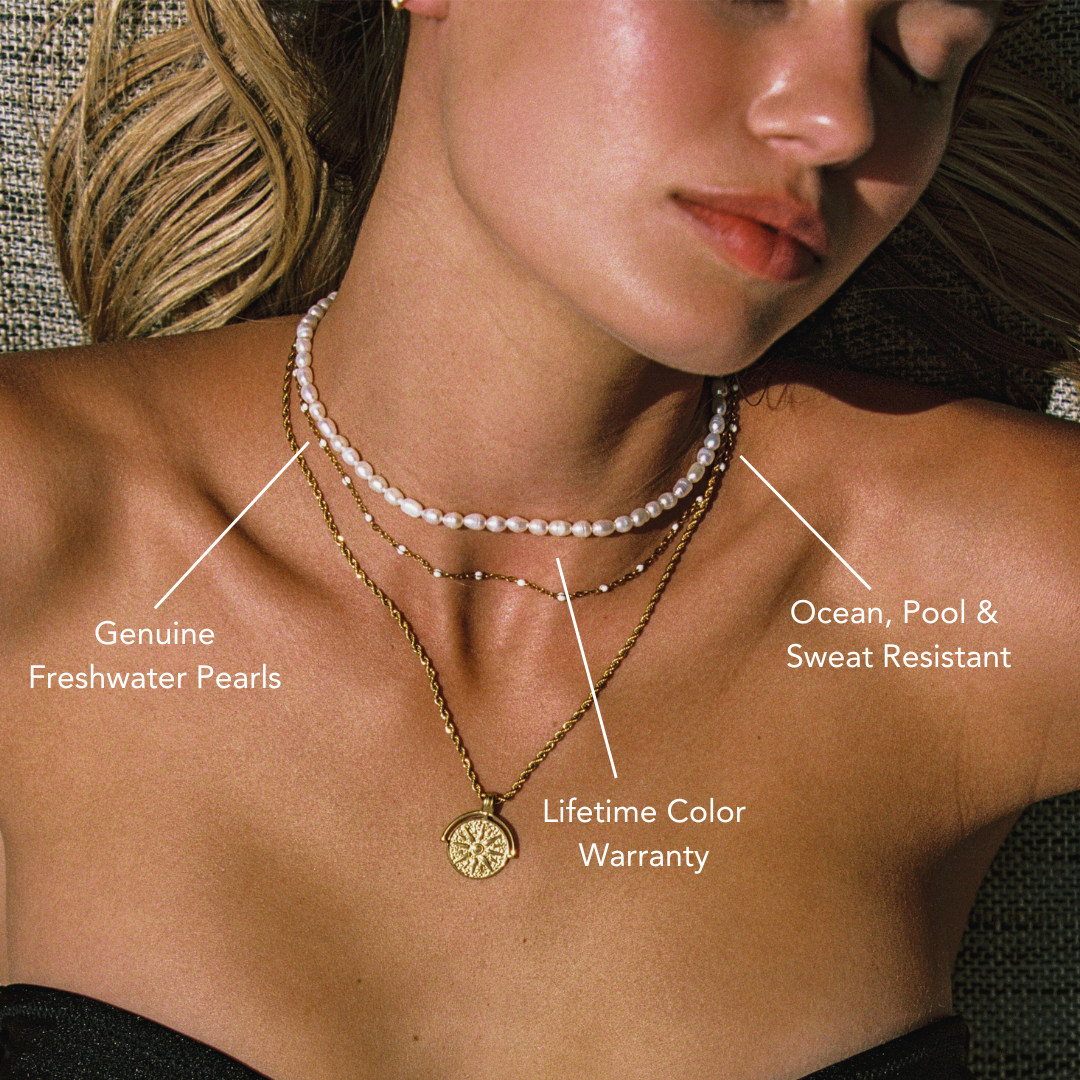
If you’re wondering how to make a necklace with shells, it all starts with choosing eye-catching shell shapes, colors, and sizes—think cowries, scallops, or even rare conches. Combine them with trendy accents like gemstone chips or bold seed beads to add contrast and personality. Use professional jewelry tools for clean drilling and secure stringing, then layer in beads or charms for extra flair. With the right balance of layout, color, and quality finishes, you’ll create a necklace that looks polished and runway-ready. For inspiration or ready-made pieces, explore our waterproof necklaces collection to see how expert design meets ocean-ready durability.
Choosing the Perfect Shells for Your Necklace
Shell selection defines the character and allure of your necklace. To create a piece that truly stands out, you’ll want to explore a variety of shell types—consider cowries for their glossy domes, scallops for their fan-like elegance, or conches for intricate spiral patterns.
Each type offers its own tactile and visual appeal, so mix and match until you find a combination that resonates with your style. Pay close attention to color combinations; blending creamy whites with soft pinks or iridescent blues can add depth and trend-forward flair.

Don’t shy away from bold juxtapositions—contrasting warm and cool tones elevates your design. By thoughtfully curating your shells, you lay the foundation for a necklace that’s both technically impressive and uniquely expressive.
Gathering Essential Tools and Materials
Before you plunge into crafting your necklace, gather a handful of essential tools and materials to guarantee a seamless process.
Begin with a concise tools overview: you’ll need round-nose pliers, wire cutters, a bead reamer, and a strong adhesive. Don’t forget a fine drill or rotary tool if your shells aren’t pre-drilled.
For stringing, consider durable options like nylon-coated wire, silk thread, or trending leather cords—these offer both strength and style.
Material selection is vital for a standout piece. Choose quality clasps, jump rings, and spacer beads in metals that complement your shells.
Opt for modern accents like seed beads or gemstone chips to elevate your design.
Planning Your Necklace Design
Once you've assembled your tools and materials, shift your focus to the creative blueprint of your necklace.
Start by gathering design inspiration—browse current jewelry trends, nature motifs, and artful arrangements online or in magazines. Sketch a few layouts, playing with asymmetry, layering, or bold focal points.
Select a color palette that complements both your shells and your personal style; think about mixing neutrals with pops of vibrant hues, or keeping it monochromatic for a minimalist effect.
Arrange your shells and any additional beads or charms on a flat surface, experimenting with spacing and sequence.
Consider the necklace’s length and how the design will sit when worn. This thoughtful planning phase guarantees your finished piece isn’t just stylish, but truly stands out as a reflection of your creative vision.
Preparing and Drilling Holes in Shells
Although your design may look perfect laid out, the real craftsmanship begins with preparing your shells for stringing. First, clean your shells thoroughly with warm water and a soft brush to remove any debris or residue.
Examine each piece—different shell types have varying densities and fragile spots, so assess where to drill for both aesthetics and durability. When it comes to drilling techniques, use a rotary tool with a fine diamond bit for precision and minimal cracking.

Secure each shell on a piece of wood with a clamp or adhesive putty, then start drilling slowly. Keep the shell wet during drilling to reduce heat and stress fractures.
Trend-forward makers often place holes off-center for a modern, organic look, so don’t shy away from creative placements.
Selecting the Right Stringing Material
With your shells cleaned and drilled to perfection, the next step shapes both the durability and style of your necklace: choosing the right stringing material.
You’ll want to weigh the classic debate—nylon vs. silk. Nylon offers superior strength and resists stretching, making it ideal for heavier shells or pieces you’ll wear often. Silk, however, brings a touch of luxury and natural drape, perfect for delicate, lightweight designs.
Explore color options that either complement your shells or create eye-catching contrast; a pop of neon nylon or a subtle pastel silk can dramatically shift your necklace’s vibe.

Don’t overlook coated beading wire for a modern, structured look. Match your string’s thickness to your shells’ hole size for seamless assembly and long-lasting wear.
Adding Beads and Charms for Extra Flair
A few well-chosen beads or charms can instantly elevate your shell necklace from simple to statement. Start by exploring bead types—glass, metal, wooden, or gemstone—to create striking contrasts with your shells.
Think about current trends: earthy tones and metallic accents are especially popular. For technical balance, alternate bead sizes and finishes to add dimension.
When considering charm placement, don’t just add them randomly. Visualize your necklace’s focal points and position charms to draw attention, such as flanking a centerpiece shell or staggering them for a layered effect.
Mix in a few personalized charms—initials, symbols, or tiny sea creatures—to make your piece unique. Keep the overall design cohesive by repeating colors or shapes.
This thoughtful approach guarantees a necklace that’s both stylish and distinctive.
Assembling Your Shell Necklace
Thread your design together by arranging your shells, beads, and charms according to your planned layout, keeping both symmetry and modern styling in mind.
Pay close attention to color coordination; let contrasting or complementary hues create visual interest and keep your necklace on-trend. Use layering techniques by interspersing smaller beads between shells, or double-strand sections for extra depth and movement.
As you string each element, guarantee even spacing and check alignment—this technical precision gives your piece a polished, professional look. If you’re integrating multiple textures, balance bold shells with delicate accents to prevent the design from feeling overcrowded.
Remember to step back occasionally and assess the flow of your arrangement, making small adjustments as needed to maintain both balance and a fresh, fashion-forward vibe.
Securing Clasps and Finishing Touches
Once you’re satisfied with your necklace’s layout, it’s time to secure the ends and add those finishing elements that elevate your work from handmade to high fashion.
Select a clasp type that complements your design—lobster clasps offer security, while toggle clasps add a trendy, bohemian vibe. To attach your chosen clasp, thread a crimp bead onto the wire, loop the end through the clasp, and back through the crimp bead.
Press it firmly with crimping pliers for a professional seal. Trim excess wire for a clean finish. For extra polish, slide on decorative crimp covers or knot covers.
These finishing techniques not only reinforce durability but also guarantee your shell necklace looks strikingly sophisticated and ready for the spotlight.
Caring for and Styling Your Handmade Necklace
Whether you're showcasing your shell necklace at a summer festival or storing it for safekeeping, proper care guarantees your creation remains as luminous as the day you finished it.
Use gentle caring techniques: wipe shells with a soft, damp cloth, and avoid harsh chemicals that strip their natural sheen.
Store your necklace flat in a fabric pouch, keeping it away from direct sunlight and tangling with other jewelry.
When it comes to styling tips, layer your shell necklace with fine gold chains for a chic, boho vibe, or let it shine solo as a statement piece.

Pair it with linen or flowy fabrics to echo current beach-inspired trends.
With mindful care and on-trend styling, your handmade accessory will stand out season after season.
Frequently Asked Questions
Can I Sell Shell Necklaces I Make, or Are There Legal Restrictions?
You can sell shell necklaces you make, but check shell sourcing and selling restrictions first. Some shells are protected by law or CITES. Stay trend-aware, use ethical sources, and always comply with local and international regulations.
How Do I Identify if a Shell Is Ethically Sourced?
To guarantee sustainable sourcing, you’ll research the shell’s origin and review documentation from suppliers. Master shell identification by studying species regulations and avoid endangered varieties—this supports ethical practices and aligns your creations with today’s eco-conscious jewelry trends.
What Are Some Popular Cultural Meanings Behind Shell Jewelry?
When you explore shell jewelry, you tap into rich cultural significance and shell symbolism—think protection, prosperity, or connection to the ocean. Across global trends, you’ll find shells honor heritage, mark status, and celebrate nature’s artistry in wearable form.
Can I Use Artificial Shells Instead of Real Ones?
Absolutely, you can use artificial shells. Artificial shell benefits include consistent shapes and vibrant colors, which expand your shell crafting techniques. You'll access trendy designs, experiment with bold styles, and create eco-friendly statement pieces without compromising on creativity.
How Do I Price My Handmade Shell Necklaces for Sale?
When determining pricing strategies for your handmade shell necklaces, analyze market trends, material costs, and labor. Add value by highlighting uniqueness and craftsmanship. Stay flexible—adjust prices based on customer feedback, competitor analysis, and evolving style trends to maximize appeal.
Conclusion
You’ve just revealed the secret to crafting a shell necklace that truly stands out. By thoughtfully selecting shells, using pro-level tools, and mixing in trendy beads or charms, you can design jewelry that’s both fashionable and personal. Don’t forget to secure your finishes and care for your creation, so it keeps turning heads. With these expert techniques and a splash of creativity, you’re ready to make shell necklaces that set the trend, not just follow it.


Leave a comment
This site is protected by hCaptcha and the hCaptcha Privacy Policy and Terms of Service apply.