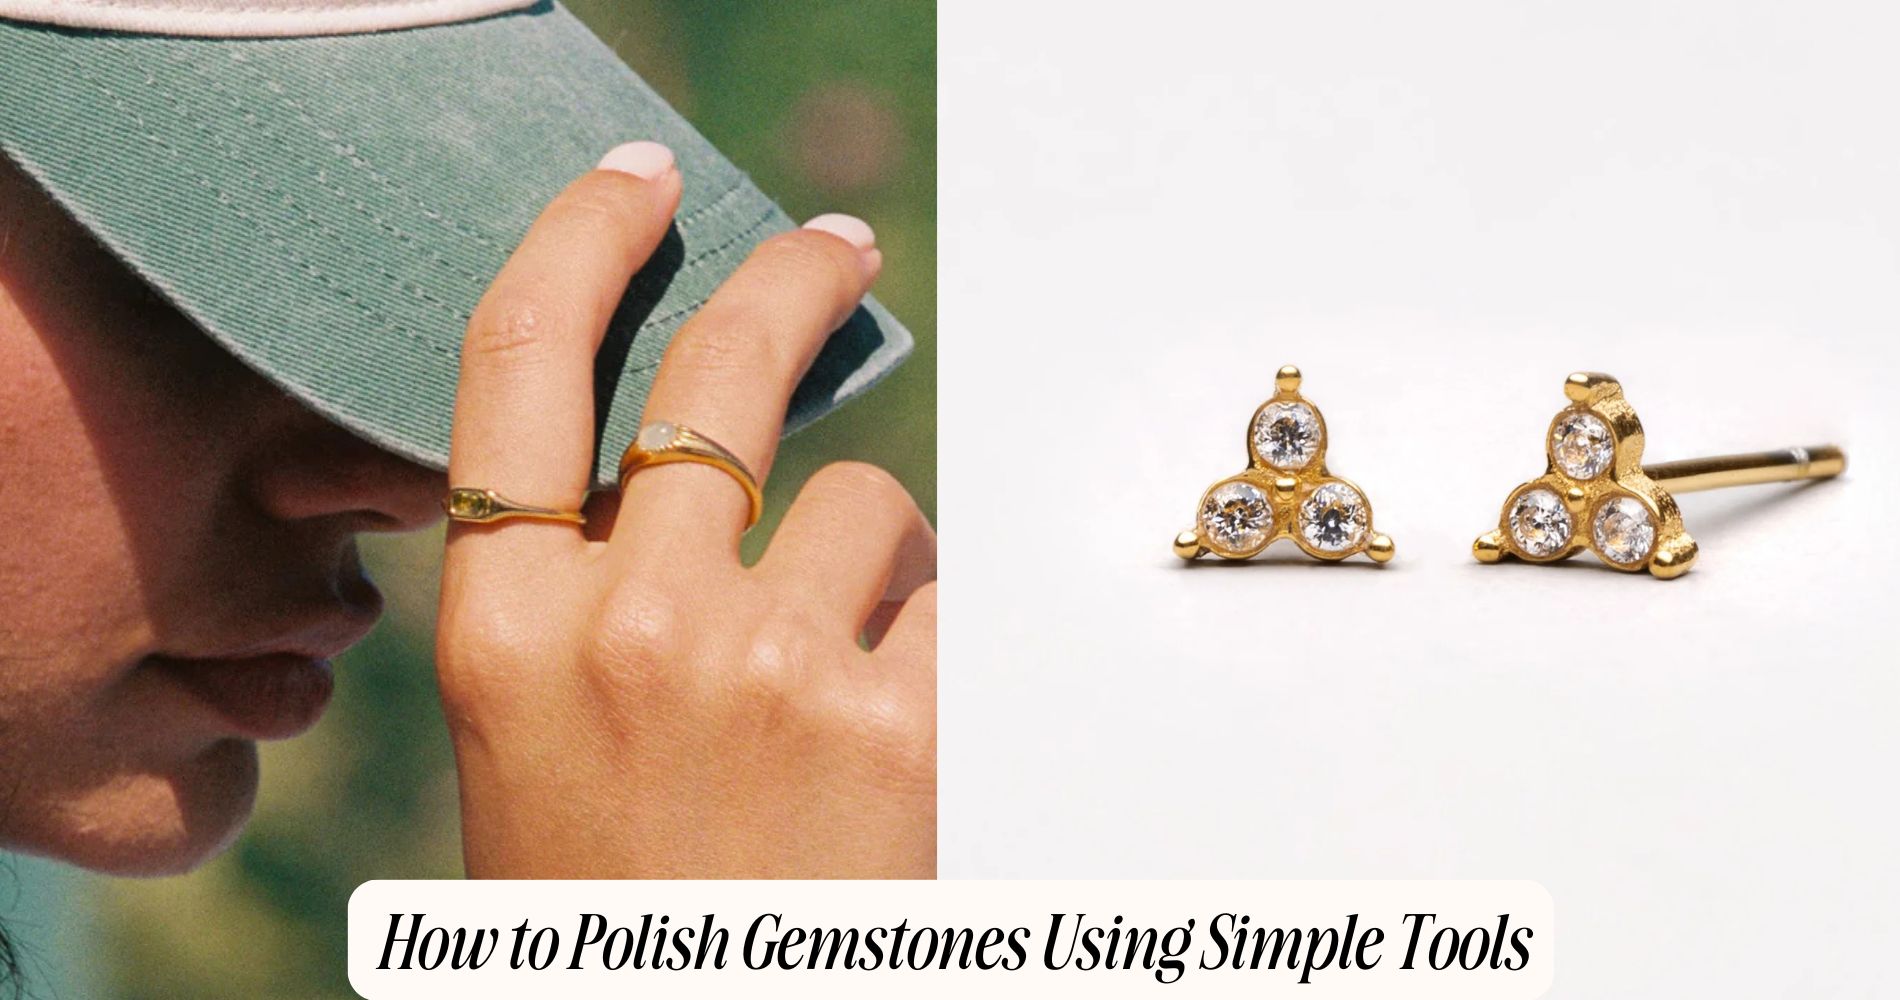
How to Polish Gemstones Using Simple Tools
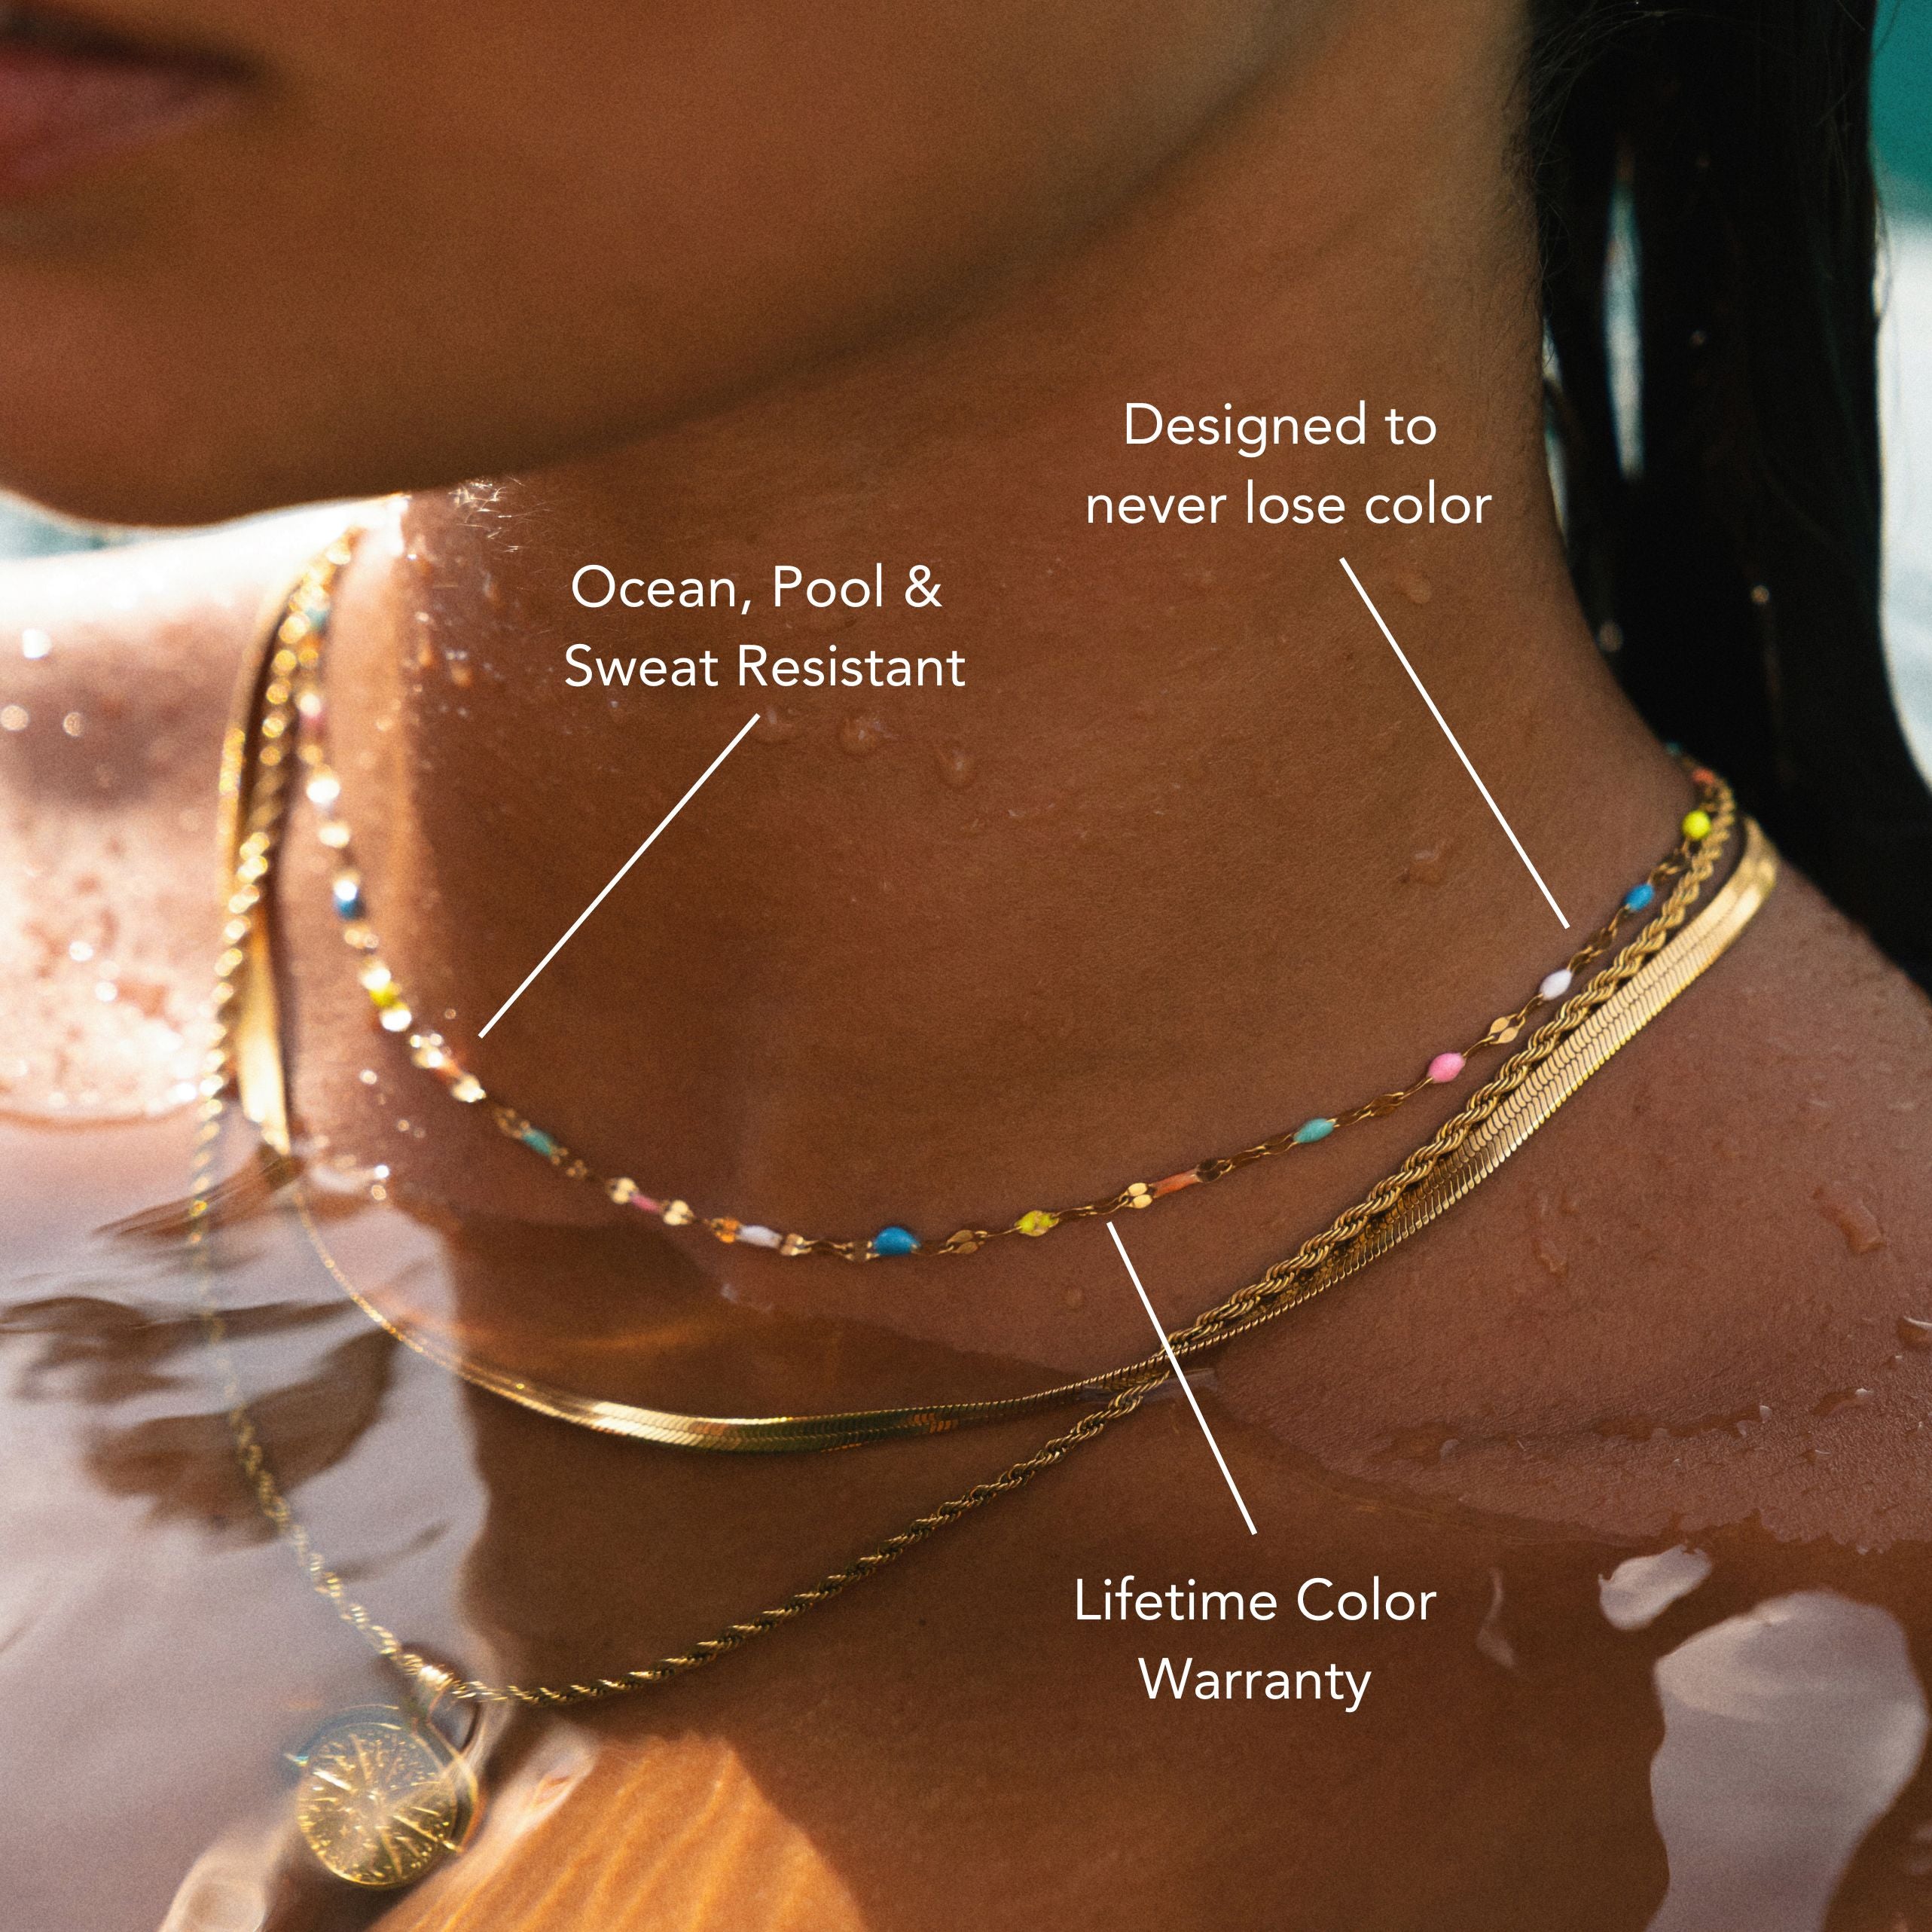
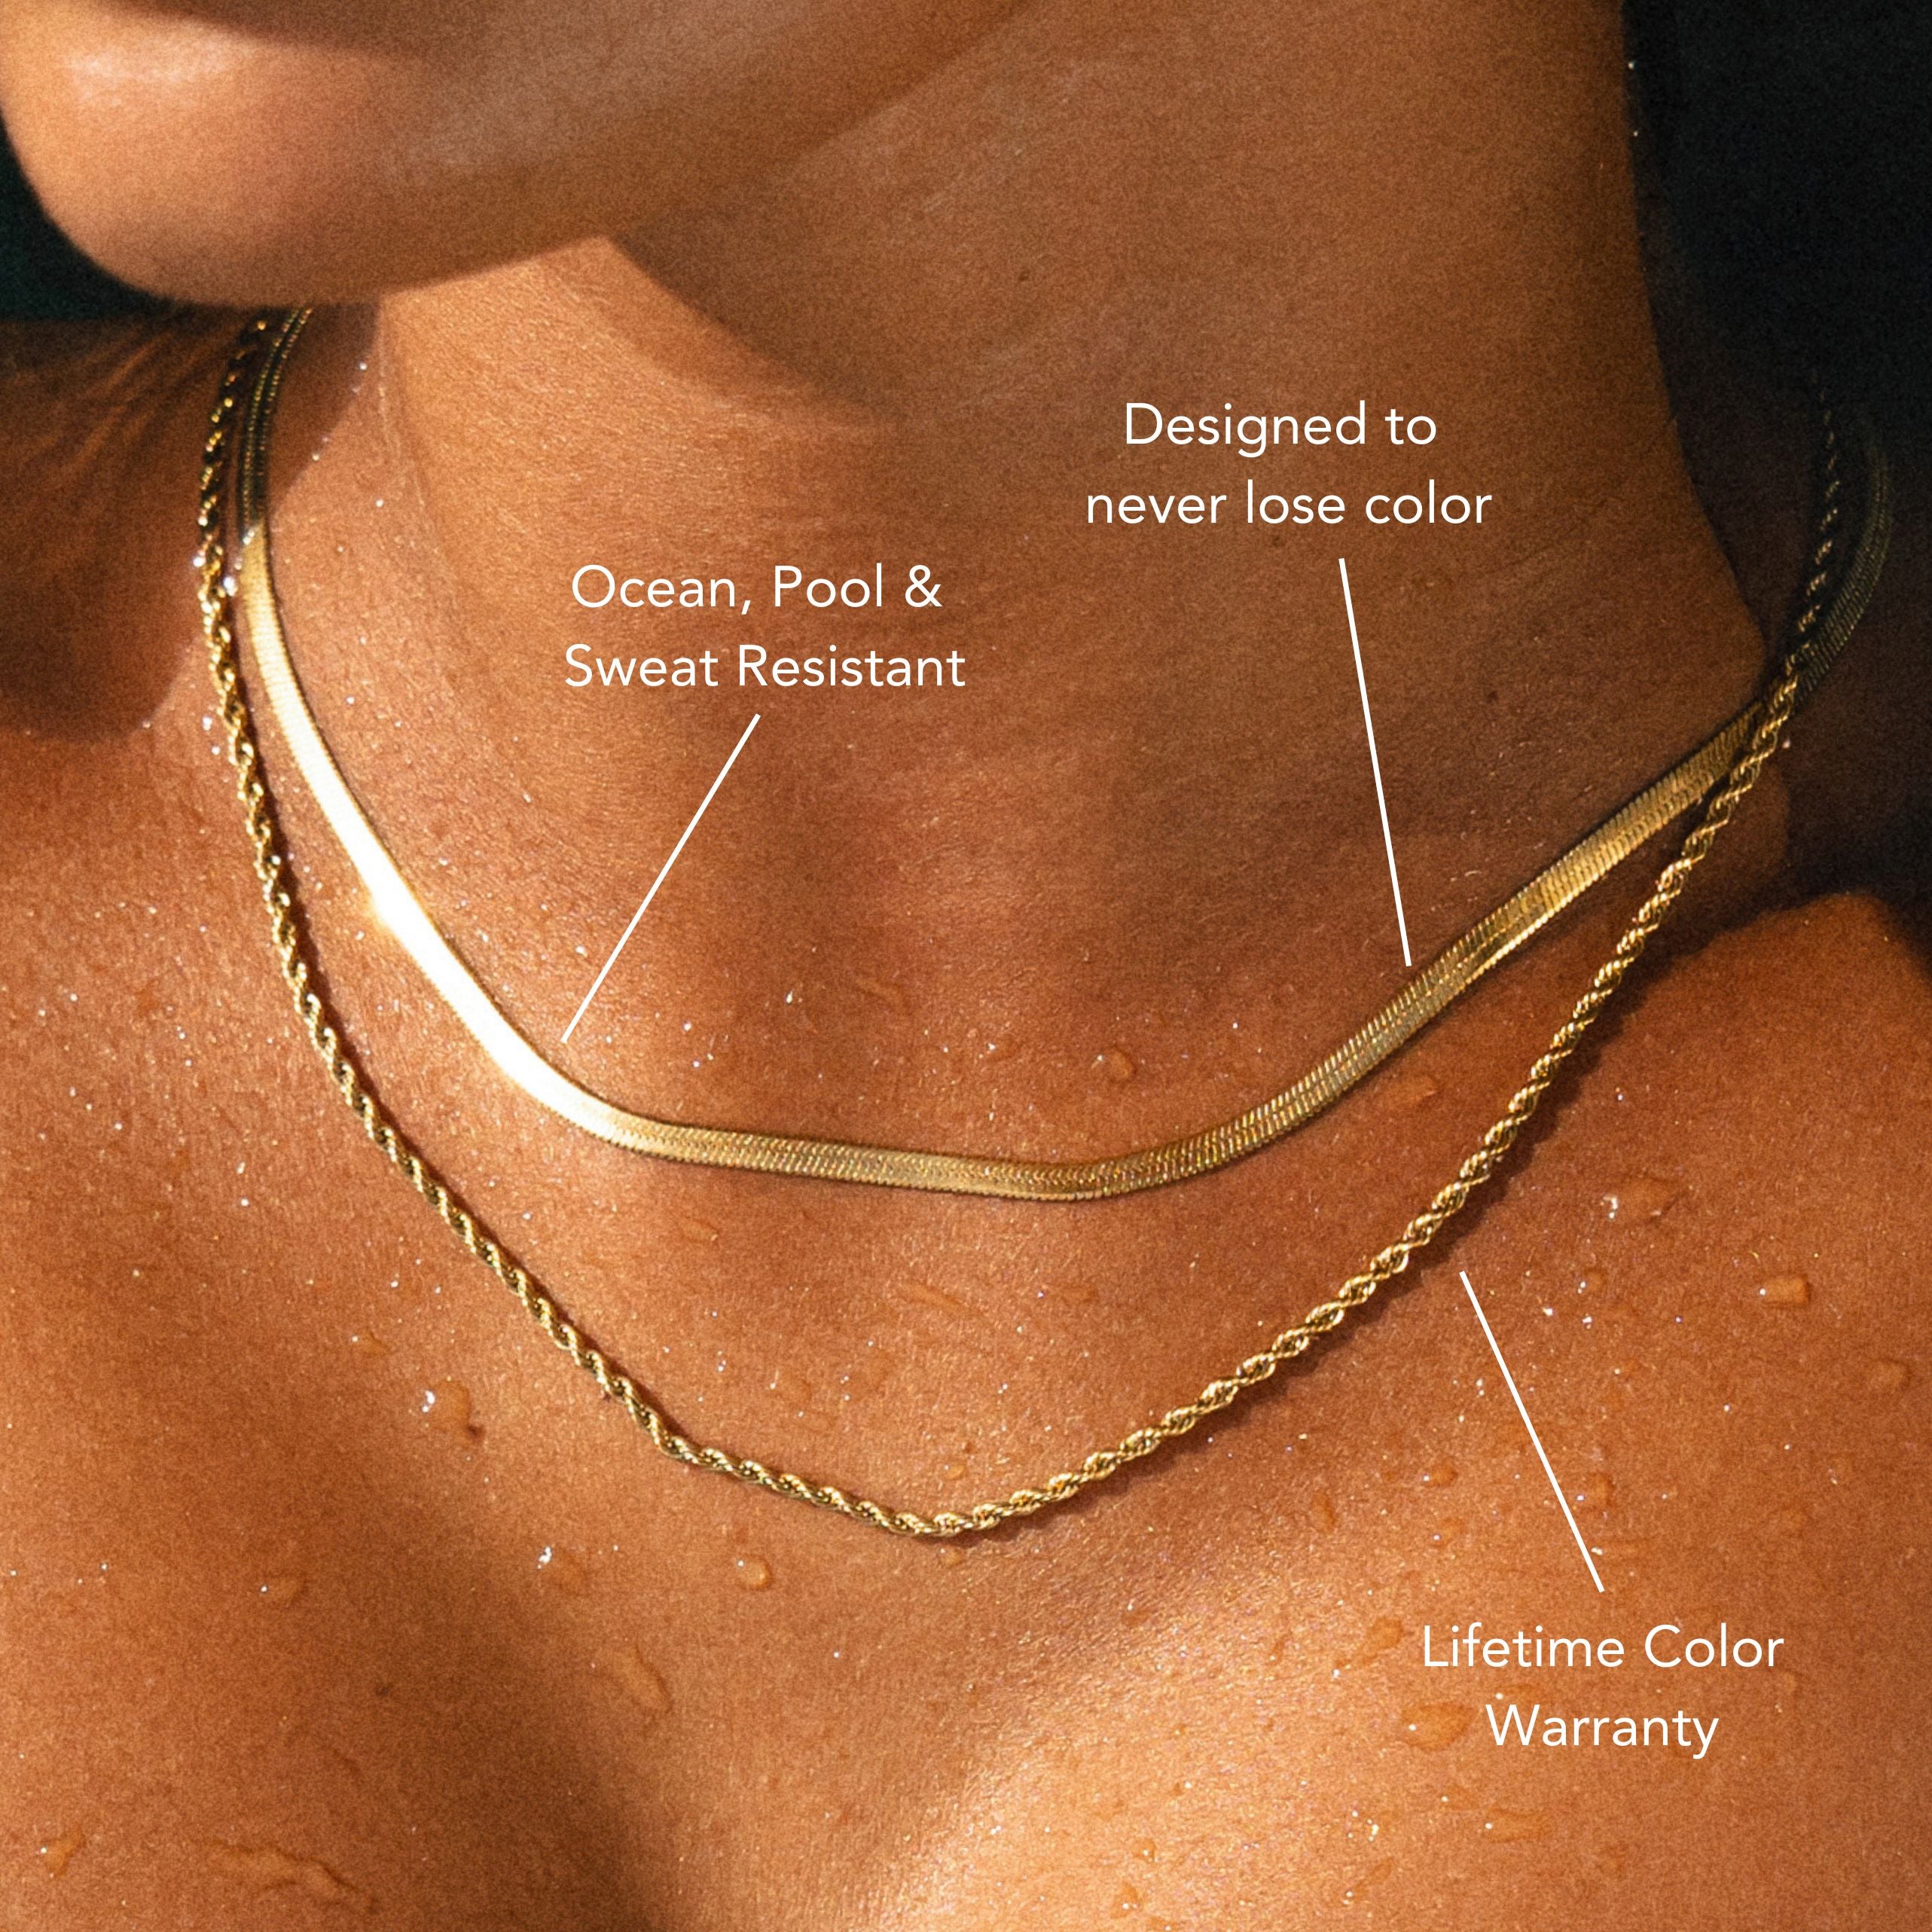
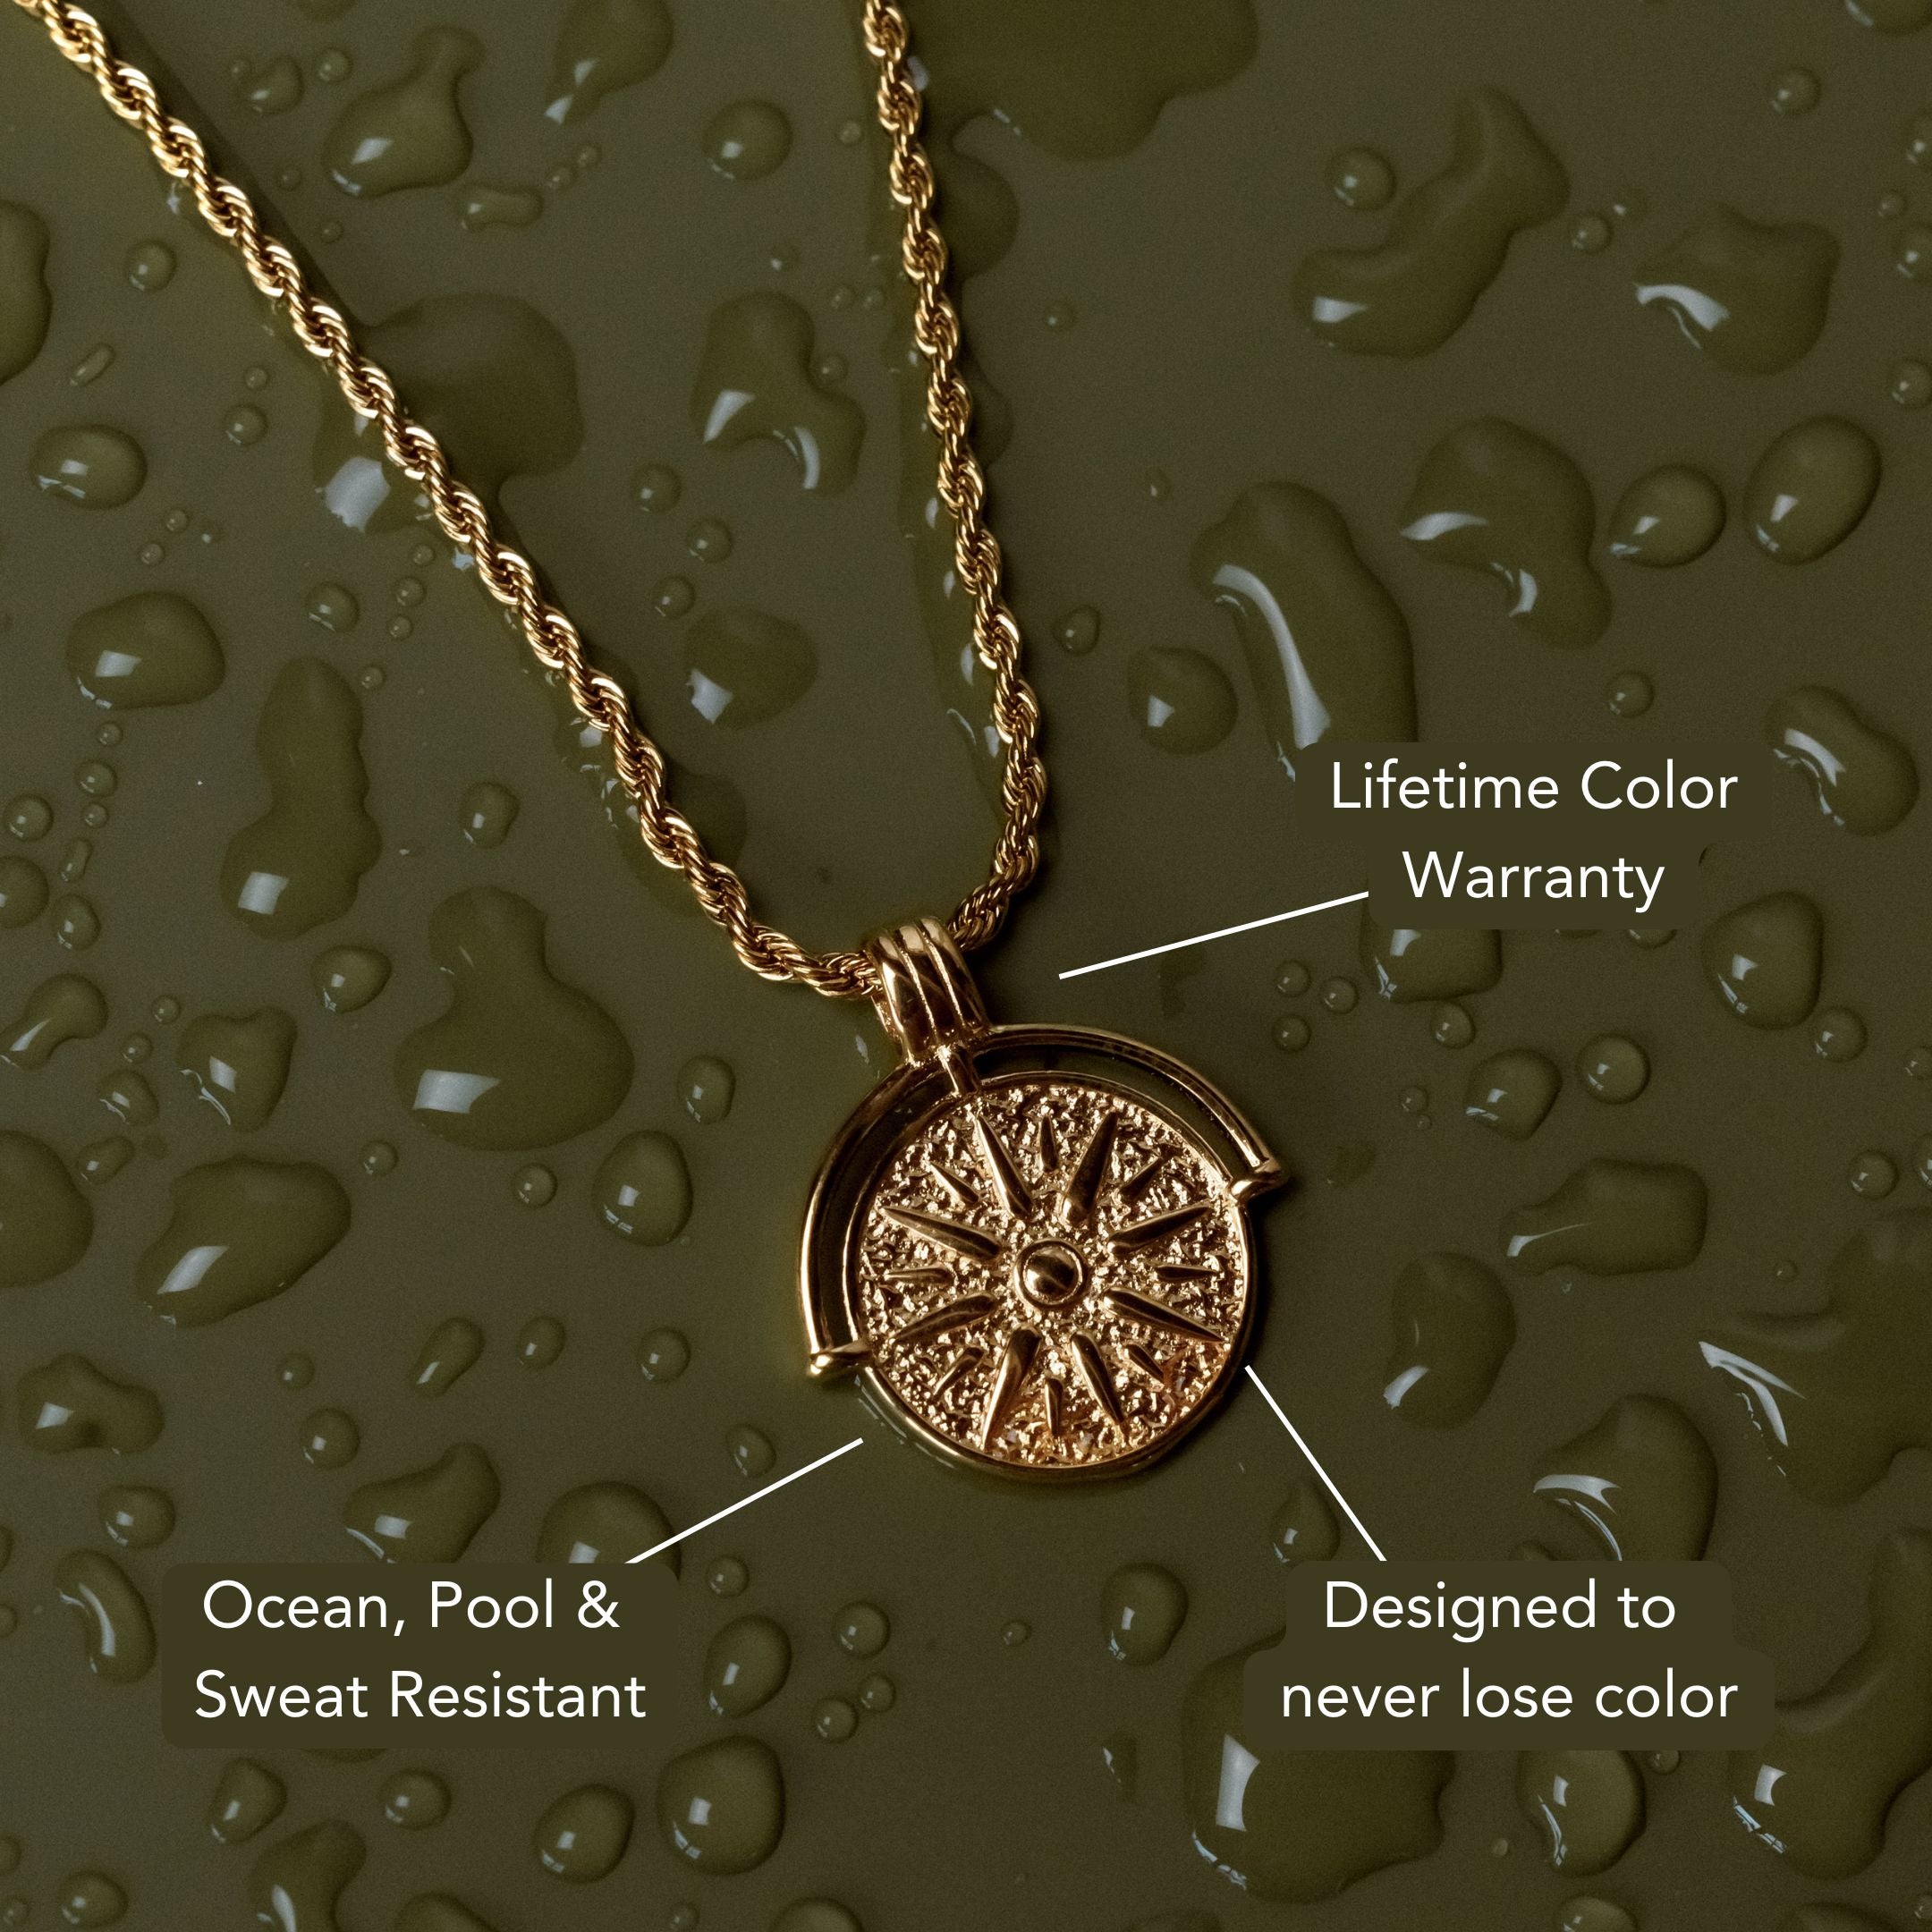
If you're wondering how to polish gemstones at home with simple tools, the process is easier than you might think. Start by inspecting your stone for any flaws and clean it thoroughly using mild detergent and a soft brush. Use medium-grit sandpaper to shape the surface, then work your way up to finer grits—up to 1200—for a smooth, even finish. Next, apply a small amount of cerium or tin oxide polishing compound with a damp cloth, gently buffing in circular motions. Be sure to clean between steps to avoid contamination. And if you love jewelry that stays effortlessly shiny, check out our waterproof jewelry collection designed for daily wear. Let’s bring out that brilliant shine!
Gathering Your Materials and Tools
Before you begin polishing gemstones, you’ll need to assemble several essential tools and materials to guarantee accuracy and safety.
Start with a flat lap or rotary tumbler, depending on the type of polishing technique you’ll use. Secure silicon carbide or diamond abrasives in progressive grits for effective surface refinement.
Ascertain you have a polishing cloth, dop sticks for secure handling, and a water source to minimize heat and dust. A magnification loupe will help you monitor surface quality during each stage.
Don’t forget personal protective equipment—safety goggles, gloves, and a respirator are crucial for safe operation.
Selecting and Inspecting Your Gemstones
With your tools and materials prepared, focus on choosing gemstones that exhibit structural integrity and minimal flaws.
Evaluate various gemstone types—such as quartz, agate, jasper, or amethyst—by considering their natural hardness, fracture patterns, and inclusions. Use a 10x jeweler’s loupe and a bright light source to conduct detailed inspection techniques.
Examine each stone for surface cracks, pits, or cloudiness that could compromise the polishing process. Assess symmetry and overall shape, favoring stones with even surfaces and adequate thickness.
Confirm that the selected gemstone types match your polishing skill level; softer stones require less abrasion, while harder varieties demand more rigorous techniques.
Cleaning Stones Before Polishing
A thorough cleaning process is essential to remove all traces of dirt, oils, and debris that could interfere with the effectiveness of gemstone polishing.
Begin by selecting cleaning methods appropriate for the type and hardness of your gemstones. Use soft-bristled brushes to dislodge particles from surface crevices. For most stones, immerse them in safe solutions such as warm water mixed with a mild detergent. Gently agitate the stones to guarantee contaminants detach from the surface.
Avoid harsh chemicals, as they can etch or react with softer minerals. Rinse each stone thoroughly under running water to eliminate any residual cleaning agents.
Finally, dry the gemstones with a lint-free cloth, ensuring no moisture remains, as this can impact subsequent polishing steps and overall surface quality.
Shaping Gemstones With Basic Methods
Once you've thoroughly cleaned your gemstones, precise shaping becomes the next critical step in preparing them for polishing.
You'll need to select shaping techniques based on gemstone types, as hardness and cleavage planes differ between minerals. For softer stones, such as opal or turquoise, you can use a coarse file or a silicon carbide wheel to remove excess material and outline a basic shape.
Harder gemstones, like quartz or sapphire, require diamond-coated tools for efficient shaping while minimizing the risk of fractures. Consistently check the symmetry and proportions as you work, maintaining even pressure to avoid chipping.
Throughout this process, keep the gemstone wet to reduce heat buildup and dust. By matching shaping techniques to gemstone types, you guarantee accuracy and preserve structural integrity.
Sanding Techniques for a Smooth Surface
After shaping the gemstone to your desired outline, refining the surface through careful sanding eliminates scratches and irregularities left by coarse tools.
Begin with medium-grit sandpaper (around 400 grit) to target prominent abrasions. Employ circular or linear sanding techniques, maintaining even, gentle pressure to avoid creating flat spots or excessive wear.
For ideal surface smoothing, progress incrementally through finer abrasives—moving to 600, 800, and up to 1200 grit. Consistently clean the stone and workspace between grits to prevent cross-contamination, which could reintroduce scratches.
Hold the gemstone securely, but don’t press too hard, as overheating can cause fractures. Examine the stone under magnification after each stage to confirm the elimination of previous grit marks.
Repeat as necessary to achieve a uniform, smooth surface.
Applying Polishing Compounds by Hand
Changeover to the polishing stage by selecting an appropriate compound, such as cerium oxide, tin oxide, or aluminum oxide, matched to your gemstone’s mineral composition. Effective compound selection is critical—cerium oxide excels with quartz, while tin oxide is suitable for softer stones like opal.
Moisten a soft, lint-free cloth or felt pad with water, then apply a minimal amount of your chosen compound. Using controlled circular motions, distribute the compound evenly across the stone’s surface, maintaining consistent pressure to prevent micro-scratches.
Rotate the stone frequently to guarantee uniform coverage. This manual method allows you to monitor progress and adjust your polishing techniques for best results.
Avoid over-application, as excess compound can obscure surface clarity and hinder the effectiveness of the hand-polishing process.
Buffing and Achieving a Glossy Finish
With the polishing compound evenly applied, you can begin the buffing phase to elevate the gemstone’s luster.
Utilize a soft, lint-free cloth or a felt wheel for manual buffing techniques, ensuring consistent, circular motions across the entire surface. Apply gentle, even pressure to avoid introducing micro-scratches or uneven spots.
Monitor the stone’s surface closely, as excessive buffing can degrade delicate areas or alter facet sharpness. For ideal glossy finishes, periodically inspect the gemstone under strong lighting to identify areas needing additional attention.
Maintain a clean buffing medium, since abrasive residues can compromise the final result. Proper buffing techniques leverage both the compound’s fine abrasives and controlled motion to refine the stone’s surface, ultimately producing a mirror-like, highly reflective finish characteristic of expertly polished gemstones.
Caring for and Storing Polished Gemstones
Even though a gemstone displays a brilliant polish after buffing, its surface remains susceptible to scratches, chemical etching, and environmental degradation if not properly cared for.
You should handle polished stones with clean, dry hands to avoid transferring oils or residues. For ideal gemstone storage, use individual soft pouches or lined compartments that prevent direct contact between stones, minimizing abrasion.
Maintain a stable, low-humidity environment to inhibit moisture-induced tarnish or surface alteration. Always utilize protective cases constructed from inert materials, as reactive plastics or adhesives may leach chemicals that dull the stone’s luster.
Avoid prolonged exposure to direct sunlight, since some minerals may fade or alter chemically under ultraviolet radiation.
Regularly inspect and gently clean your gemstones to preserve their clarity and brilliance.
Frequently Asked Questions
Can Children Safely Participate in Gemstone Polishing at Home?
Children can participate if you implement strict safety precautions and provide constant child supervision. Guarantee they wear protective goggles, masks, and gloves. You should restrict access to sharp tools and abrasive compounds to minimize risk of accidental injury.
Are Any Gemstones Toxic or Hazardous to Polish?
You must consider toxic gemstones like malachite, cinnabar, or galena, which release hazardous dust during polishing. For polishing safety, always use protective equipment—gloves, masks, and eye protection—to prevent inhalation or skin contact with toxic particulates.
How Long Does the Entire Polishing Process Typically Take?
The entire process depends on your polishing techniques and gemstone hardness. Time estimates range from one to several hours per stone. You'll spend most time on sanding and pre-polishing; each stage requires patience for ideal scientific accuracy and brilliance.
Will Polishing Gemstones Change Their Color or Value?
When you polish gemstones, you typically enhance their luster, not their inherent color. However, color enhancement may occur due to surface clarity improvement. In value assessment, polishing can increase value if the process maintains structural integrity and avoids scratches.
What Should I Do if a Gemstone Cracks During Polishing?
If a gemstone cracks during polishing, immediately stop and assess the damage. Apply repair techniques like epoxy resin or recutting, and implement preventive measures—reduce pressure, use proper lubrication, and inspect for pre-existing fractures to minimize future risks.
Conclusion
By following these systematic steps, you’ll achieve a professional polish on gemstones using only simple tools. Each stage, from initial cleaning to the final buff, guarantees surface integrity and optical brilliance. Meticulous sanding and precise application of polishing compounds enhance clarity and luster while minimizing flaws. Remember, consistent technique and patience are critical for best results. Proper care and storage will preserve your gemstones’ polished surfaces, maintaining both their aesthetic and structural qualities over time.










Leave a comment
This site is protected by hCaptcha and the hCaptcha Privacy Policy and Terms of Service apply.