
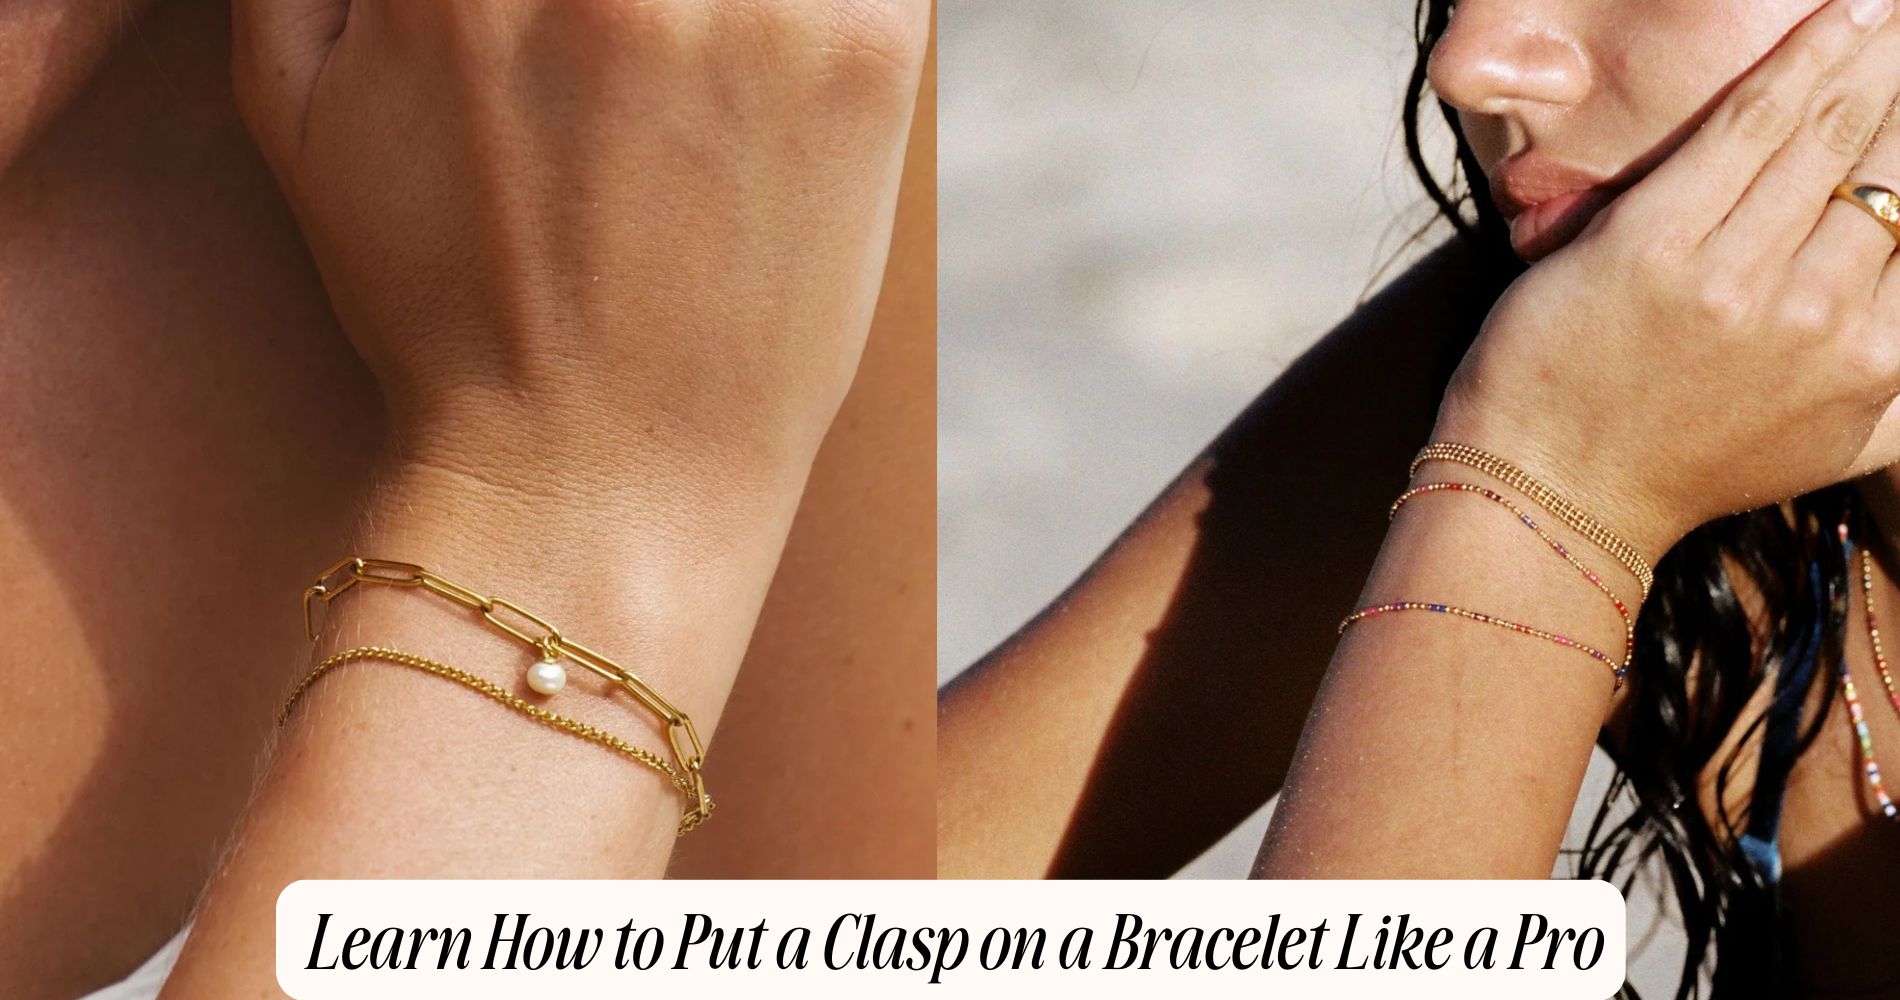
Learn How to Put a Clasp on a Bracelet Like a Pro
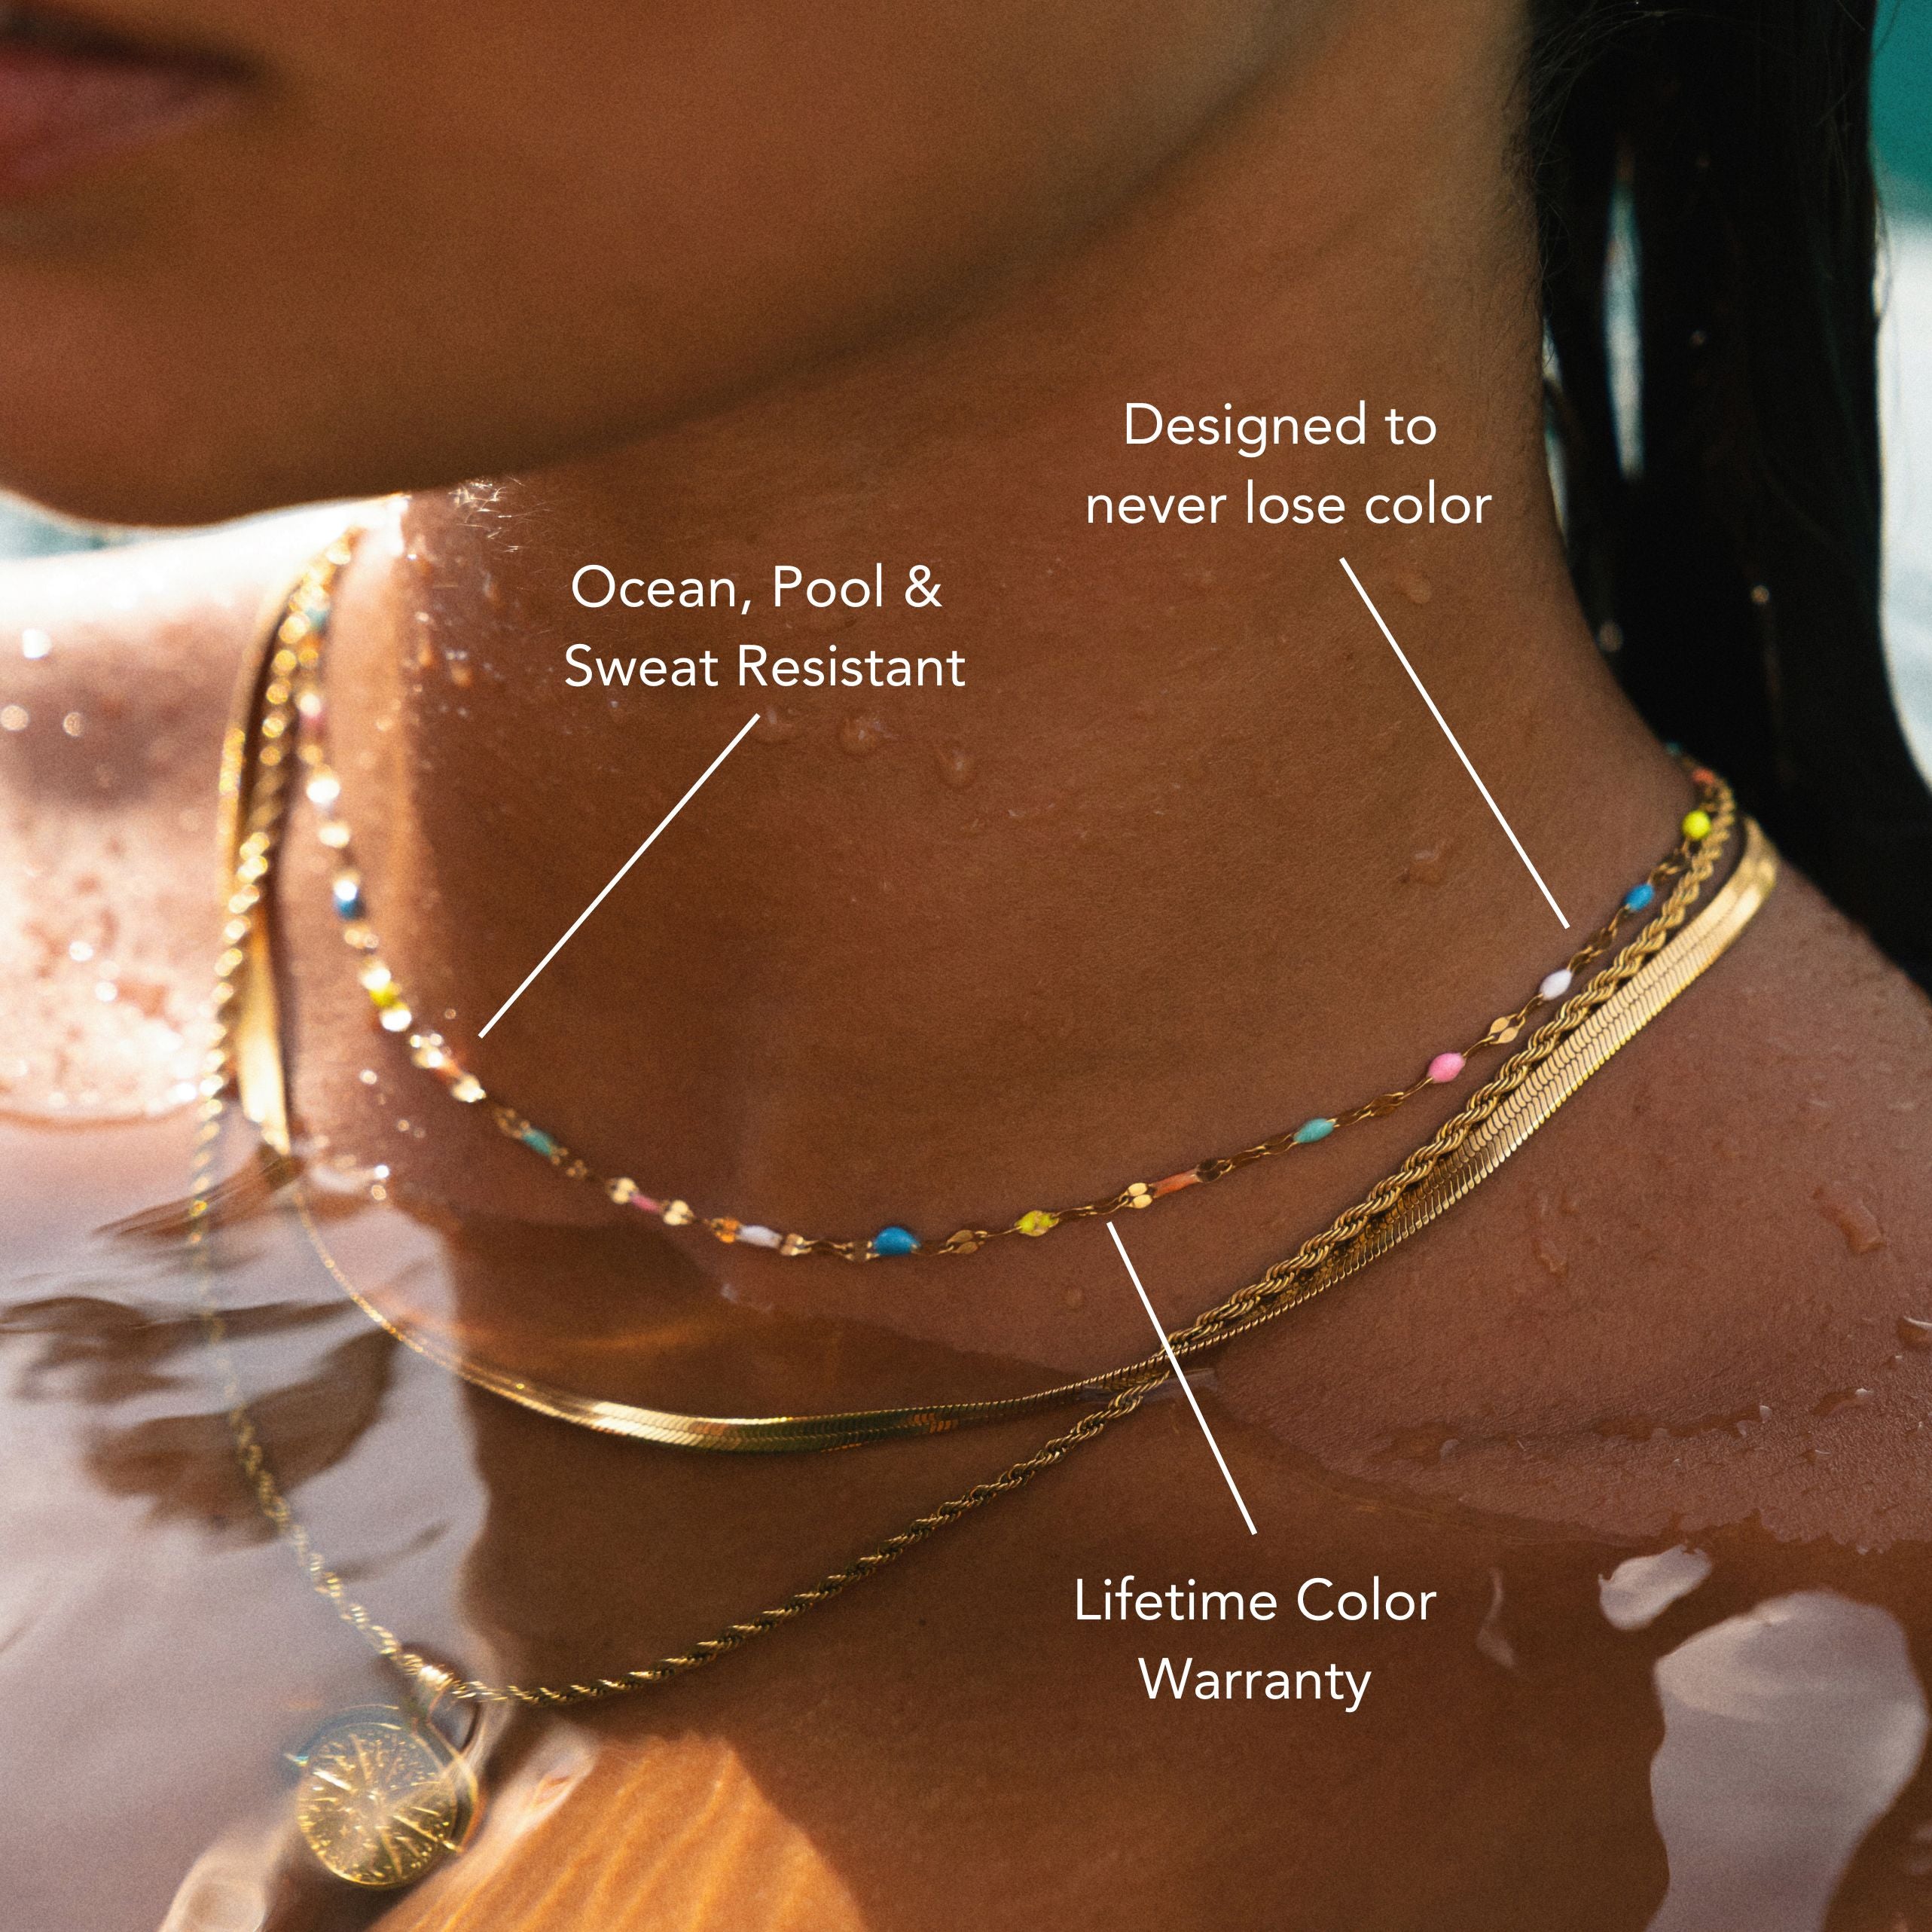
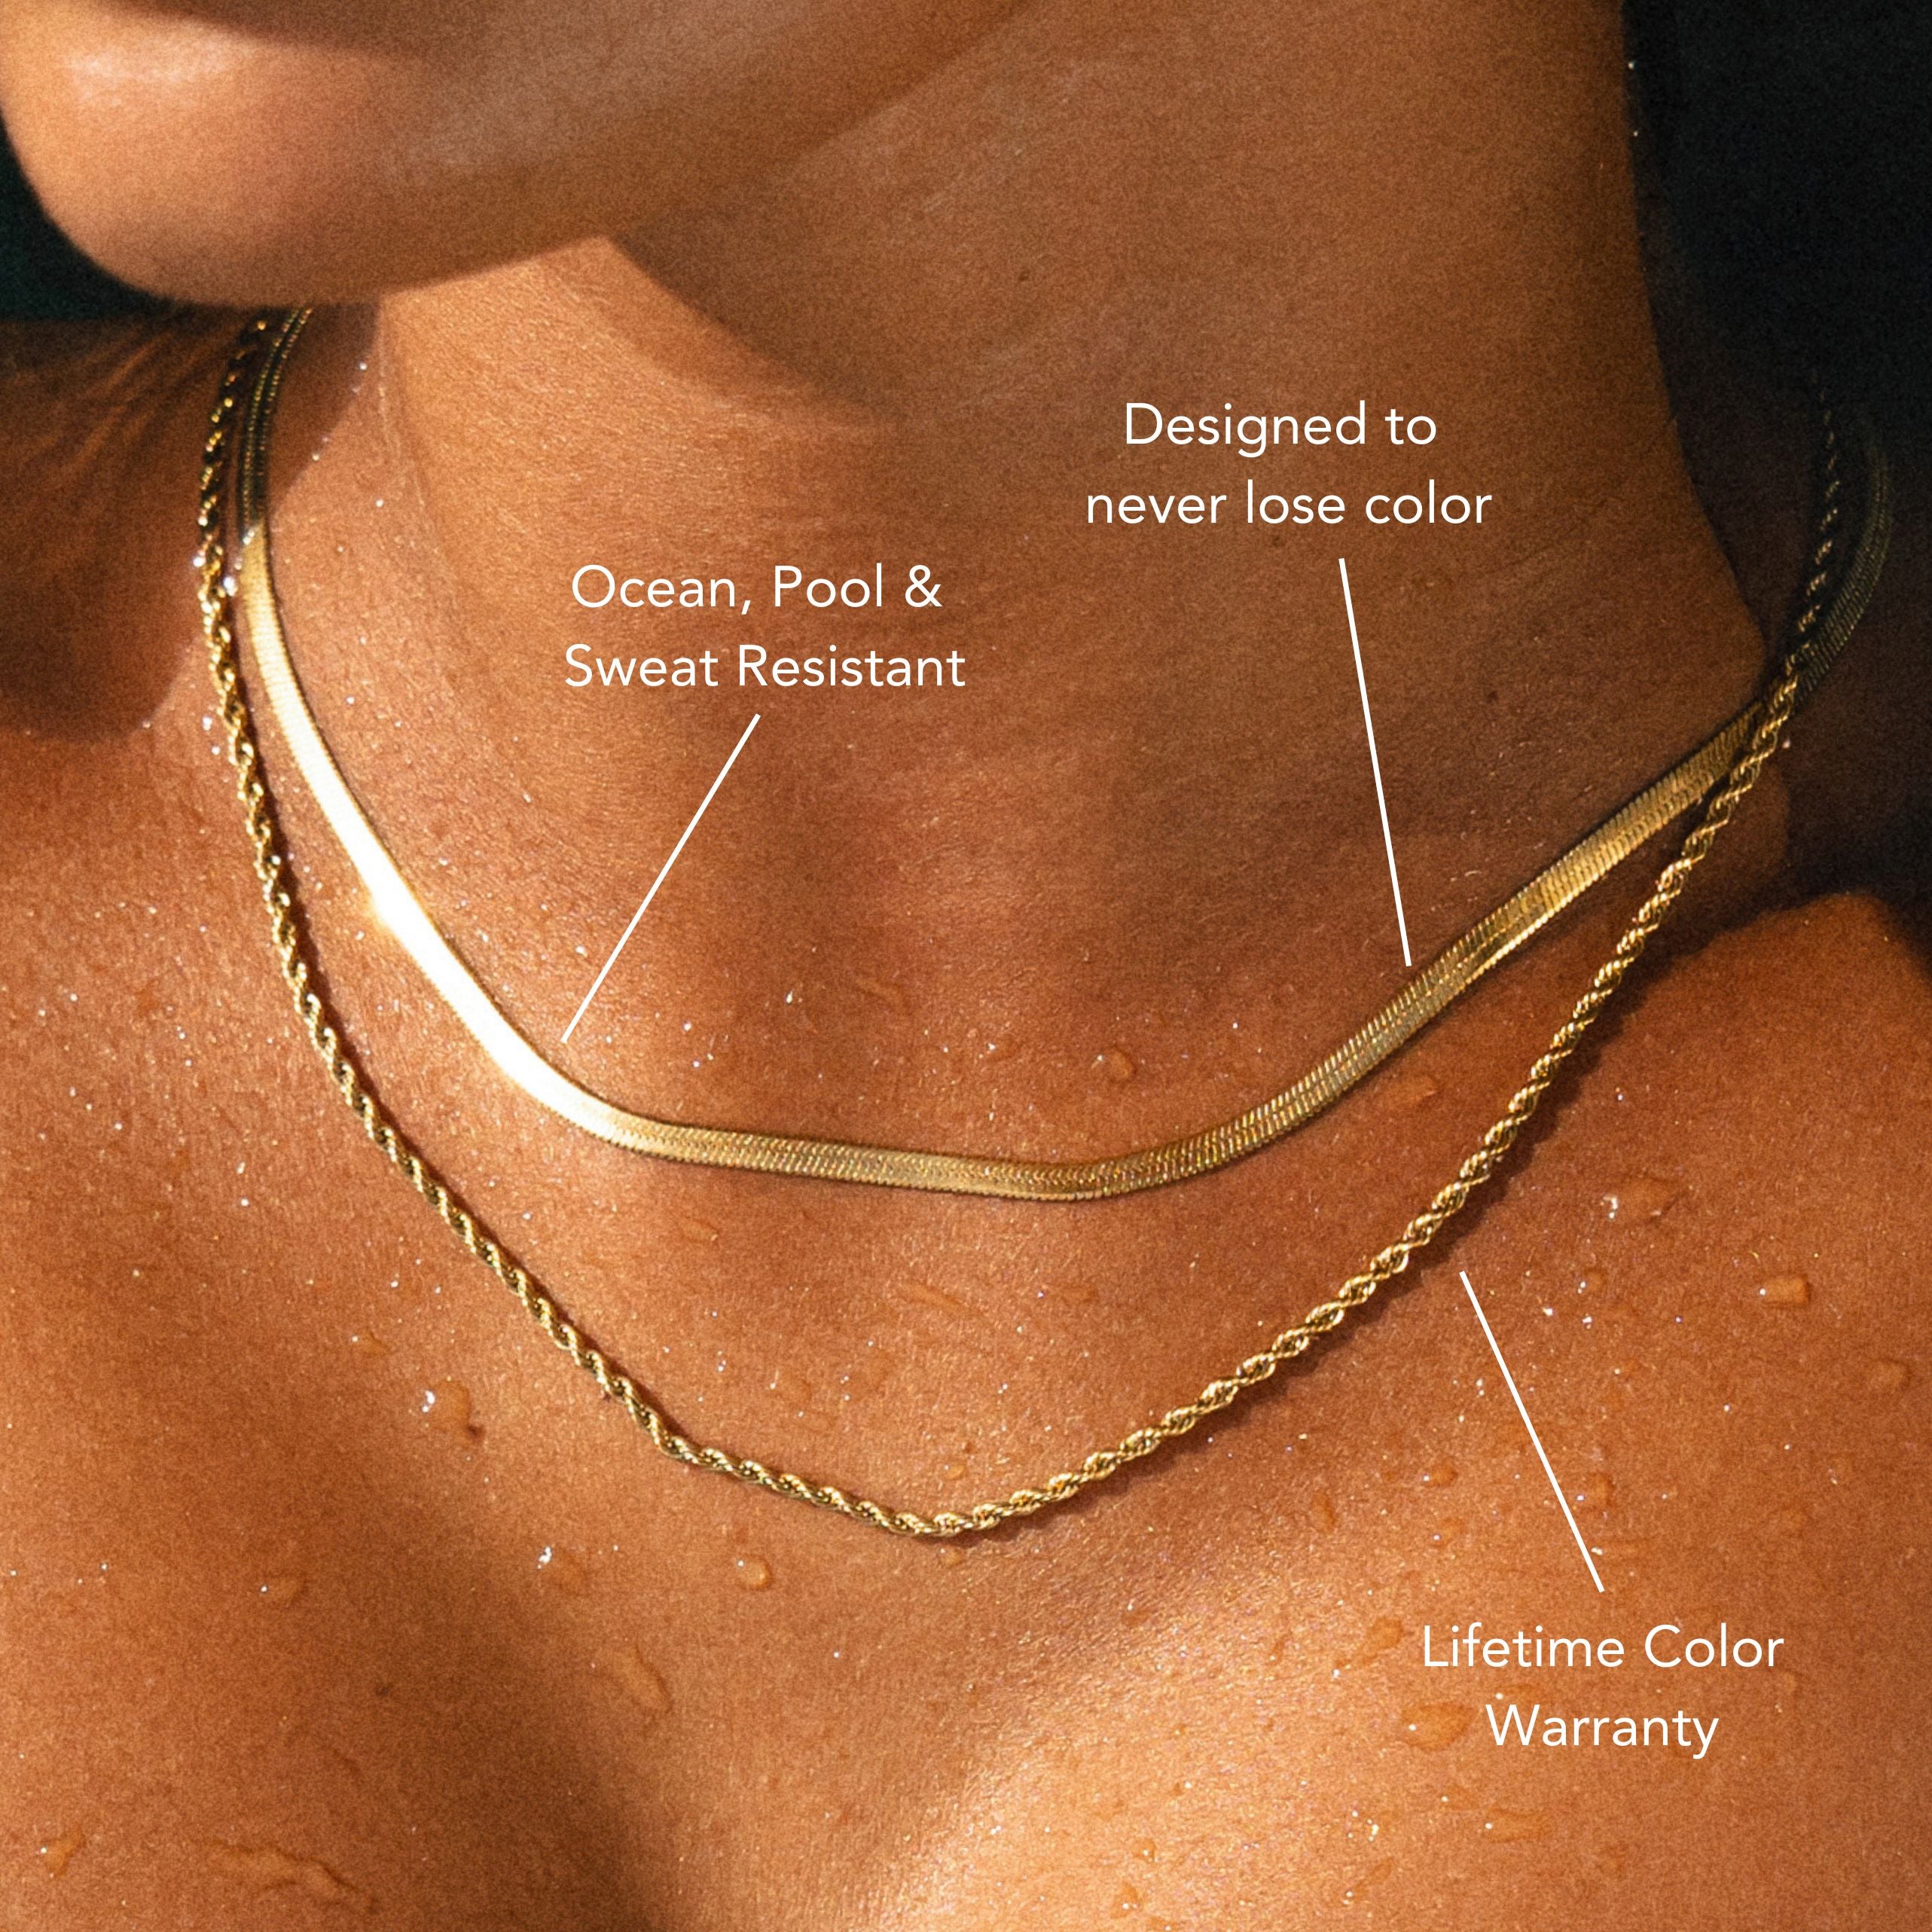
Learning how to put a clasp on a bracelet starts with choosing the right type—lobster clasps for durability, toggles for bold styles, or magnetic options for easy wear. Use flat-nose pliers, jump rings or crimp beads, and make sure the bracelet ends are trimmed neatly. Secure the clasp with jump rings or crimp beads to ensure a snug closure. Test by fastening and moving your wrist for comfort and strength. If you'd prefer a polished design without the DIY, explore our Mother’s Day bracelet collection for elegant, ready-to-wear styles. With the right tools and a bit of care, you’ll achieve a professional finish.
Choosing the Right Clasp for Your Bracelet
When selecting a clasp for your bracelet, consider the weight, flexibility, and material of both the bracelet and the clasp itself.
Magnetic clasps offer easy, one-handed operation, ideal for lightweight or flexible bracelets, but guarantee strong magnetic strength for durability factors.
Toggle clasps provide a decorative, user-friendly option, especially for chunkier or more rigid designs; check that the bar length and ring size are proportional for secure fastening.

Lobster clasps are highly reliable, suiting various bracelet styles, and excel in tensile strength—ideal for heavier pieces.
Prioritize design considerations by matching clasp finishes and shapes to your overall aesthetic appeal.
Always assess the clasp’s functionality, corrosion resistance, and compatibility with your bracelet’s design for a secure, cohesive, and visually pleasing result.
Gathering Essential Tools and Materials
After selecting the most suitable clasp for your bracelet, assemble the necessary tools and materials to guarantee a precise and secure attachment.
You'll need specific tool types such as flat-nose pliers for gripping, round-nose pliers for shaping loops, and wire cutters for trimming excess wire or chain links.
Choose your material options carefully—select jump rings, crimp beads, or cord ends that match your clasp’s metal and your bracelet’s design.
Have quality jewelry wire or strong beading thread on hand, depending on your bracelet’s structure. A bead mat can prevent components from rolling away during assembly.
Each tool and material must be compatible with the bracelet’s scale and style to assure a professional finish.
Lay out everything before proceeding to streamline your workflow.
Preparing Your Bracelet Ends
Begin by examining both ends of your bracelet to confirm they're clean, even, and free of frayed wires or loose beads.
For different bracelet types—such as beaded, leather, or chain—select end materials that suit the construction. Trim excess stringing wire or cord using precision cutters.
For multi-strand or heavier bracelet types, make sure each strand is aligned and secured with a temporary knot or bead stopper. If your bracelet uses thread or silk, apply a small drop of clear adhesive to prevent unraveling.
For leather or ribbon, cut the ends at a slight angle for a neater appearance and easier clasp attachment. Always double-check that beads or components near the ends are securely fastened to avoid slippage when you attach the clasp later.
Attaching Jump Rings or Crimp Beads
With your bracelet ends prepared and secured, focus on attaching the connector components that will anchor your clasp.
If you're using jump rings, select a gauge and diameter that match your bracelet’s weight and style. Employ jump ring techniques such as opening the ring laterally with two pairs of chain nose pliers, threading it through your bracelet end loop, and gently closing with an aligned motion to maintain circular integrity.

For multi-strand or beaded designs, crimp bead options offer streamlined attachment. Thread the wire through a crimp bead, loop it through your clasp connector, and pass it back through the crimp.
Position the crimp using crimping pliers, compressing it securely. Choose between cylindrical or tube crimps for ideal aesthetic and holding strength.
Securing the Clasp in Place
Once your jump rings or crimp beads are properly attached, assure the clasp aligns seamlessly with the bracelet’s end components.
Precision in clasp positioning techniques guarantees both functionality and aesthetics. Hold the clasp in place, confirm it’s centered and oriented correctly relative to your design. If you’re using a lobster or toggle clasp, secure it so the mechanism faces outward for easy operation.
For ideal securing methods, use flat-nose pliers to gently close jump rings, ensuring no gaps remain. If working with crimp beads, position the bead flush against the clasp loop, then compress it firmly with crimping pliers for a strong hold.
Always double-check alignment to prevent twisting or uneven tension, which could compromise the bracelet’s durability and visual appeal.
Testing the Strength and Fit
A thorough strength and fit assessment guarantees your bracelet’s clasp performs reliably and complements the intended design.
Begin strength testing by gently tugging both sides of the bracelet near the clasp. Apply steady, moderate force to confirm the connection withstands daily wear. Examine the jump rings or crimp beads for any signs of slippage or deformation.
Next, conduct a fit assessment by fastening the bracelet around your wrist. Confirm the clasp closes securely without excessive force and aligns properly with the bracelet ends.

Rotate your wrist and flex your hand to confirm comfort and mobility. Check that the bracelet isn’t too tight or loose; proper fit prevents accidental loss and maximizes aesthetic appeal.
Repeat these evaluations to verify durability and functional integrity.
Tips for a Professional Finish
After securing the clasp and confirming a proper fit, focus on refining the bracelet’s overall presentation for a polished, professional appearance.
Use flat-nose pliers to gently compress crimp beads or covers, guaranteeing they sit flush and don’t snag. Trim any excess wire with precision flush cutters, positioning the cut end inside a bead or cover for a clean look.
Add finishing touches by threading a decorative crimp cover or wire guardian at connection points, enhancing both durability and aesthetics. Inspect the clasp’s movement for smooth operation and adjust as needed.

Employ professional techniques such as tucking in loose thread tails and aligning beads symmetrically to elevate the design. Consistent tension throughout the strand prevents gaps and guarantees a cohesive, high-quality finish that rivals store-bought jewelry.
Frequently Asked Questions
Can I Replace a Broken Clasp Without Restringing the Whole Bracelet?
Yes, you can replace a broken clasp without restringing the whole bracelet. Use clasp replacement methods like jump rings or split rings. For bracelet repair tips, secure the new clasp with flat-nose pliers, ensuring tight, precise connections.
How Do I Clean and Maintain Bracelet Clasps?
To clean bracelet clasps, use a soft brush and mild soapy water, then rinse thoroughly. For maintenance, lubricate spring mechanisms with jeweler's oil and inspect for corrosion or misalignment. These cleaning techniques and maintenance tips guarantee ideal clasp functionality.
Are There Hypoallergenic Clasp Options for Sensitive Skin?
You can prevent skin irritation by selecting clasps crafted from hypoallergenic materials like surgical-grade stainless steel, titanium, or niobium. Opt for a smooth, seamless design to minimize friction and guarantee maximum comfort for sensitive skin.
What Should I Do if My Bracelet Clasp Keeps Opening Unexpectedly?
If your bracelet clasp keeps opening unexpectedly, use bracelet repair tips like adjusting the tension with pliers. Apply clasp troubleshooting techniques—inspect for misalignment, worn springs, or deformation. Replace faulty components to guarantee secure, functional design integrity.
How Can I Match the Clasp Style With Different Bracelet Designs?
To match clasp styles with bracelet materials, assess weight and flexibility. Use lobster clasps for sturdy chains, toggle clasps for chunky beads, and magnetic clasps for lightweight fabric or leather. Prioritize cohesive aesthetics and secure closure mechanisms.
Conclusion
By mastering clasp attachment, you’ll elevate your bracelet-making skills and guarantee every piece is both secure and stylish. Use professional-grade pliers for precise manipulation of jump rings or crimp beads. Always align findings with the bracelet’s design for seamless integration. After attaching, perform a strength test to confirm stability and adjust for best fit. With attention to detail and proper technique, your finished bracelets won’t just look polished—they’ll function reliably, meeting high standards of craftsmanship and design.


Leave a comment
This site is protected by hCaptcha and the hCaptcha Privacy Policy and Terms of Service apply.