
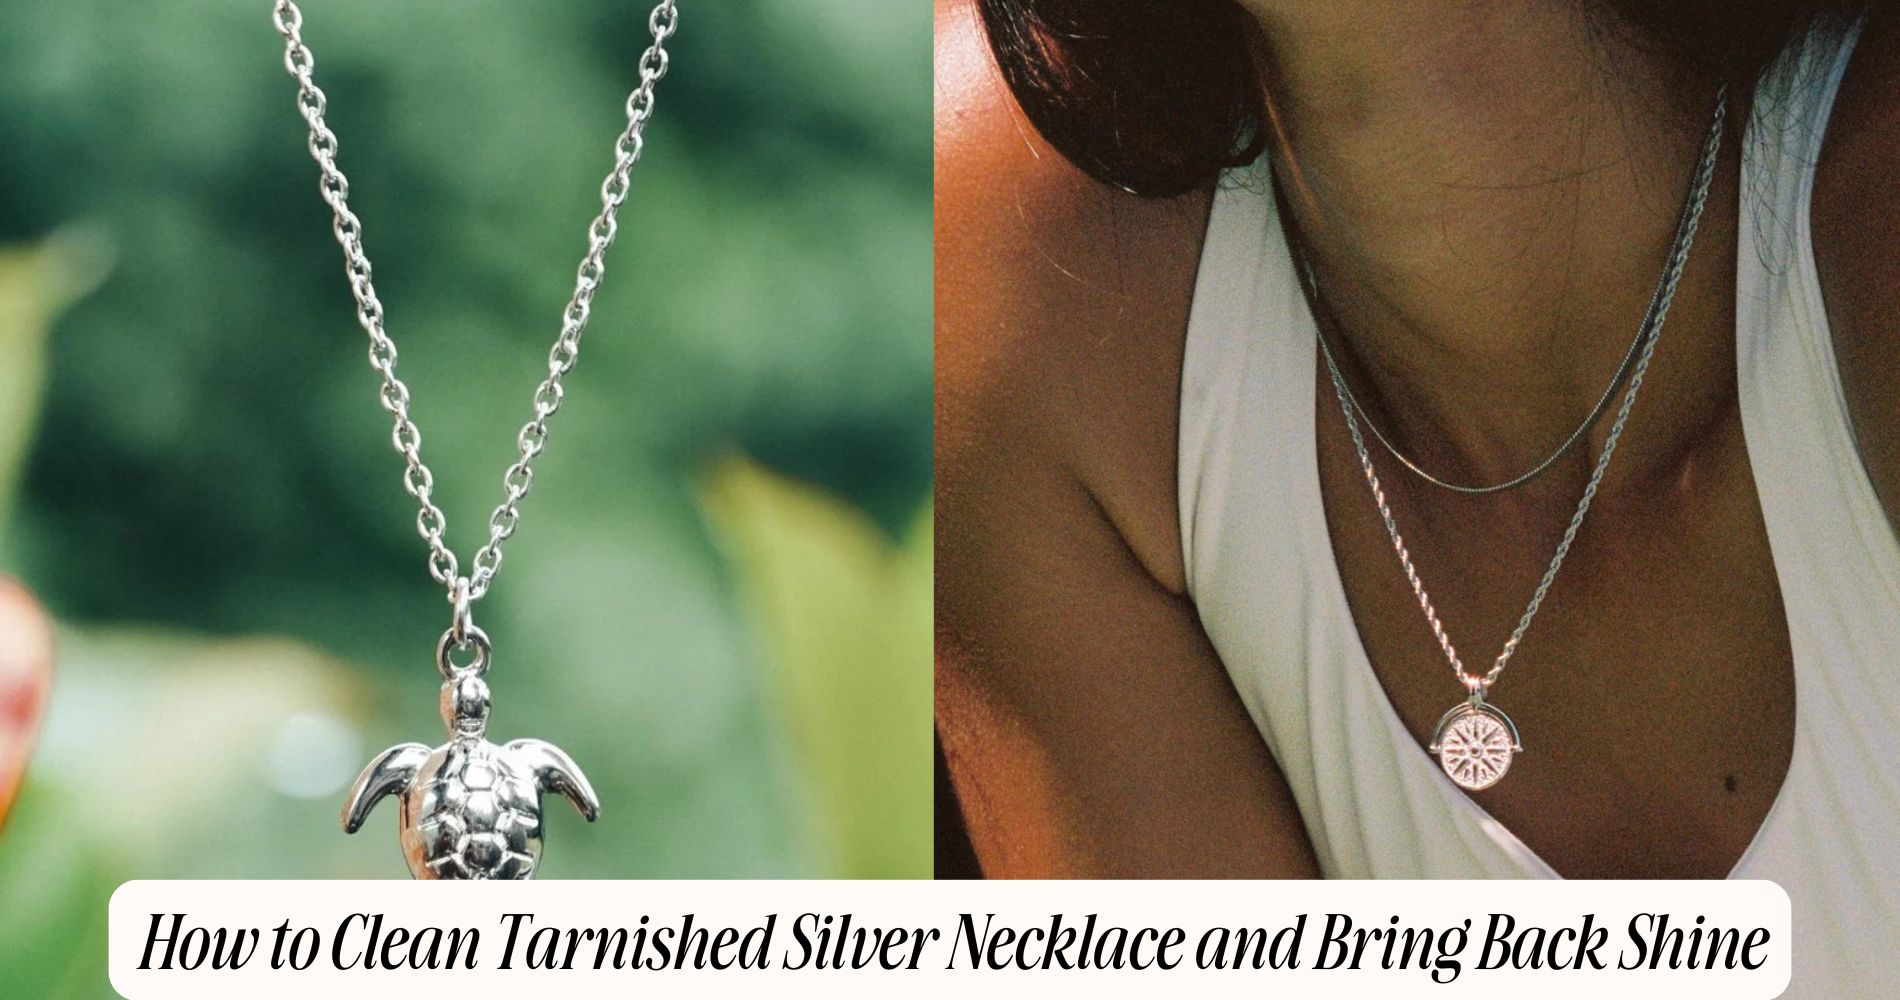
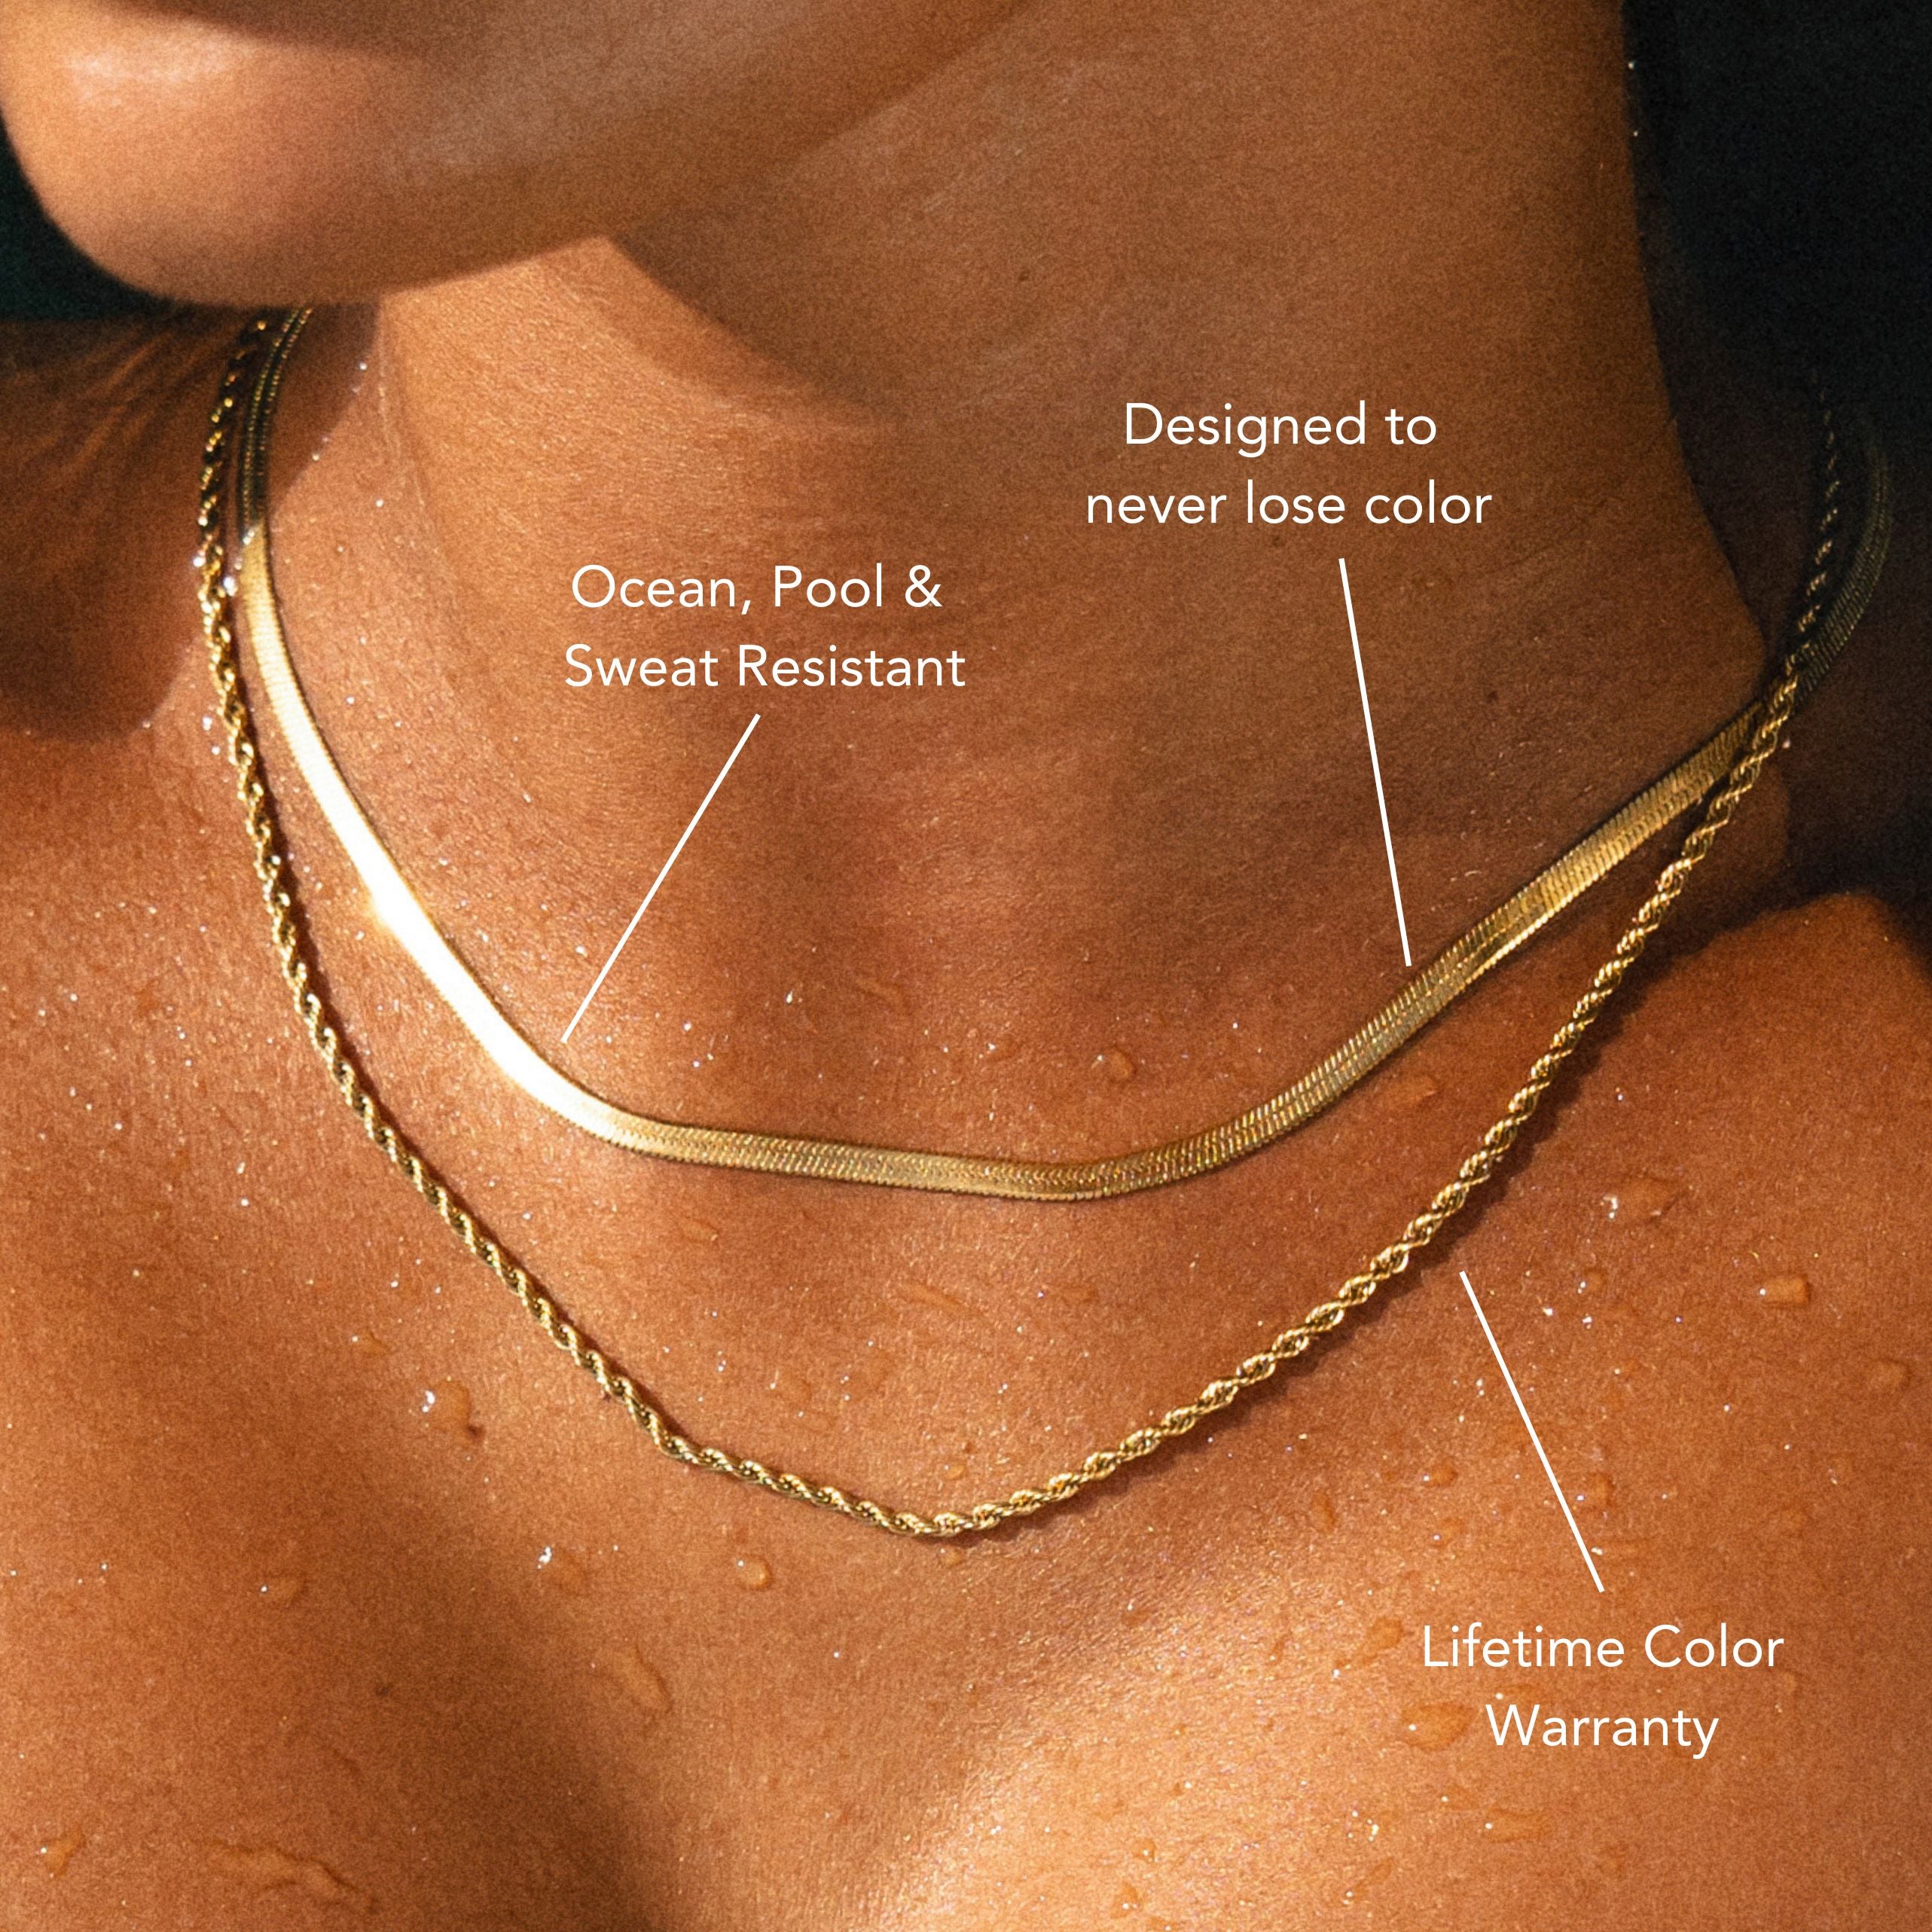
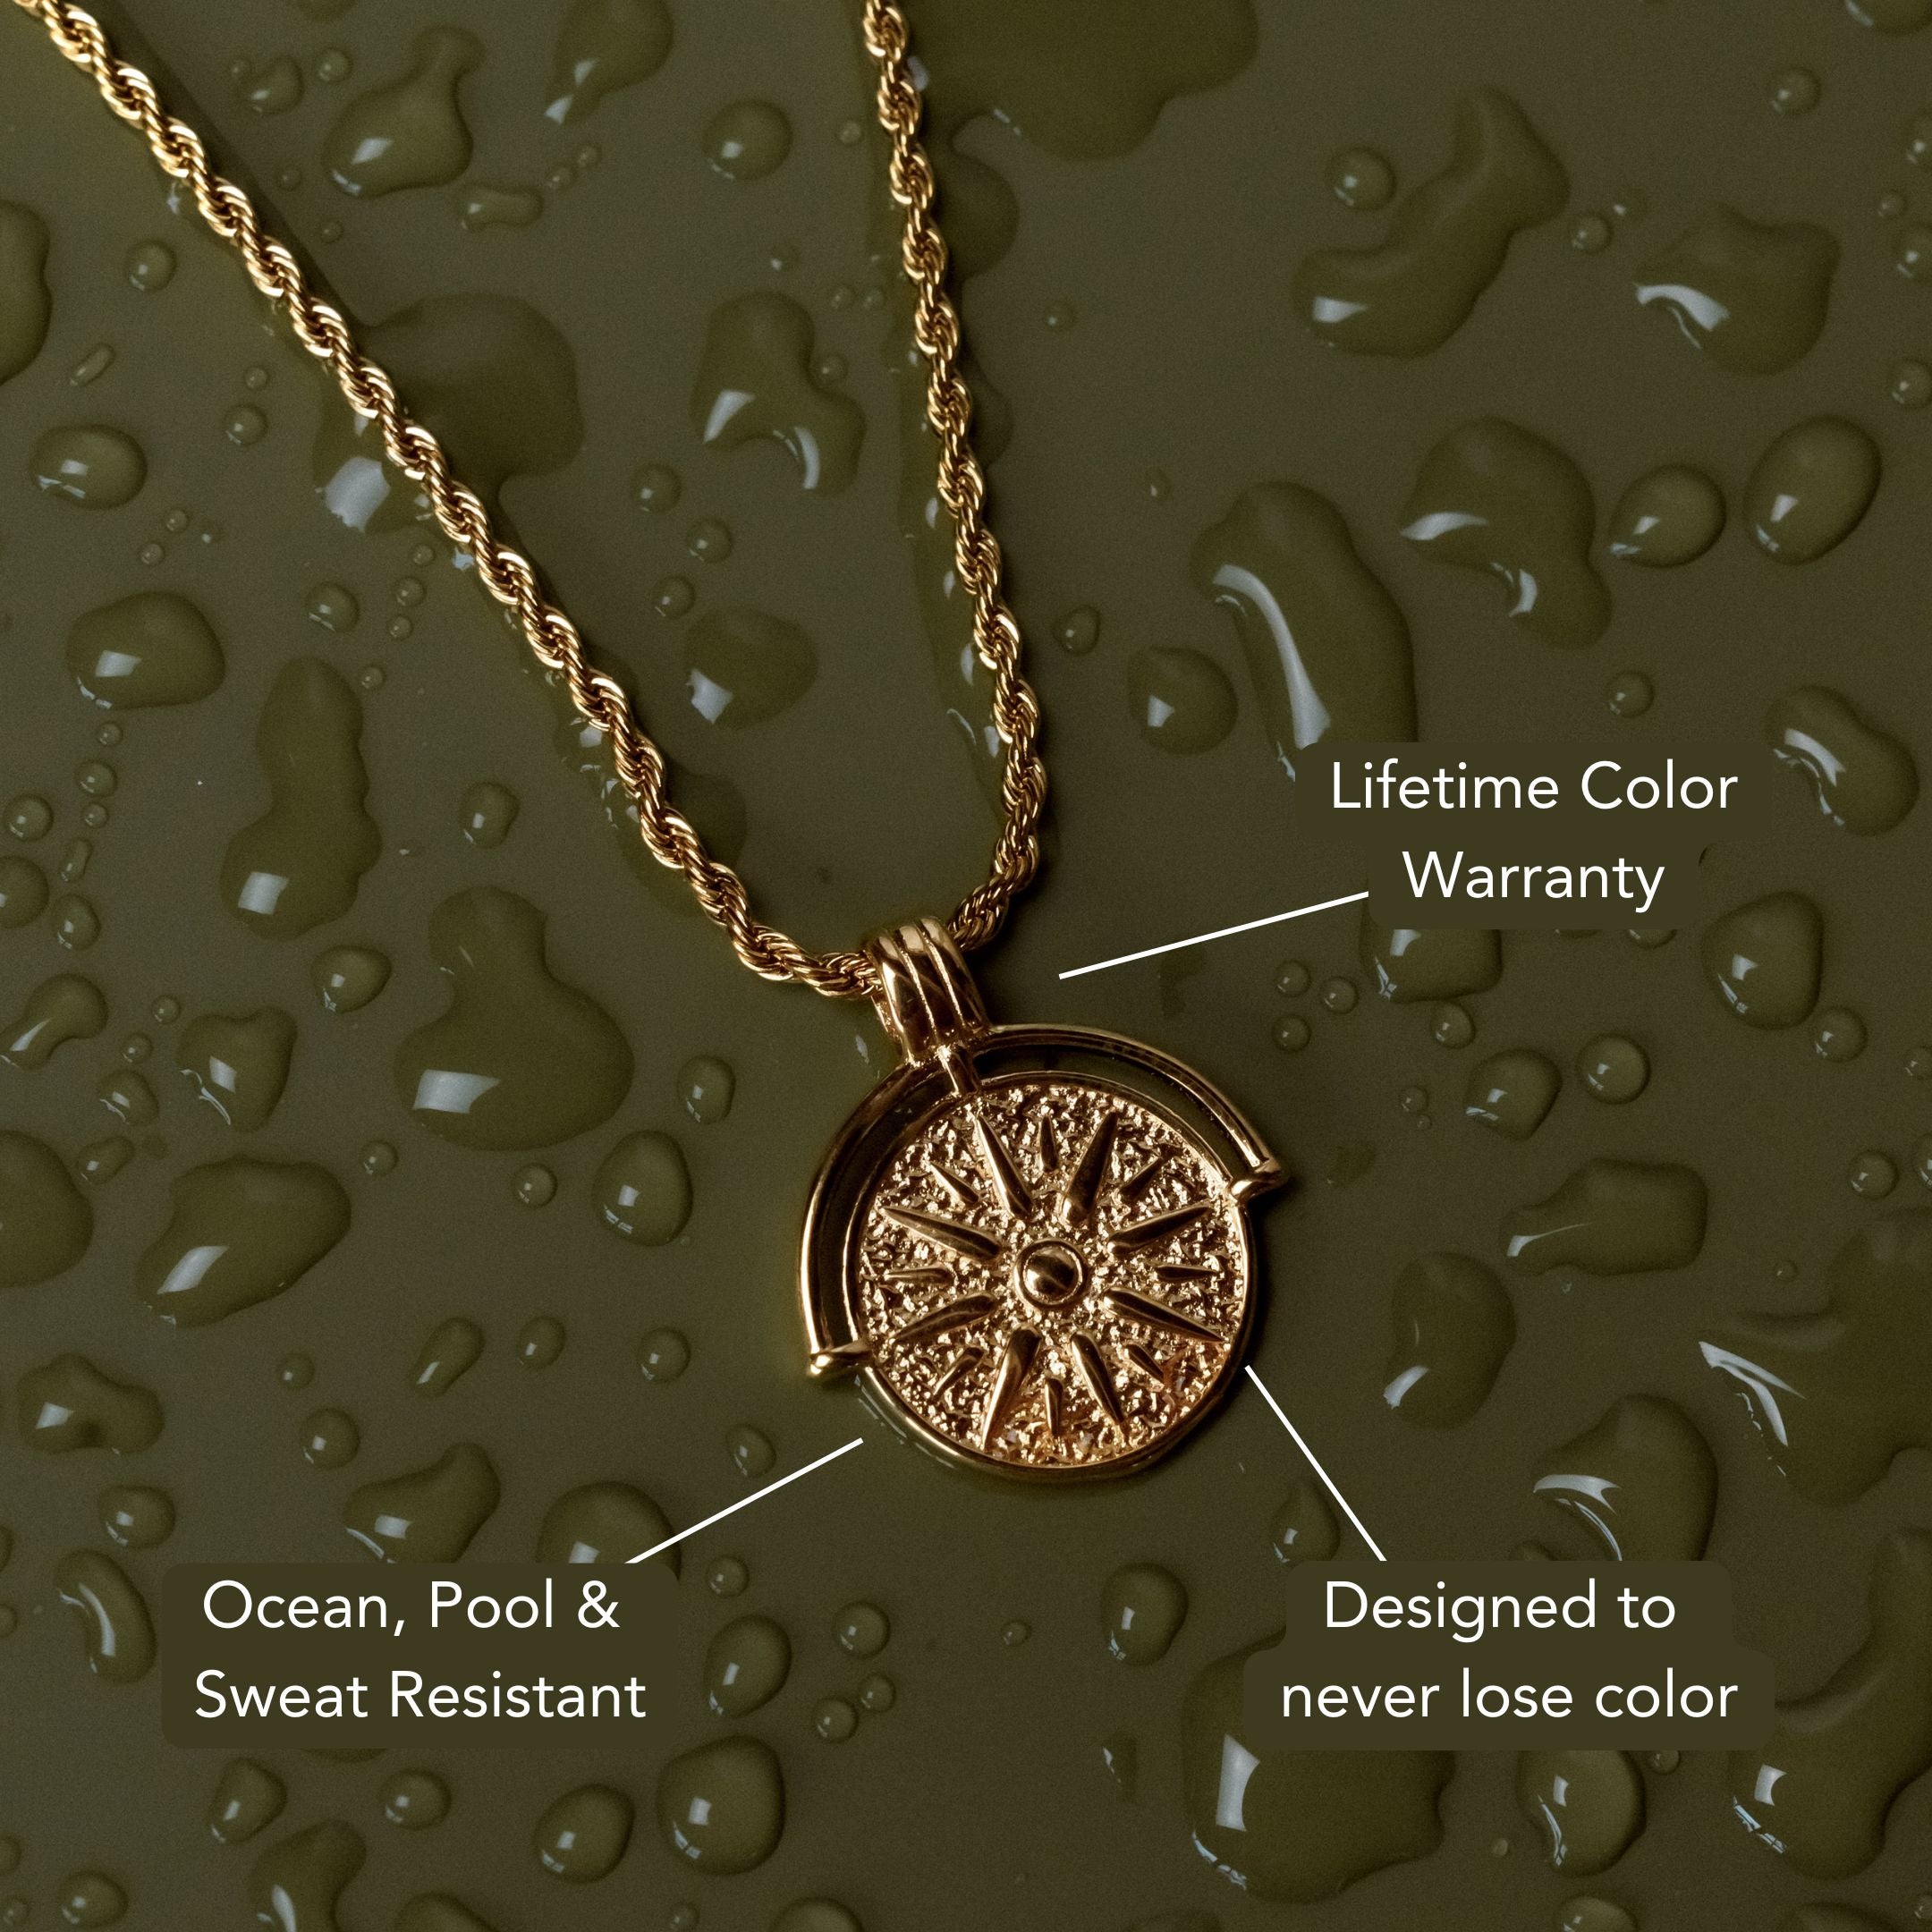
How to Clean Tarnished Silver Necklace and Bring Back Shine
Learning how to clean tarnished silver necklace pieces the right way can restore their shine without causing damage. Tarnish forms when silver reacts with sulfur from air, skin, and cosmetics. Start by confirming your piece is solid silver (not plated) and remove any stones. Wash it with lukewarm distilled water and mild dish soap for 3–5 minutes, then rinse and dry. For small tarnish spots, apply a thin baking soda paste for 30–60 seconds and rinse. For heavier tarnish, place the necklace in a foil-lined bowl with hot water and baking soda for 2–5 minutes (avoid this for plated jewelry). Finish with a microfiber polish, and to maintain lasting brilliance, choose durable designs like those in our Everyday Silver Necklace collection.
Why Silver Tarnishes and How to Spot It
Although silver looks inert, it reacts readily with sulfur-containing compounds in air, sweat, cosmetics, and polluted environments to form silver sulfide on the surface—this black or gray film is tarnish. You’re seeing a chemical conversion, not dirt.
Tarnish causes include hydrogen sulfide, thiols, and sulfur-laden pollution; elevated humidity and skin contact accelerate the reaction. Silver properties matter: sterling (92.5% Ag with copper) tarnishes faster than fine silver because copper promotes surface sulfide growth.

You can spot early tarnish by a subtle yellow cast, then a brown tone, progressing to gray or black patches, especially in crevices, chain links, and clasp joints.
Look for dullness replacing mirror-like luster, uneven coloration, and a slight roughness under fingertip. Bluish or rainbow sheens indicate thin-film interference from nascent sulfide layers.
What You’ll Need: Safe, Household Cleaning Supplies
Before you start, assemble gentle, non-abrasive items that won’t etch silver or loosen stones. You’ll need a soft, lint-free microfiber cloth for dry polishing and a separate plush cotton towel for drying.
Add mild, dye-free dish soap for safe cleaning, plus distilled water to prevent mineral spotting. Include baking soda for controlled tarnish reduction and plain aluminum foil to support an ion-exchange bath.
Keep a soft-bristle toothbrush for crevices and cotton swabs for tight joins. Select a non-gel, alcohol-free toothpaste only as a last-resort micro-abrasive.
Prepare small, non-reactive glass or ceramic bowls for mixing and soaking. Have nitrile gloves to limit skin oils and prevent sulfur transfer.
Avoid paper towels, abrasives, bleach, ammonia, and silver dips. These household supplies provide effective, low-risk maintenance.
Quick Pre-Clean Checks for Stones, Plating, and Damage
Start by verifying what you’re working with: confirm the necklace is solid sterling (stamped 925 or “sterling”) or identify plating (e.g., “925 GP,” “HGE,” “vermeil”), since aggressive methods can strip thin coatings.
Record marks before cleaning. Next, assess plating integrity under bright, indirect light: look for color shifts, brass showing through, or uneven luster at high-wear points like clasp, chain edges, and pendant backs.
Inspect stone settings with 10x magnification. Check prongs for deformation, cracks, or excessive lift; test each stone gently with a toothpick for movement.
Note porous or delicate stones (turquoise, opal, pearl, lapis) and any foil-backed or glued stones; avoid prolonged moisture and heat.
Examine chain links for kinks, stress fractures, and weak solder joints. Address mechanical issues before any chemical exposure.
Gentle Soap and Water Method for Light Tarnish
With the piece inspected and any vulnerabilities noted, mix a mild bath to lift light tarnish without abrading metal or disturbing settings. Use lukewarm distilled water and a drop of gentle soap (dye- and fragrance-free). Agitate to create light suds.
Submerge the silver necklace for 3–5 minutes; don’t soak porous stones or glued components. Using a soft, clean microfiber cloth, wipe along the grain; avoid circular scrubbing. For chains, pass the links through the cloth with light tension. Rinse under a slow stream of distilled water to remove all surfactants.

Blot dry immediately with lint-free cloths, then air-dry on a mesh surface to prevent moisture trapping. Finish with a dry silver-polishing cloth to restore luster. This water method safely removes light sulfide films.
Baking Soda Paste Technique for Stubborn Spots
Two ingredients tame localized tarnish without harsh abrasion: a controlled baking soda paste and careful mechanical action.
Mix three parts baking soda with one part distilled water to form a dense, spreadable slurry. Rinse the necklace with warm water, then blot dry to avoid dilution.
Using a soft, nonwoven microfiber or a baby-soft toothbrush, spot-apply the paste to stubborn areas. Work in short, linear strokes following the grain of the silver, not circular motions, to limit micro-scratches. Maintain light pressure; let the chemistry do the tarnish removal.
After 30–60 seconds, rinse thoroughly with warm water, ensuring no residue remains in crevices. Pat dry with lint-free cloth, then air-dry fully.
Inspect under bright light and repeat only where necessary to preserve detail and plating.
Aluminum Foil and Baking Soda Bath for Heavier Tarnish
If spot-paste work isn’t cutting through widespread tarnish, use an electrochemical bath to restore the surface uniformly.
Line a non-reactive glass or plastic bowl with aluminum foil, shiny side up. Add hot (not boiling) water—enough to submerge the necklace—then dissolve 1 tablespoon baking soda per cup of water.
Place the silver so it contacts the foil; don’t stack pieces. The solution drives tarnish removal by transferring silver sulfide back to silver while sulfur binds to aluminum.
Let it react 2–5 minutes, monitoring progress. Agitate gently with tongs to expose all surfaces.
Remove the necklace, rinse thoroughly in cool water, and pat dry with a lint-free cloth. Buff lightly with a microfiber cloth.
Avoid gemstones, enamel, oxidized finishes, or glued components; clean those separately.
White Vinegar and Baking Soda Soak for Deep Cleaning
Although mild acids demand care, a controlled vinegar–baking soda soak can break down stubborn tarnish embedded in crevices.
Mix a 1:1 vinegar solution using white distilled vinegar and water. Place your silver necklace in a glass container and pour in enough solution to submerge it fully. Add baking soda incrementally—about 1 tablespoon per cup—allowing fizz to peak and settle. The reaction loosens silver sulfide without aggressive abrasion.
Soak for 10–20 minutes, monitoring progress every five. Agitate gently to dislodge residue from links and clasps.
When tarnish lifts, remove the piece, rinse under cool running water, and neutralize by briefly dipping in plain water with a pinch of baking soda. Dry immediately with a lint-free towel, blotting between chain segments to prevent water spots.
Polishing Cloth Tips for a Mirror-Like Shine
Even after a deep clean, a proper polishing cloth refines the surface and restores specular reflection without lifting metal. Choose cloth materials engineered for silver: a dual-layer microfiber or treated cotton impregnated with mild abrasives and anti-tarnish agents.
Avoid paper towels and rough weaves that introduce micro-scratches.
Use controlled polishing techniques. Anchor the necklace on a soft pad, then work in straight, overlapping strokes along the grain of the links, not circles.
Apply light, even pressure; let the embedded compound do the work. For chain kinks and crevices, fold the cloth to create a firm edge and sweep outward to expel residue.
Reposition to a clean section frequently. If a black transfer appears, that’s normal; continue until the cloth picks up minimal residue.
Drying, Buffing, and Safe Storage to Prevent Re-Tarnish
Once rinsing and polishing are complete, drive off moisture immediately to halt fresh oxidation.
Use targeted drying methods: blot with a lint-free microfiber, wick water from chain links with capillary action, then use cool, moving air. Avoid heat that can accelerate sulfide formation or compromise adhesives.
Inspect crevices, clasp springs, and bail joints; if moisture persists, use compressed air at low pressure.
Buff with a clean, untreated microfiber in straight strokes, then finish with light circular passes to level micro-marring.
Maintain minimal pressure to avoid rounding edges or lifting platings.
For storage solutions, isolate the necklace from sulfur and humidity.
Seal it in an inert polyethylene bag with anti-tarnish strips, silica gel, or molecular sieve desiccants.
Store pieces individually, unclasped, in rigid, felt-lined compartments away from light.
Common Mistakes to Avoid When Cleaning Silver
With drying, buffing, and storage handled correctly, prevent setbacks by avoiding common cleaning errors that undo your work.
Don’t use abrasive powders, baking soda pastes, or hard-bristle brushes; they scratch plating and remove metal. Skip toothpaste—its silica loads cause micro-abrasions. Avoid ammonia and undiluted bleach; they pit silver and attack solder joints.

Never soak gemstone-set pieces; capillary action traps chemicals behind settings.
Reject cleaning myths like aluminum foil–baking soda baths for plated items; they strip thin finishes. Don’t ultrasonically clean oxidized or enamelled pieces.
Rinse thoroughly after polishing compounds; residual chloride ions accelerate tarnish. Dry immediately with lint-free microfiber, not paper towels. Store silver separately to prevent galvanic transfer.
For reliable silver care, use pH-neutral creams, nitrile gloves, and anti-tarnish strips.
Frequently Asked Questions
How Often Should I Clean a Silver Necklace Worn Daily?
Clean it weekly for daily wear. Perform daily maintenance: wipe with a soft microfiber cloth after each use. For tarnish prevention, store in an airtight pouch with anti-tarnish strips. Deep clean monthly if exposure to sweat, lotions, or humidity increases.
Can I Safely Clean Silver With Gemstones Like Opal or Pearl?
Yes, but use safe cleaning methods tailored to gemstone care. Avoid ammonia, ultrasonic cleaners, baking soda, and hot water. Gently wipe silver with a damp microfiber cloth, keep stones dry, then pat dry. Store separately, low humidity.
Is Ultrasonic Cleaning Safe for All Silver Necklaces?
No. Ultrasonic cleaning isn’t safe for all silver jewelry. You should avoid it for plated pieces, oxidized finishes, soft stones, or glued settings. Instead, use gentle hand-cleaning with mild detergent, soft brush, and controlled drying.
What Professional Services Exist for Severely Tarnished Heirlooms?
You can use restoration services, including professional silversmithing, micro-abrasive polishing, rhodium plating, and laser welding for structural issues. Seek antique appraisals first to assess value, then request conservation cleaning, patina preservation, solder repairs, stone resetting, and protective lacquers.
How Do I Identify if My Necklace Is Sterling or Silver-Plated?
Check silver markings: “925,” “Sterling,” or “STG” indicate sterling. “EPNS,” “HGE,” “SP,” or “silver-plated” signal plating. Test metal composition with a magnet (shouldn’t attract), acid test kit, XRF scan, or weigh and compare density.
Conclusion
You’ve got everything you need to restore your silver necklace’s luster safely. Identify tarnish, verify settings and plating, then start with mild soap and escalate to baking soda or a vinegar soak as needed. Rinse thoroughly, dry completely, and finish with a quality polishing cloth. Store it in anti-tarnish conditions to preserve shine. Avoid harsh abrasives, ammonia, and ultrasonic cleaners on plated or stone-set pieces. Follow these steps precisely, and you’ll keep your silver bright, protected, and long-lasting.


Leave a comment
This site is protected by hCaptcha and the hCaptcha Privacy Policy and Terms of Service apply.