
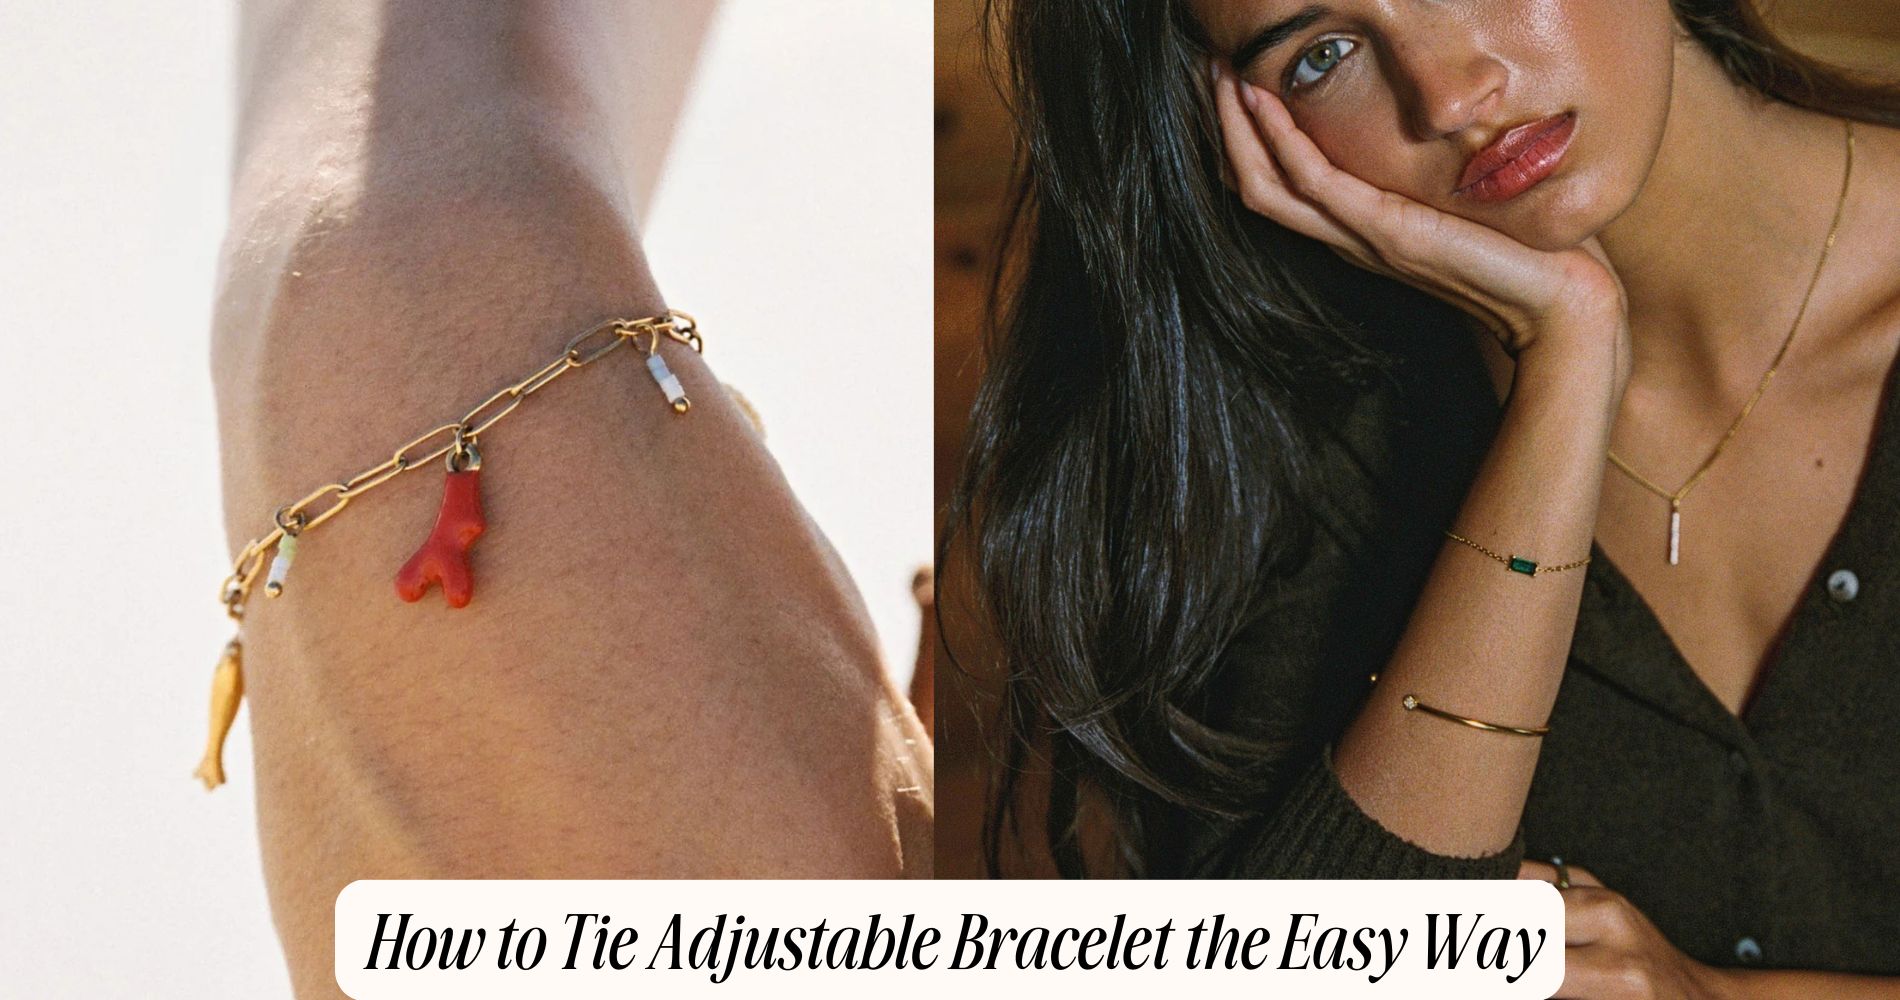
How to Tie Adjustable Bracelet the Easy Way
Learning how to tie adjustable bracelet designs is easier than it looks—all it takes is a bit of precision and patience. Wrap smooth cord around your wrist, cut it to twice the circumference plus 8–10 inches, and square the ends. Pre-seal the tips (melt nylon, glue cotton), then align both ends parallel to form a loop. Tie two opposing sliding knots by wrapping one tail around both strands in neat, parallel coils, then repeat on the other side. Test the glide, trim tails to 1–1.5 inches, and seal. Your slider should close cleanly, sit symmetrical, and feel effortless—especially when paired with elegant pieces from our Gold-Plated Bracelets collection.
Materials You’ll Need
Toolkit first, creativity second: gather a smooth cord or waxed nylon (1–2 mm for dainty, 2–3 mm for sturdy), two small beads with holes large enough to slide over doubled cord ends, sharp scissors, a lighter or thread zapper for sealing, and a ruler. Choose cord materials that suit your bracelet types: sleek nylon for minimalist sliders, matte cotton for boho stacks, or micro-macramé polyester for crisp knots. Verify the cord’s finish resists fray and holds a melt seal cleanly. Pick beads in metal, wood, or glass with chamfered holes to protect the cord and glide smoothly. Favor uniform diameter and tight weave to keep knots compact. Keep a bead reamer handy for tight passages. Optional: tape to anchor, binder clip to tension.
Measure and Cut Your Cord
Two quick measurements prevent waste and guarantee a smooth slider. Wrap the cord around your wrist where the bracelet will sit, then add the span needed for the sliding loop and knot travel. For most wrists, a practical cord length equals your wrist circumference times two, plus 8–10 inches for adjustments and trimming. Mark that total with a fine, erasable line—symmetry matters later.

Stabilize the cord before cutting. For synthetics, lightly fuse the mark with a brief touch of heat, then cut through the sealed spot to prevent fray. For natural fibers, tape over the mark, slice mid-tape, and keep the ends compressed.
Use sharp micro-shears; dull blades crush and skew diameter. Square the cut perpendicular to the cord for clean alignment and consistent tension.
Prepare the Bracelet Ends
Shape each tail for a clean, low-profile finish before you build the slider. Start by singeing synthetic cords with a micro-lighter; kiss the tip with heat, then flatten with a steel tool for a crisp, coin-edge end.
For cotton, linen, or leather, trim at a shallow angle and seal with clear fabric glue, pressing between waxed paper for a sleek taper.
While selecting materials, match end treatments to fiber: waxed polyester melts cleanly, leather prefers edge burnishing with beeswax. Choosing colors matters here—dark cords hide heat marks; light tones look best with glue sealing to avoid soot.
Square off both tails to identical lengths. Deburr hardware holes with a reamer. Finally, pre-stretch each tail and buff with microcrystalline wax to reduce fuzz and friction.
Form the Base Loop
One clean loop anchors the entire slider, so align the bracelet’s standing ends parallel and cross them to form an oval that fits over the widest part of your hand. Keep tension light and even; you’re shaping, not cinching.
Pinch the crossover point between thumb and forefinger so the strands lie flat, with no twists. Check symmetry: both sides of the oval should mirror each other in width and curve.
Use precise base loop techniques: smooth the fibers with a fingertip glide, then adjust the overlap until the oval holds its proportion without buckling.
Maintain a finger’s breadth of clearance for easy on-off wear. This pristine loop becomes your foundation for clean knot formation later, so prioritize alignment, consistent tension, and a graceful, uninterrupted arc.
Tie the First Sliding Knot
With the base oval steady under your fingers, position the left standing end across the right strand where they overlap. Slide your thumb beneath the crossing to hold the junction.
Wrap the left end around both strands, moving away from the overlap, creating three neat coils. Keep each coil snug and parallel; avoid crossing. Feed the left end back through the tunnel formed beside the coils, entering from the direction you started wrapping.
Pinch the bundle and perform subtle knot tension adjustments: pull the working end to gather the coils, then tug the standing end to seat the knot. Use controlled, even pressure so the coils compress without biting.

Test glide by sliding the knot along the opposite strand. These sliding knot techniques guarantee smooth travel and a clean, symmetrical profile.
Tie the Second Sliding Knot
As the first knot settles and slides cleanly, rotate the bracelet so the free right end is now your working strand. Lay it parallel to the standing left strand, leaving a neat gap for travel.
Using mirrored knot techniques, form a four-shape over the standing strand, wrap the working end around both cords two to three times, and feed the tip back through the loop you created. Keep each coil snug, evenly stacked, and flat—clean coils deliver smooth sliding options and a refined look.
Pinch the coils, then pull the working end to cinch. Nudge each wrap so edges align, avoiding overlaps that add friction.
Trim the tail to a discreet length and fuse or whip-finish the tip, preserving symmetry with the first knot.
Adjust and Test the Closure
Two quick checks confirm your slider works and looks refined.
Hold both strand tails and pull them apart to open; the bracelet should expand smoothly with light resistance.
Now pull both standing strands to close; it should snug without jerks or gaps. If movement feels gritty, gently massage each knot to align coils and equalize tension.
Assess closure functionality next. The sliding mechanism should center between knots, not drift to one side.
Tug one tail at a time to ascertain independent glide without twisting the core strands.
Rotate the bracelet: knots should sit symmetrical, with parallel wraps and even spacing.
Finally, simulate wear. Open fully, then close to wrist size three times.
Consistent travel indicates reliable action and comfortable adjustability under daily handling.
Trim, Seal, and Finish
Your slider glides cleanly and sits centered, so lock in that performance with tidy ends and a polished finish.
Begin by setting your bracelet on a flat surface and measure tail length; 1–1.5 inches past the slider feels balanced. Use sharp flush cutters or fine scissors for precise trimming techniques—cut perpendicular for a blunt, modern edge or bevel slightly for a softer profile.
Choose sealing methods based on material. For nylon or polyester, kiss the cut end with a lighter, then immediately press with a steel tool to dome and harden.
For cotton, silk, or leather, apply a micro-drop of clear fabric glue or flexible jewelry cement; wick it into the fibers, then pinch smooth.
Burnish any stiff spots, align tails symmetrically, and add minimal end beads if desired.
Troubleshooting Common Mistakes
Ever wonder why a slider sticks, tails fray, or the bracelet won’t stay snug? Start by checking knot tension: too tight and the sliding knot grinds; too loose and it drifts. Wax the cords lightly to reduce friction.
If the slider catches, align the cores parallel, then rewrap the coils evenly—no overlaps. For frayed tails, trim cleanly at a bias and seal with a micro-flame or fabric glue, never bulky blobs.

Spot common errors by testing glide: pull both ends symmetrically; any jerkiness means uneven wraps. Rebuild if the coils exceed three to four neat turns. Prevent stretching by using matching cord materials and diameters. Anchor beads away from the slider.
Finally, pre-stretch cords, then set a consistent closing tension.
Frequently Asked Questions
Can I Make Adjustable Bracelets Without Using Glue or Lighter?
Yes, you can. Use adjustable techniques like sliding square knots or double fisherman's knot variations. Burn-free, glue-free finishes rely on tight, symmetrical wraps, neatly trimmed ends, and careful tensioning. Choose smooth cord, consistent lengths, and practice even, mirrored knot paths.
How Do I Size Bracelets for Small Children Safely?
Measure the wrist snugly, add 0.5–0.75 inches for comfort. Prioritize child safety: avoid small beads, sharp edges, or long tails. Use soft cords, secure sliding knots, and test adjustability. Recheck bracelet measurements as the child grows.
Which Cord Materials Are Waterproof and Skin-Friendly?
Choose waterproof, skin-friendly cords like nylon and polyester. You’ll love Nylon options for slick knots, minimal fray, and vibrant dye. Polyester durability resists UV and sweat. Opt for braided microcord, burn sealed ends, and pre-wash to remove residues.
Can I Add Charms Without Affecting the Sliding Mechanism?
Yes—you can. Keep charm placement off the sliding knots and center it on fixed sections. Thread charms onto stationary strands, add tiny stopper beads, and balance weight symmetrically to preserve smooth sliding tension and maintain a clean, intentional silhouette.
How Do I Clean and Deodorize Cord Bracelets?
Rinse gently, then spot-clean with mild soap and a soft brush; avoid soaking knots. For deodorizing methods, sprinkle baking soda overnight, or mist diluted white vinegar, then air-dry flat. Use microfiber to buff hardware; finish with light beeswax conditioning.
Conclusion
You’ve just built a sleek, adjustable bracelet with clean mechanics and polished finishes. Slide each knot to fine-tune the fit, ensuring smooth travel without snagging. Check symmetry where the knots sit; micro-adjust if one side feels tighter. Trim tails to identical lengths, then seal neatly for a professional edge. If tension drags, slightly loosen the wraps and re-seat them. Wear it, flex it, admire the balanced lines—your technique-driven precision shows in every detail.


Leave a comment
This site is protected by hCaptcha and the hCaptcha Privacy Policy and Terms of Service apply.