


How to Clean Silver Jewlery at Home With Baking Soda: Easy Guide
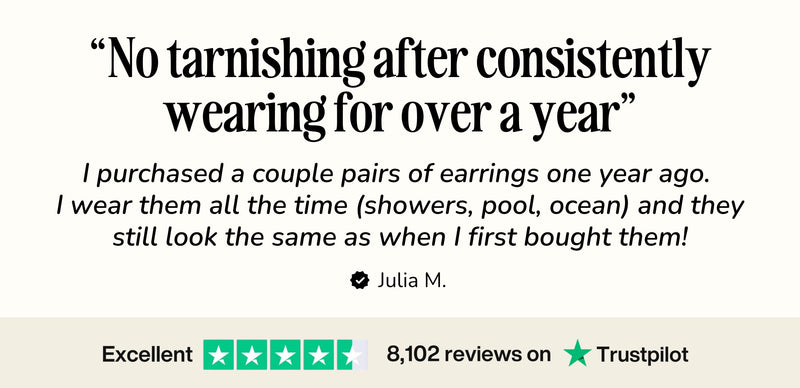
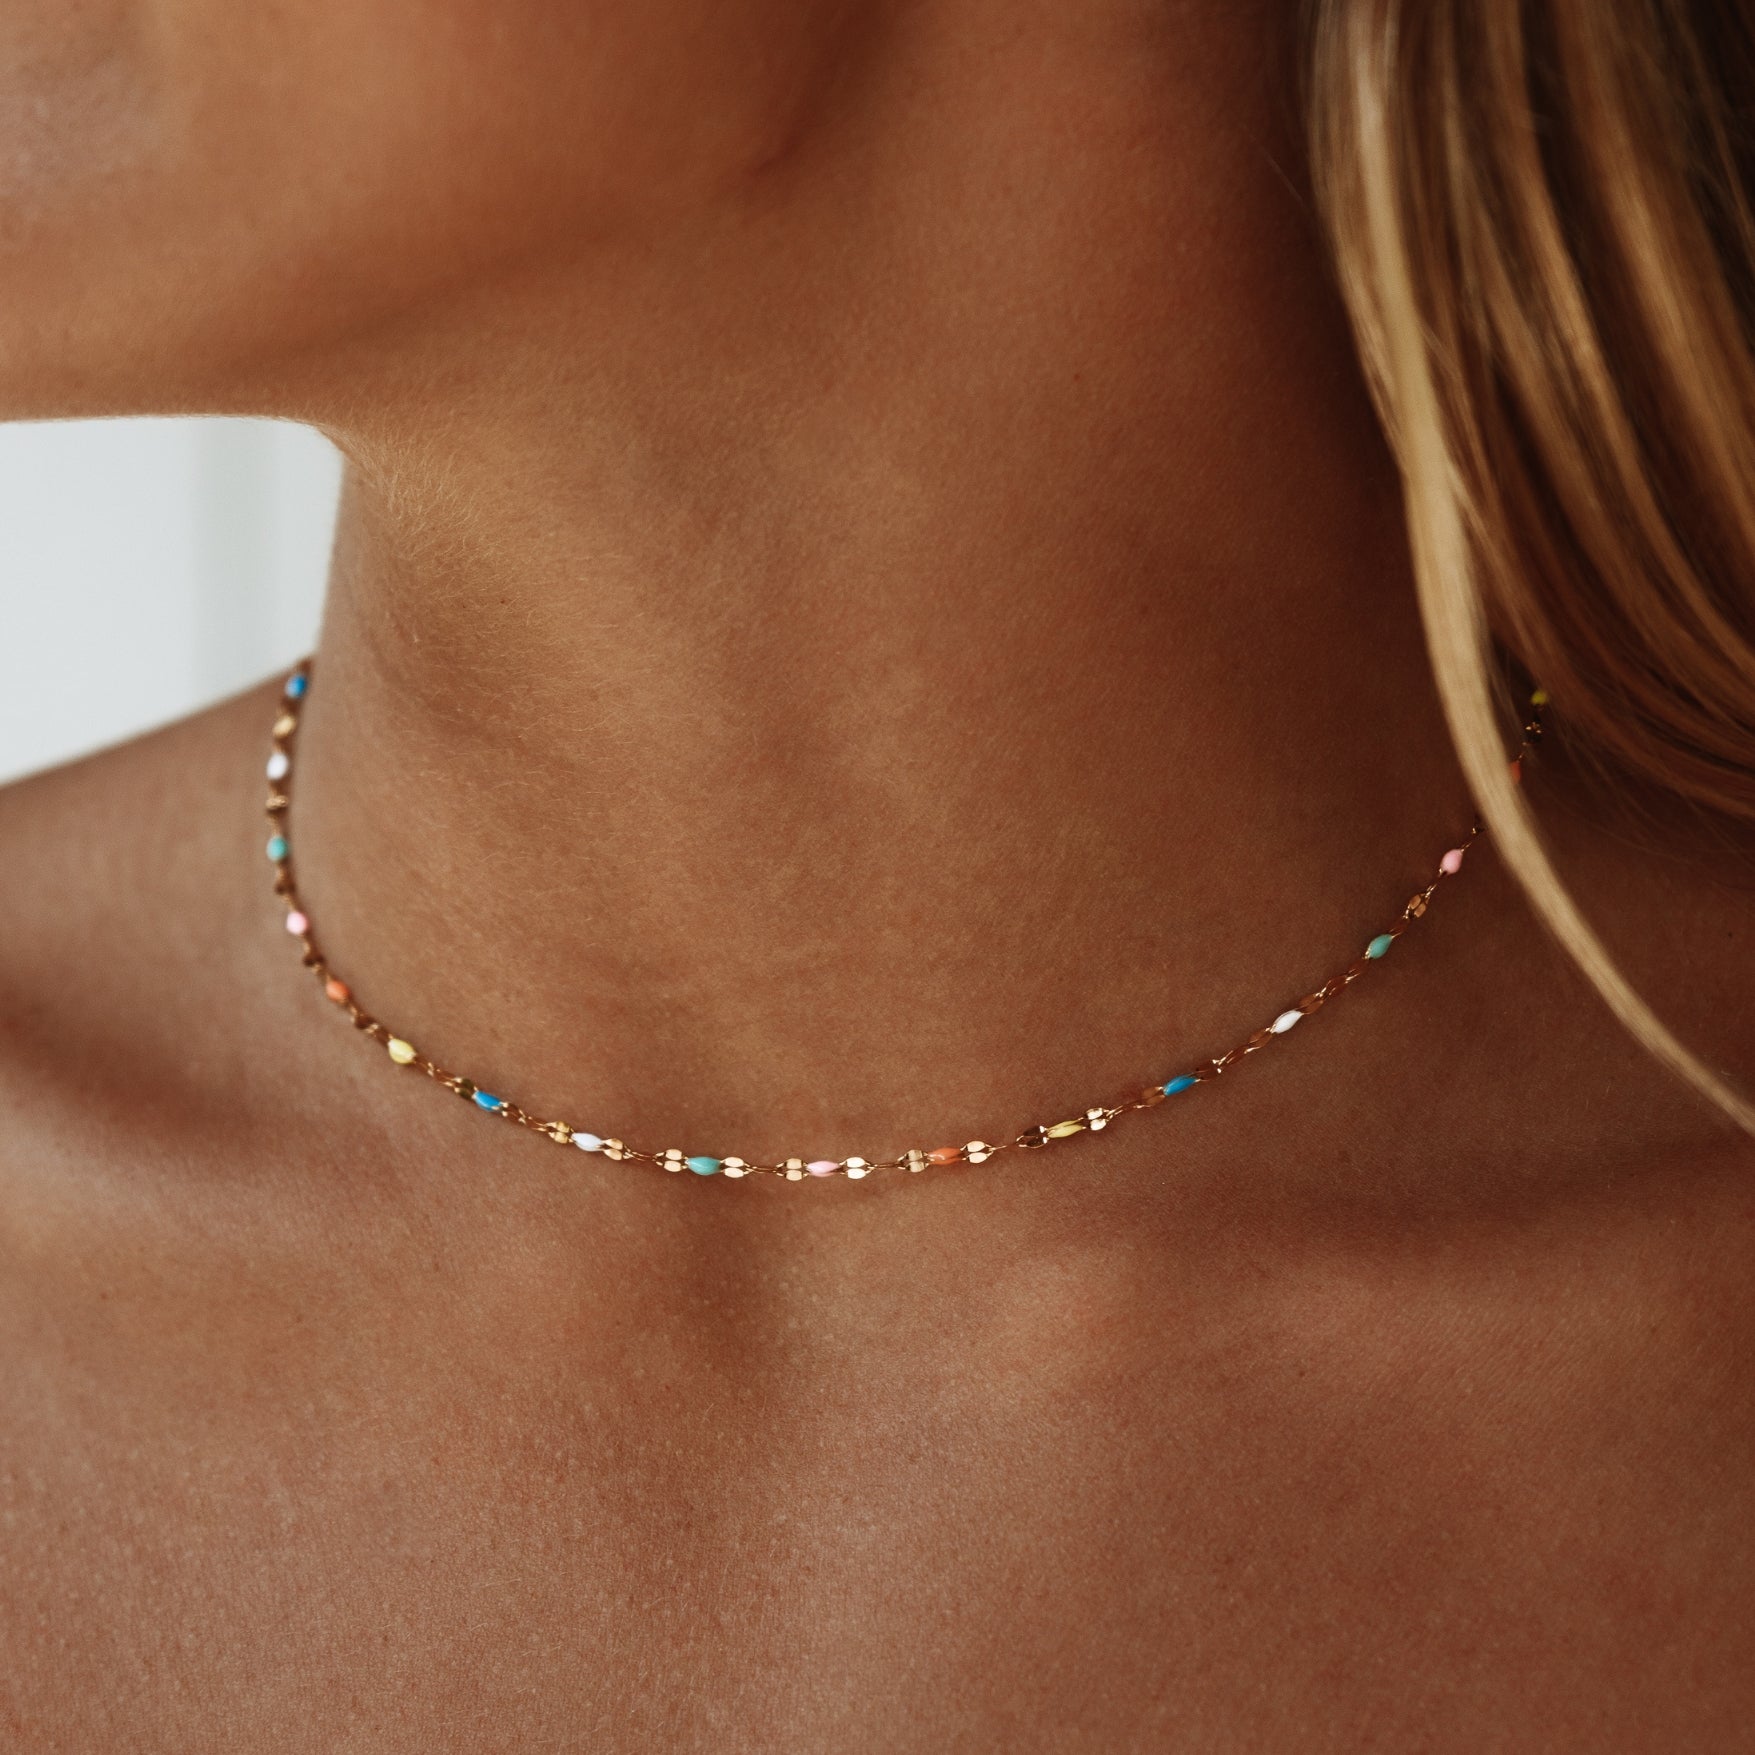
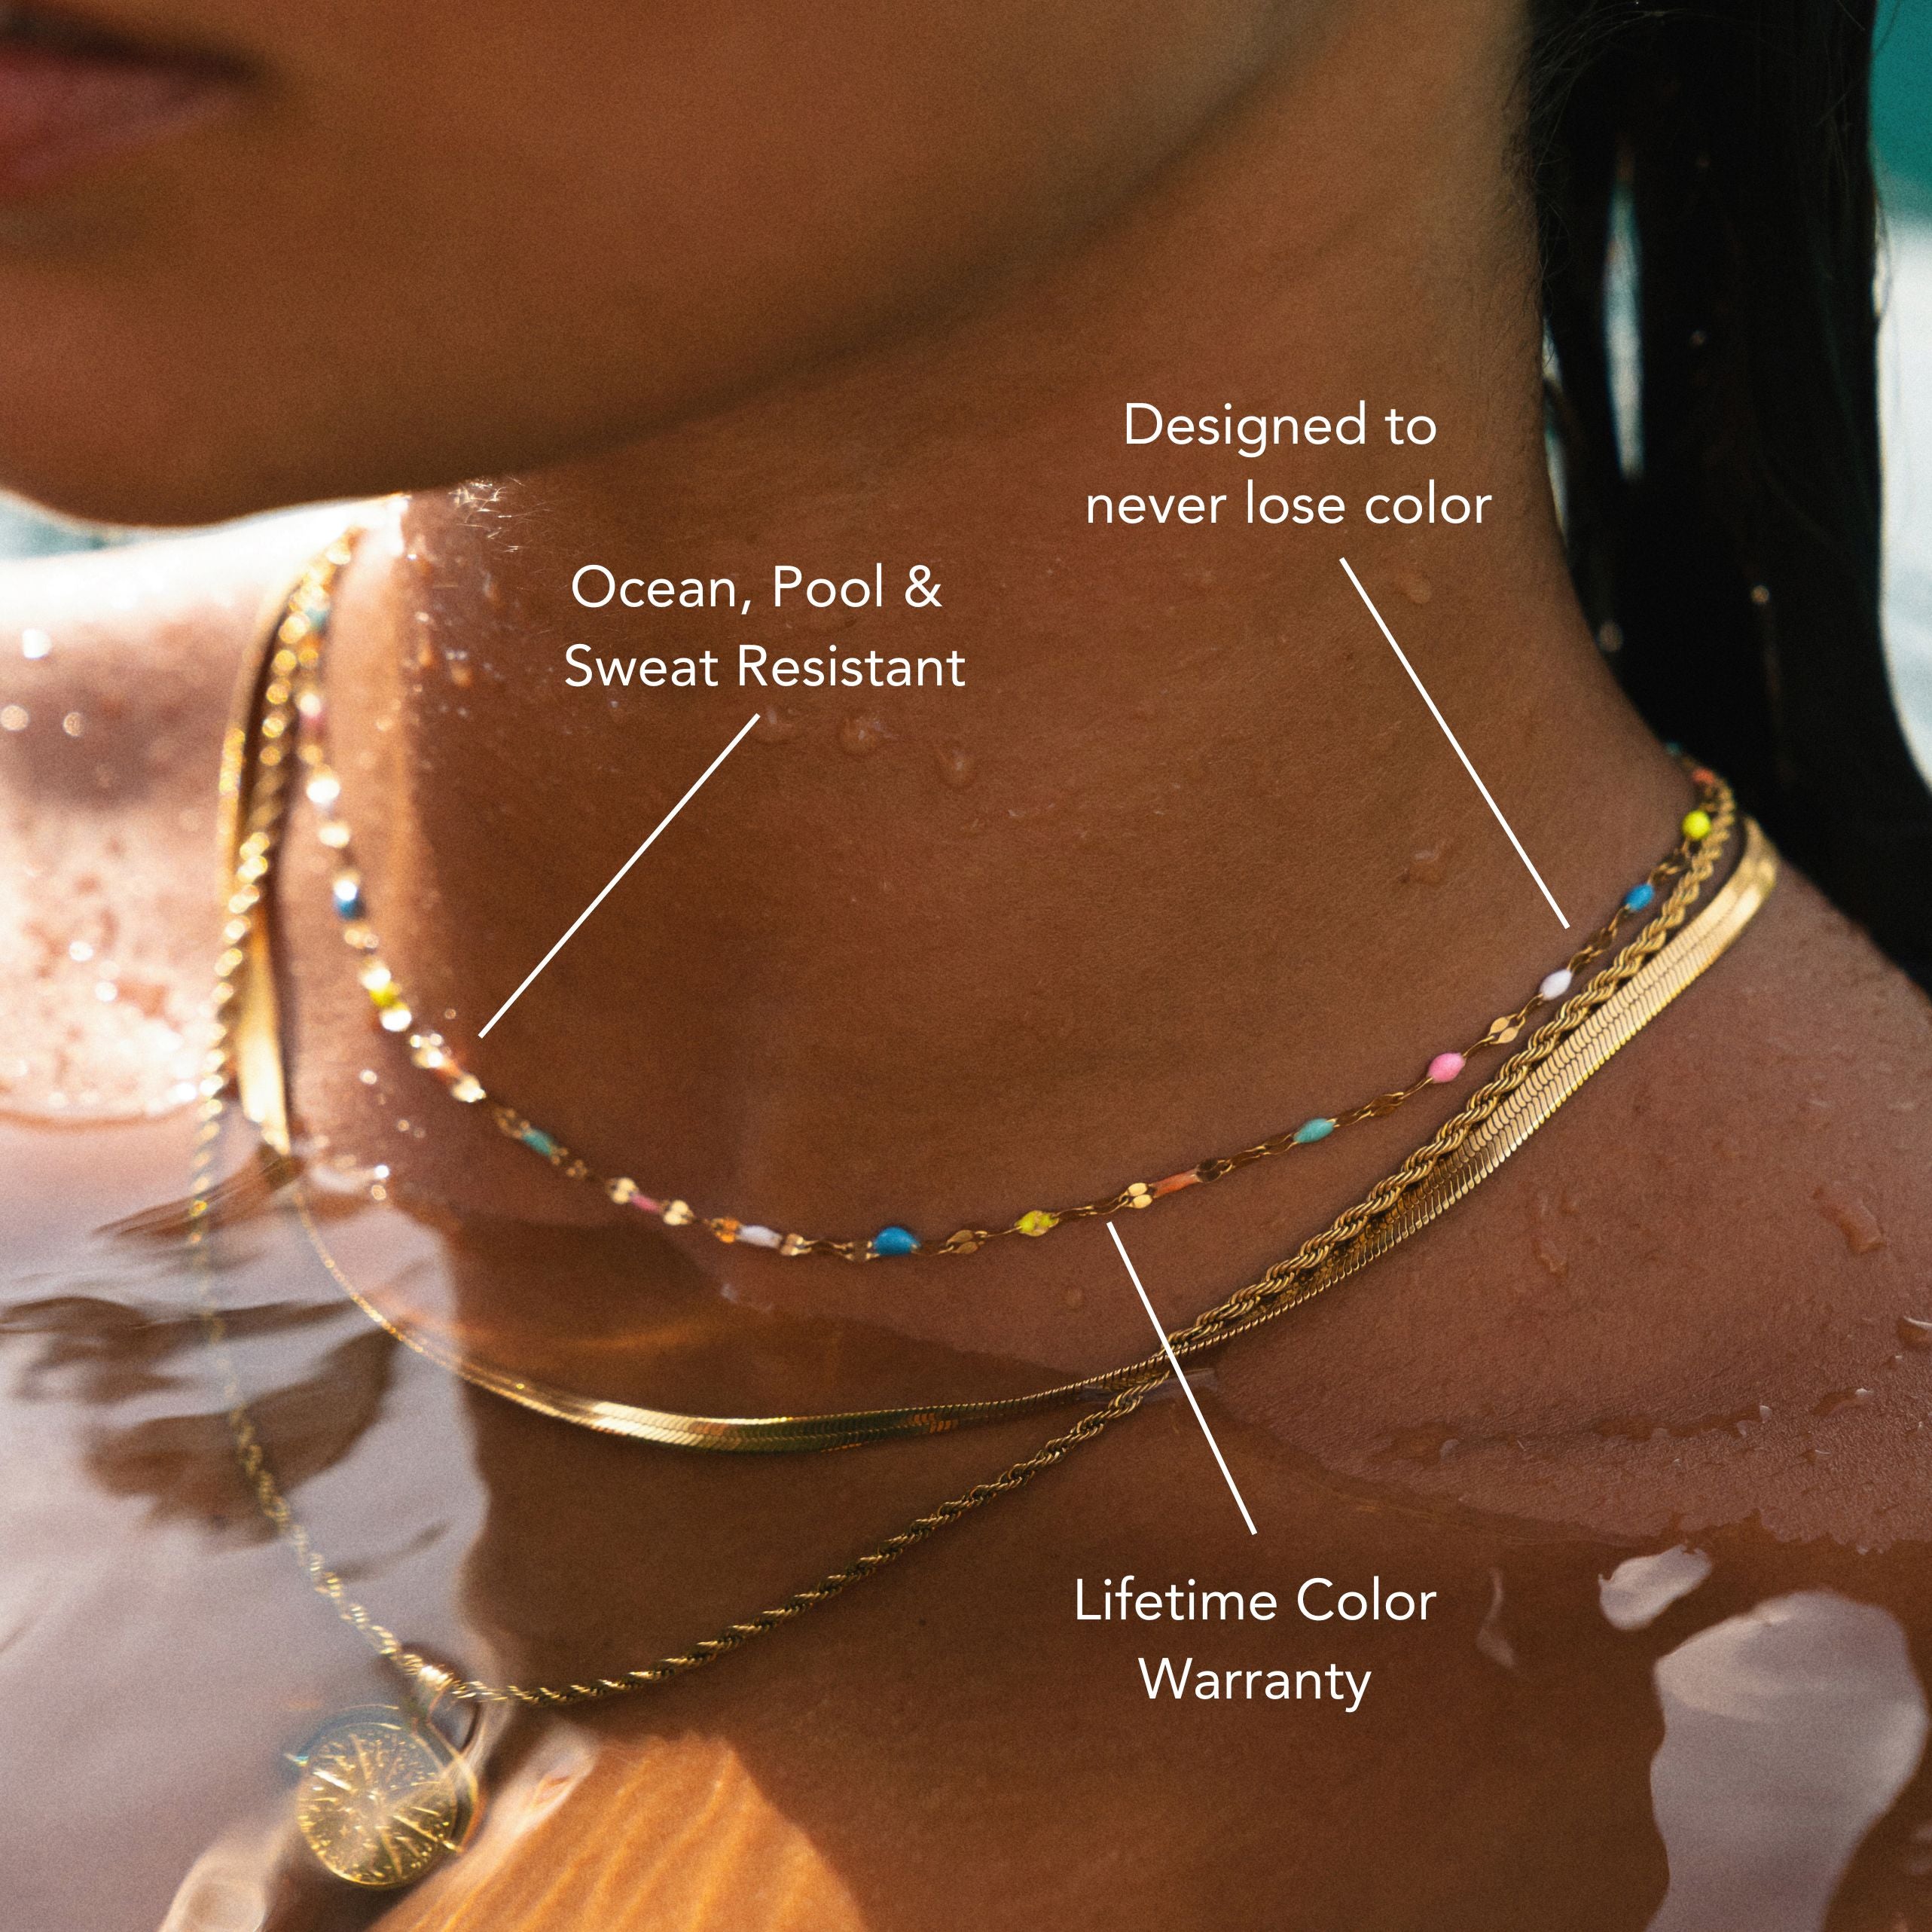
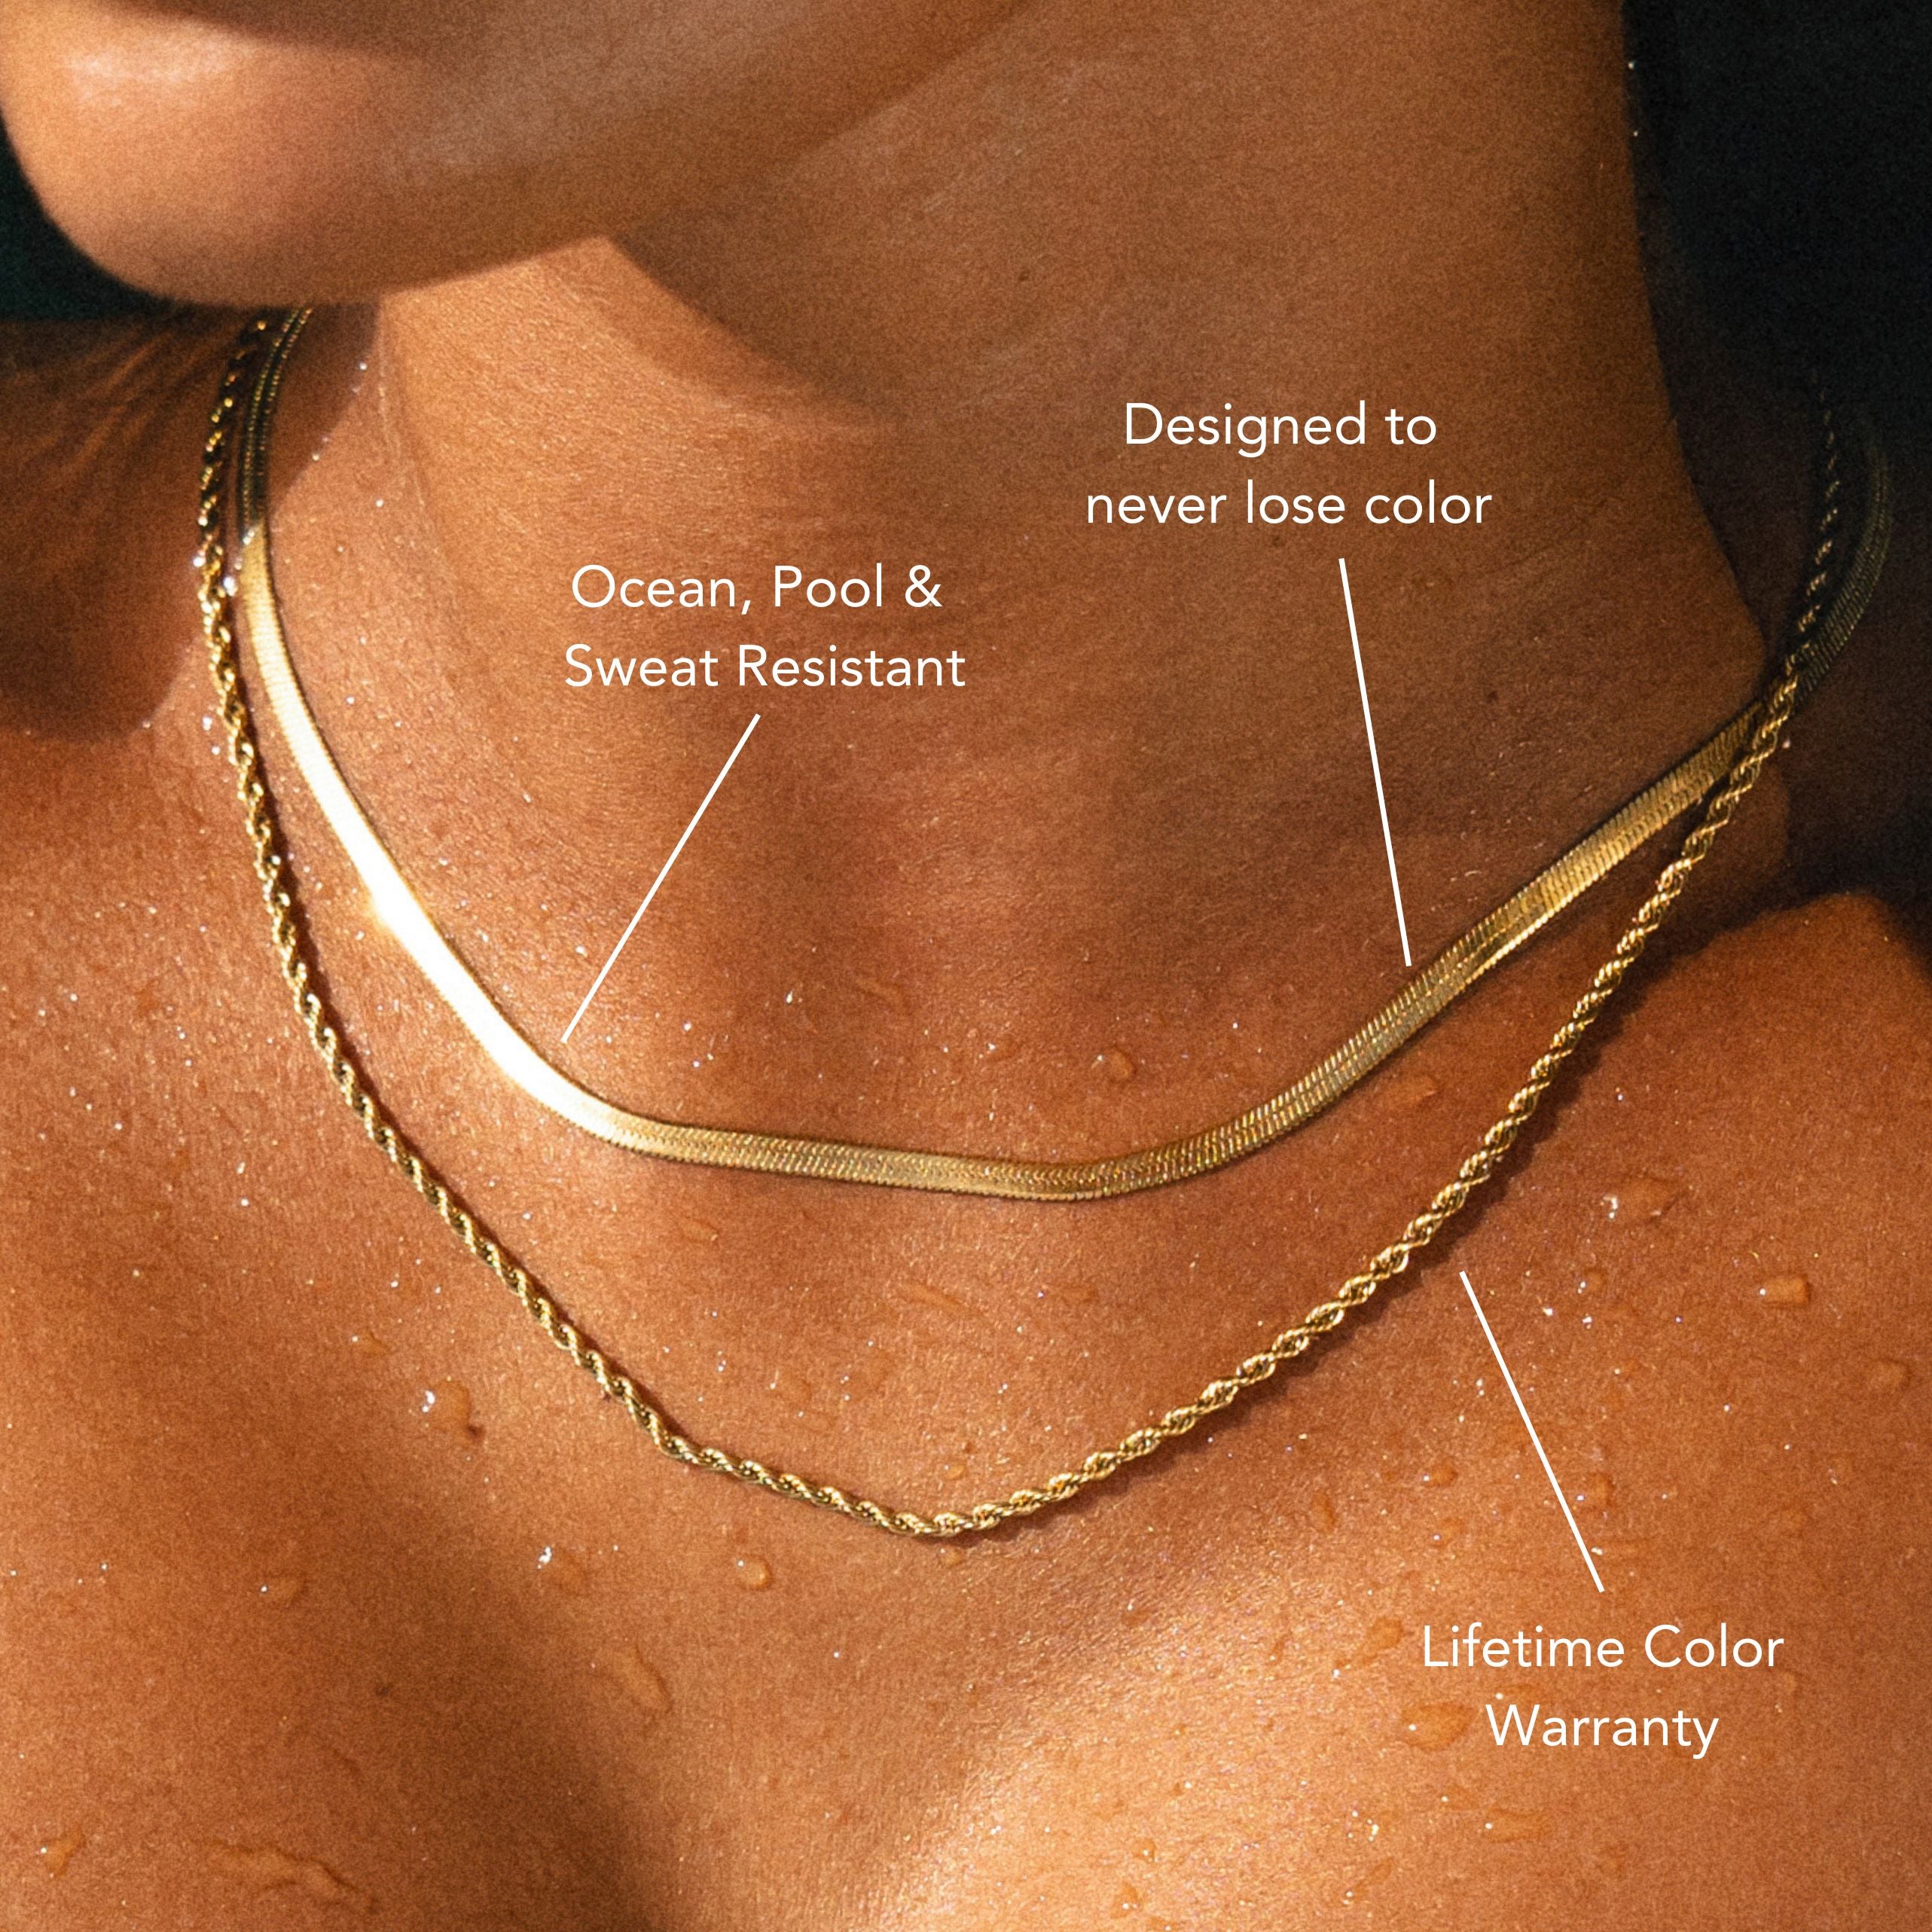
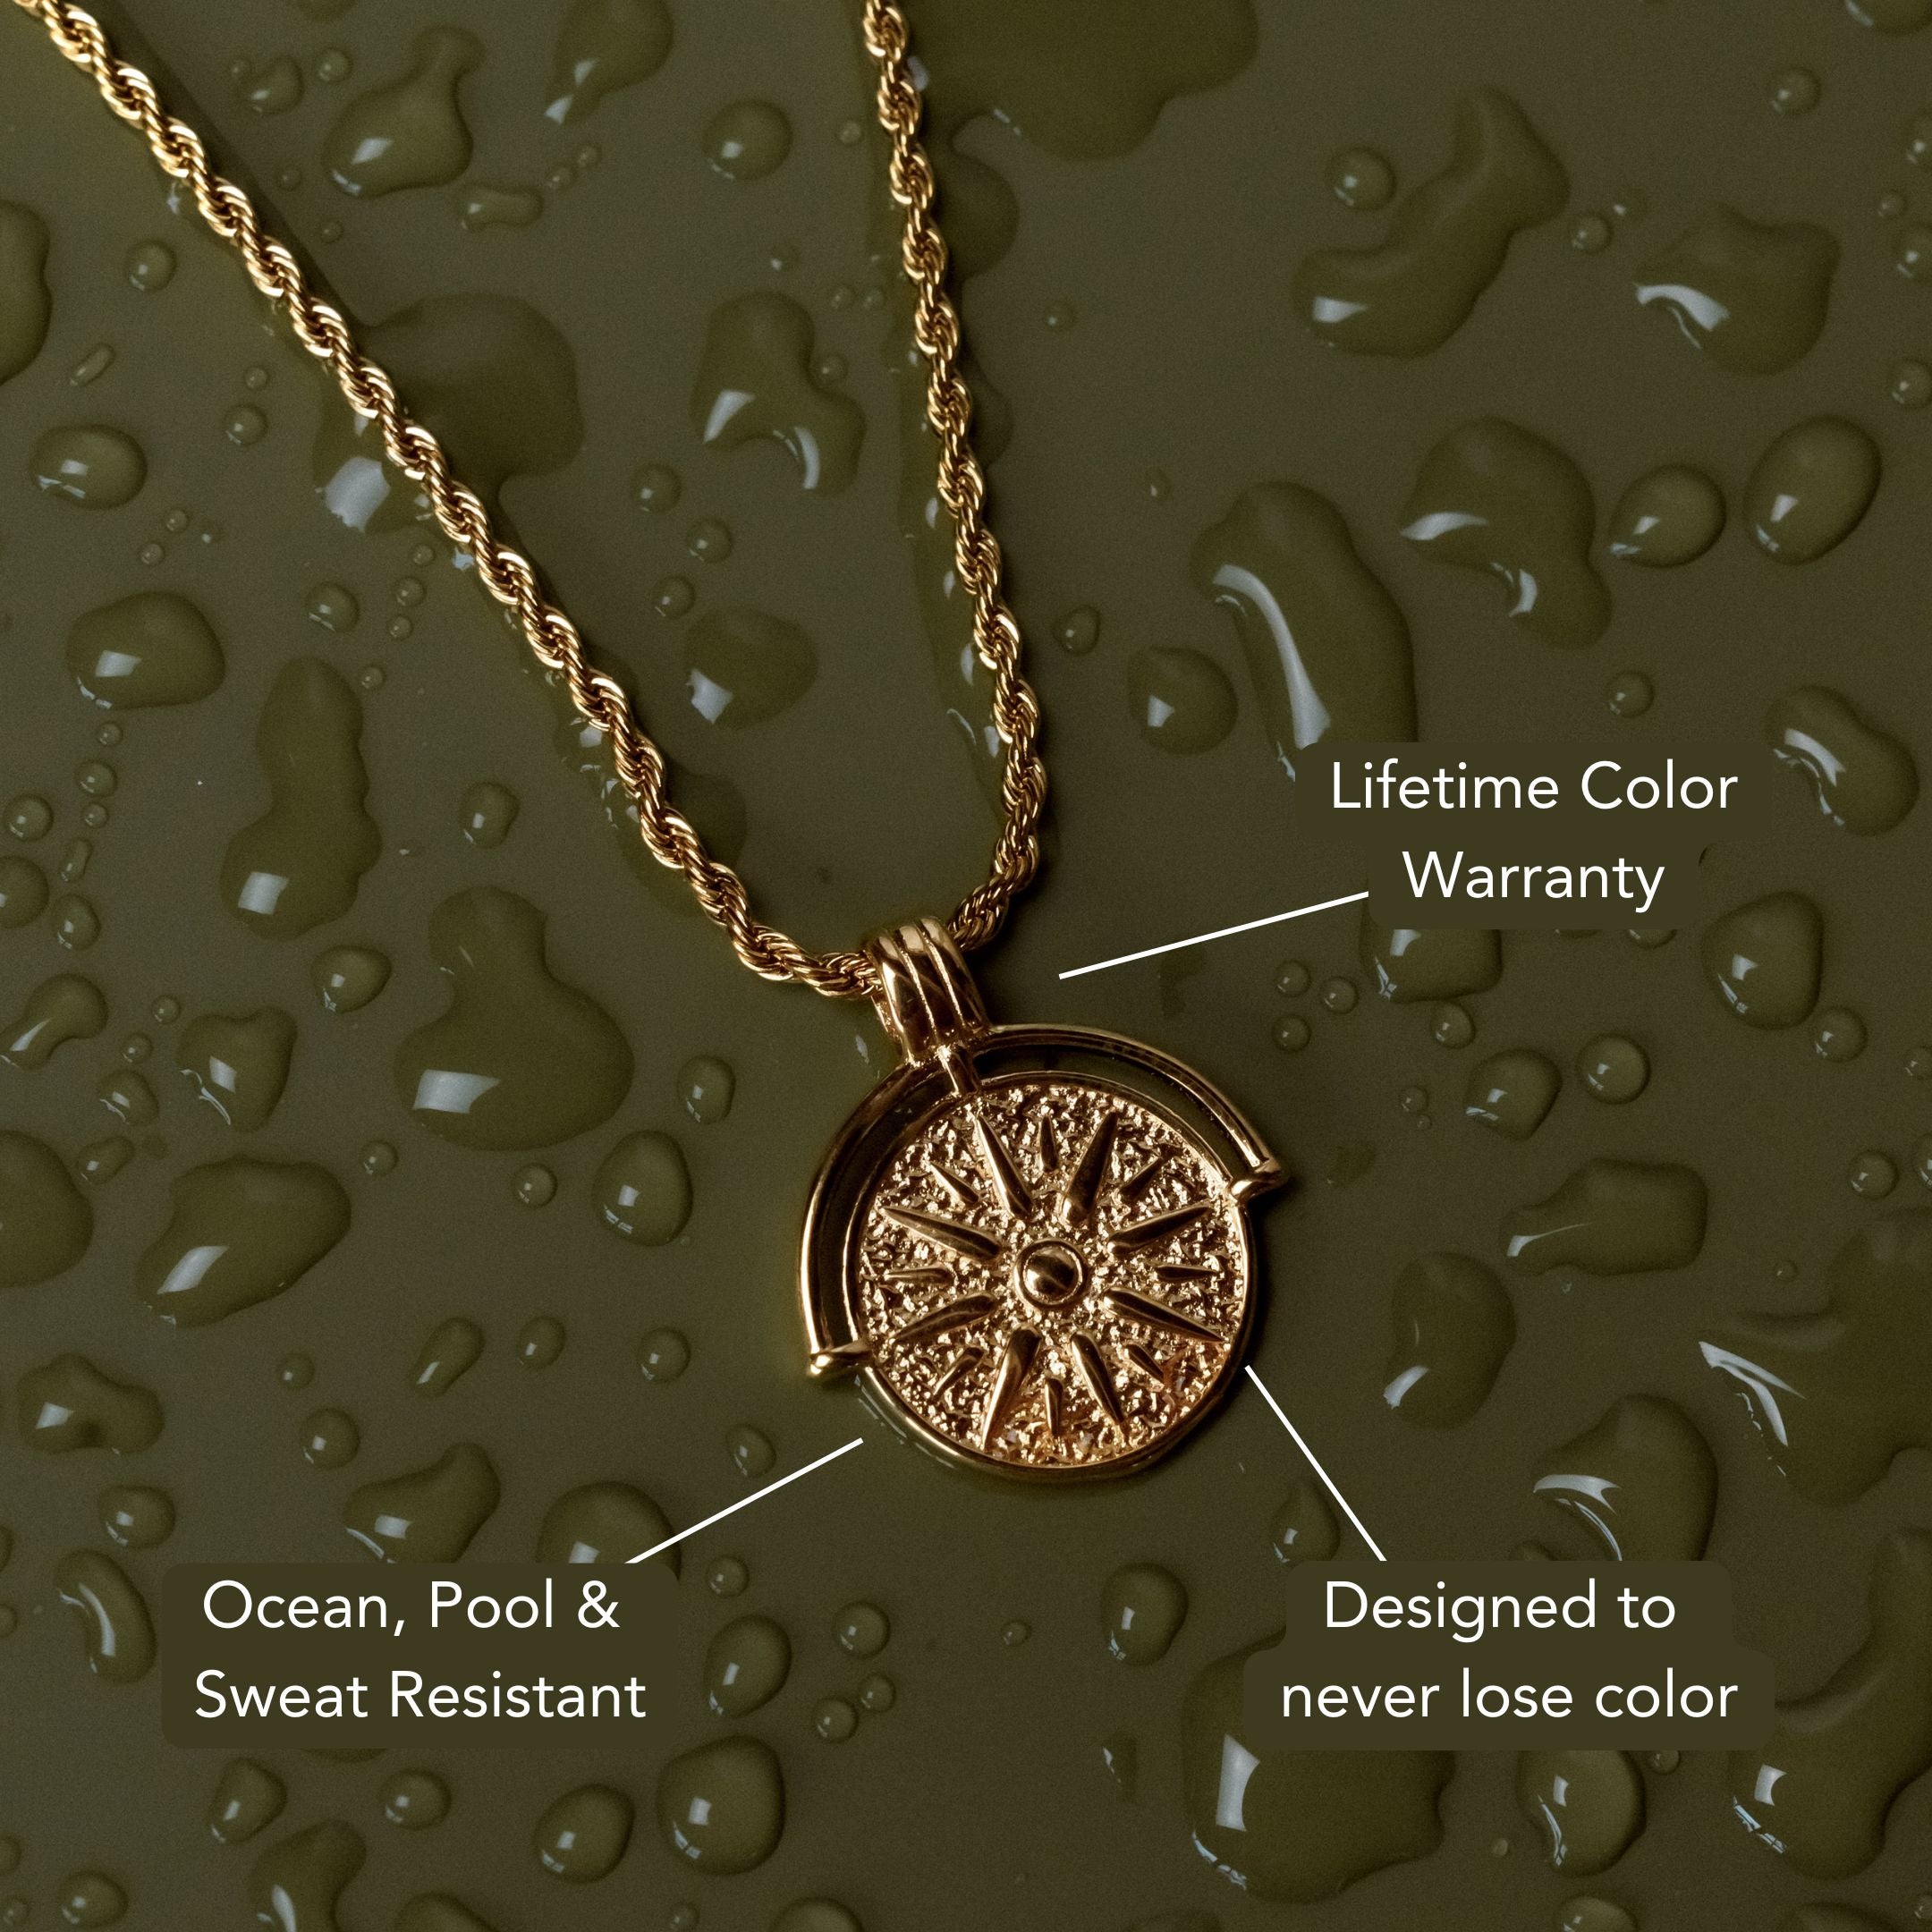
Tarnished silver jewelry does not need to be thrown in the back of a drawer or sent off for professional cleaning. One of the most effective and widely used household methods for restoring shine is baking soda, a staple most people already have in their kitchen. Knowing how to clean silver jewelry at home with baking soda gives you a simple, affordable way to tackle tarnish without specialized tools or expensive cleaning solutions. If you would rather skip the maintenance altogether, our Silver Waterproof Jewelry collection offers pieces designed to resist tarnish even with daily wear.
In this guide, we will walk through two effective baking soda cleaning methods, when to use each one, and how to keep your silver looking brighter for longer afterward.
Why Baking Soda Works on Tarnished Silver
Tarnish forms when silver reacts with sulfur compounds in the air, creating a dark, dull layer called silver sulfide on the surface. Baking soda is mildly abrasive and alkaline, making it effective at gently lifting this tarnish without being harsh enough to damage the underlying silver.
When combined with aluminum foil and hot water, baking soda also triggers a reaction called ion exchange, transferring the tarnish from the silver onto the foil rather than requiring physical scrubbing at all. This makes it one of the most versatile and gentle household tarnish removal methods available.

Method One: The Baking Soda Paste
For light to moderate tarnish, a simple baking soda paste is often all you need. This method works well for plain silver pieces and can also be used carefully on pieces with sturdy, well set gemstones.
- Step 1: Make the paste. Mix three parts baking soda with one part water in a small bowl, stirring until you achieve a thick, spreadable paste.
- Step 2: Apply the paste. Using a soft cloth or your fingers, gently apply the paste to the tarnished areas of the jewelry, covering the surface evenly.
- Step 3: Let it sit briefly. Allow the paste to sit on the jewelry for a few minutes, giving it time to begin lifting the tarnish from the surface.
- Step 4: Gently scrub. Using a soft bristled toothbrush, gently scrub the paste into the tarnished areas, paying particular attention to engraved details or textured surfaces where tarnish tends to accumulate more heavily.
- Step 5: Rinse and dry. Rinse the jewelry thoroughly under clean, running water to remove all traces of the paste, then dry completely with a soft, lint free cloth.
Method Two: The Baking Soda and Foil Method
For more significant tarnish, the baking soda and aluminum foil method offers a more powerful chemical approach that can restore shine without any physical scrubbing at all. This method is best suited for plain silver pieces without gemstones, since the reaction involved can be too strong for more delicate materials.
- Step 1: Prepare your container. Line a small bowl or dish with a sheet of aluminum foil, shiny side facing up, ensuring the foil covers the bottom and sides as much as possible.
- Step 2: Place the jewelry on the foil. Arrange your tarnished silver pieces directly on top of the foil, making sure they are in contact with the foil's surface rather than only each other.
- Step 3: Add baking soda. Sprinkle a generous layer of baking soda over the jewelry, roughly one to two tablespoons depending on the size of your container and the amount of jewelry being cleaned.
- Step 4: Pour hot water over the pieces. Carefully pour hot, nearly boiling water over the jewelry until it is fully submerged. You should notice a slight fizzing or bubbling reaction as the process begins.
- Step 5: Let it sit. Allow the jewelry to sit in the solution for five to ten minutes, depending on the severity of the tarnish. Heavier tarnish may require a slightly longer soak.
- Step 6: Remove, rinse, and dry. Carefully remove the jewelry using tongs or a spoon, since the water will still be hot, then rinse thoroughly under cool, clean water and dry completely with a soft cloth.

How the Foil Method Works
This method relies on an ion exchange reaction. When silver sulfide tarnish contacts aluminum in the presence of a mild electrolyte solution, created here by the baking soda and hot water, sulfur atoms are drawn away from the silver and transfer onto the foil instead. This reverses tarnishing on a chemical level, rather than simply polishing away the surface layer, which is why the foil itself often appears discolored afterward.
When to Choose Each Method
The paste method is generally better suited for localized tarnish, detailed engravings, or pieces with sturdy, well secured gemstones, since it allows for more targeted cleaning without submerging the entire piece. The foil method works best for more significant, overall tarnish on plain silver pieces, since it cleans the entire surface simultaneously without requiring physical scrubbing.
For jewelry with delicate finishes, oxidized or antiqued silver details meant to appear dark intentionally, or loosely set stones, it is best to avoid both baking soda methods and opt for a gentler soap and water cleaning instead, since baking soda could unintentionally remove an intentional patina or loosen fragile settings.
Jewelry Types to Avoid Cleaning With Baking Soda
While baking soda is generally gentle and effective, a few jewelry types are better cleaned using different methods. Pieces with pearls, opals, or other soft, porous gemstones should not be cleaned with baking soda, since the mild abrasiveness could dull or damage these more delicate surfaces. Jewelry with oxidized or antiqued silver finishes, where darkened areas are an intentional design element, should also be avoided, since baking soda cleaning methods can lighten or remove this deliberate coloring. Plated silver jewelry, where a thin silver layer covers a different base metal, should be approached with caution as well, since vigorous scrubbing could wear down the plating more quickly than gentler alternatives.

Preventing Tarnish After Cleaning
Once your silver jewelry is clean and shining again, a few habits can help slow how quickly tarnish returns. Store silver in an anti tarnish pouch or a jewelry box lined with anti tarnish fabric, which helps reduce exposure to the air and moisture that contribute to tarnish formation. Apply lotion, perfume, and hairspray before putting on jewelry rather than after, since these products are a significant contributor to tarnish and buildup over time. Wear silver jewelry regularly if possible, since the natural oils from skin can sometimes help slow tarnish development, compared to pieces left sitting unworn for extended periods.
How Often Should You Clean Silver With Baking Soda
For jewelry worn regularly, a baking soda cleaning every few weeks to once a month is generally sufficient to keep tarnish from becoming significant. For pieces worn less frequently or stored for extended periods, checking for tarnish every couple of months and cleaning as needed is usually adequate, since reduced air exposure during storage slows the tarnishing process considerably.

Final Thoughts
Learning how to clean silver jewelry at home with baking soda offers a simple, affordable, and effective way to restore shine without needing specialized tools or professional cleaning services. Whether you choose the targeted paste method or the more powerful foil and hot water technique, baking soda remains one of the most reliable household solutions for tackling everyday tarnish.
With a bit of regular maintenance and proper storage habits, your silver jewelry can stay bright and beautiful for years of continued wear.
Frequently Asked Questions
1. How does baking soda remove tarnish from silver jewelry?
Baking soda is mildly abrasive and alkaline, helping to lift tarnish from the surface, while the foil and hot water method triggers a chemical reaction that transfers tarnish away from the silver entirely.
2. Is the baking soda and foil method safe for all silver jewelry?
It works best for plain silver pieces without gemstones or intentional oxidized finishes, since the reaction can be too strong for delicate stones or deliberately darkened detailing.
3. Can I use baking soda on silver jewelry with pearls or opals?
No, baking soda should be avoided on pearls, opals, and other soft, porous gemstones, since its mild abrasiveness could damage these more delicate surfaces.
4. How often should I clean my silver jewelry with baking soda?
Jewelry worn regularly benefits from cleaning every few weeks to once a month, while pieces worn less often can be checked and cleaned every couple of months as needed.
5. Why does the aluminum foil turn dull after cleaning silver?
The foil absorbs the sulfur compounds responsible for tarnish during the chemical reaction, which is why it often appears discolored after the cleaning process is complete.










コメントを書く
このサイトはhCaptchaによって保護されており、hCaptchaプライバシーポリシーおよび利用規約が適用されます。